P A R E N T Q U I C K S T A R T G U I D E
3
Setup guide
STOP!!!
Do not
attach the microscope
to your computer! It is
important that you install the
software first.
Here’s how to
get started using
your microscope
and software.
■
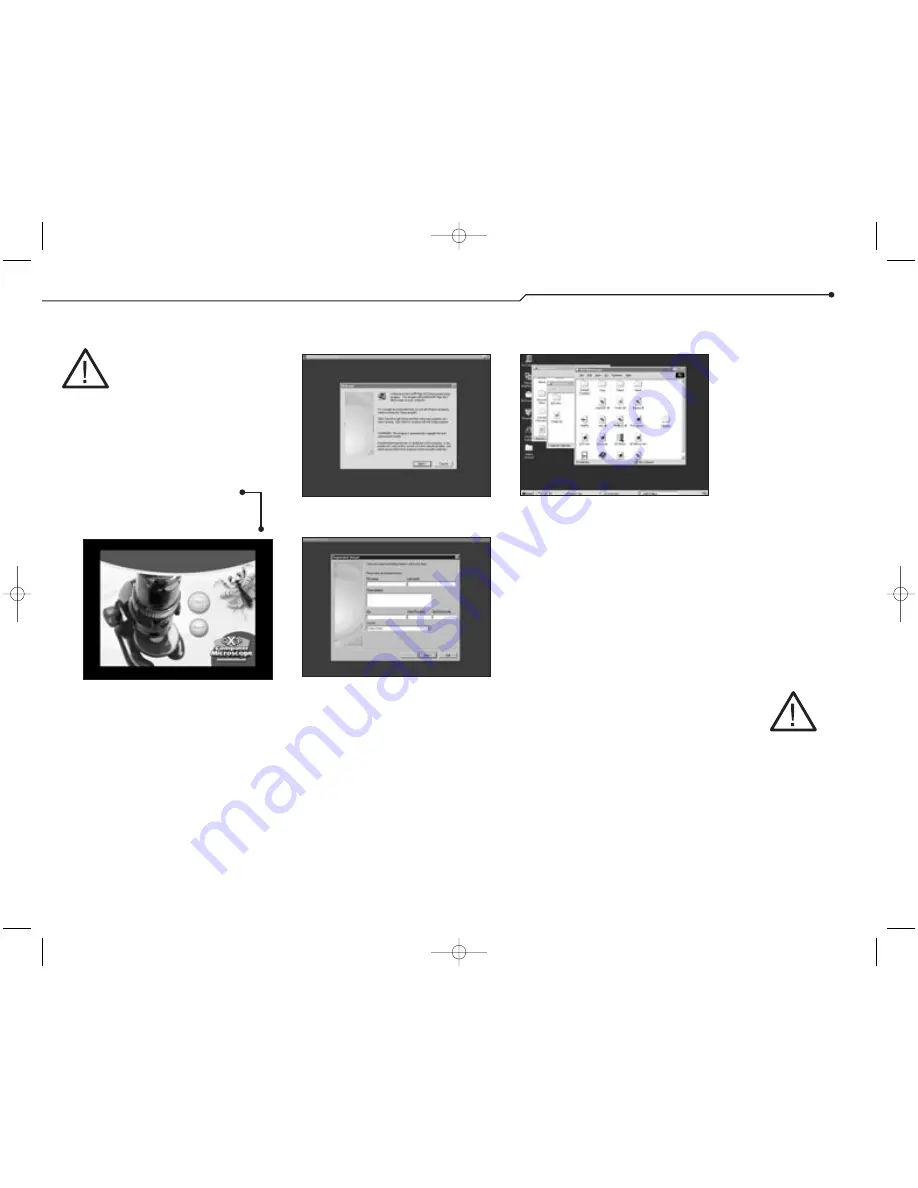
Insert the QX3
™
Computer
Microscope CD.
■
Wait for the autoplay to start.
■
Click the Install button.
(If Autoplay does not automatically
launch the installer, go to the desktop
and double-click on the icon named
My Computer. Double-click the icon for
the CD-ROM/DVD drive that contains
the QX3
™
software. Sometimes this will
cause Autoplay to start. If it doesn’t,
open the setup folder, double-click on
setup.exe, and follow the setup steps
on this page.)
■
Follow the steps by clicking the
appropriate buttons.
■
When installation is complete, you
can register your QX3
™
microscope
online if you have a modem.
■
Adults, follow the instructions on the
e-registration screens.
(If you can’t or don’t want to register
online, click the Cancel button and
continue with step 4.)
■
Restart your computer.
■
Once the Windows
®
desktop
appears, plug the microscope cable
into your computer’s USB port.
■
Now that you have plugged in your
microscope, double click on the QX3
™
icon to launch the software.
Or,
■
Go to the Windows
®
Start menu to
launch the software.
IMPORTANT:
Make sure to check the Read Me file
for any tips or important information
written since this guide was printed.
To access the Read Me from your
Windows
®
Start menu, click
Start
, point
to
Programs
, point to
Digital Blue
QX3 Microscope
and then
click
QX3 Read Me
.
1
2
3
4
If things
go wrong
If you have any
problems with the
setup procedure,
first make sure
you have followed
these instructions
exactly. If you did,
please do the
following:
■
Unplug the
USB cable.
■
Restart your
computer.
■
Repeat the
setup steps.
If you are still having
problems, see
“Troubleshooting”
on page 7.
CAUTION:
Upper and lower
illumination sur-
faces can get
very warm.
That’
s all
there is to it!
1318 Parent Guide Final 03/12/2002 04:05 PM Page 3


