Digital Acoustics INT-IP-2Gang
Installation and SIP Configuration
Page 2 of 3
SIP Configuration
If the
eSIP Configuration
utility has already been installed and the defaults have been setup, skip to the
Select the
General Settings tab
step.
Download and install the
eSIP Configuration
https://www.digitalacoustics.com/support/software-firmware-
•
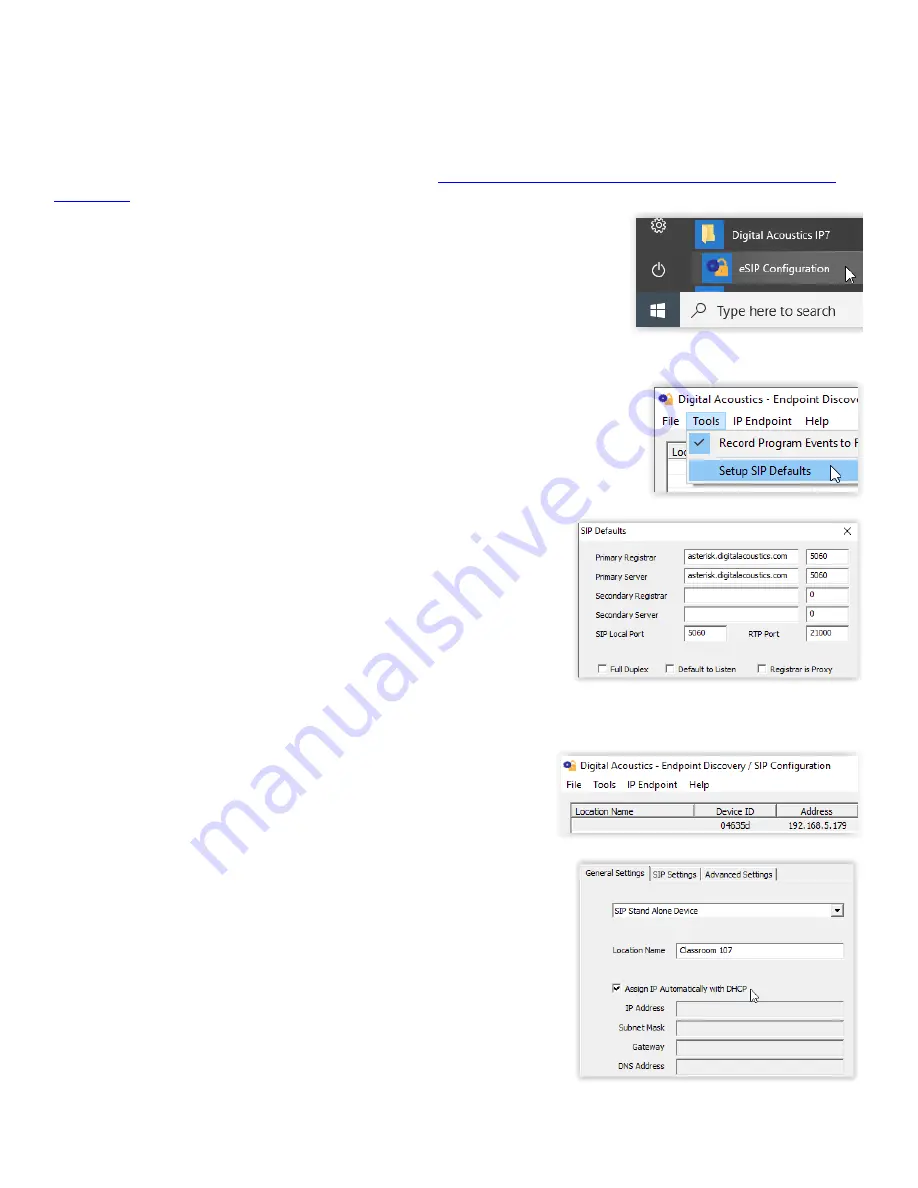
After the configuration utility has been installed, open it from the Windows®
Start
menu by selecting
Digital Acoustics IP7
→
eSIP Configuration
•
Click menu option
Tools
→
Setup SIP Defaults
to setup the default SIP based
Phone system
•
In the
Primary Registrar
(also know as the
Domain
), enter the IP
Address or DNS and the port of the SIP based phone system
•
The
Primary Server
(also known as the
Proxy Address
) is typicall the
same as the
Primary Registrar
. If this is different than the
Primary
Registrar
, then the
Registrar is Proxy
box must be checked
•
The
Secondary Registrar
and
Secondary Server
are only specified if a
backup VOIP based phone system is available in case the Primary fails
•
The
SIP Local Port
and
RTP Port
specify the ports used by the IP7
when communicating with the VOIP based Phone system
•
Press the
OK
button to save the defaults
Select the
General Settings
tab
•
Press the
Find Devices
button to discover any new IP7 devices that
are connected to the network. The IP7 devices will be listed on the left
hand side of the screen
•
Click on an IP7 Endpoint to be configured (match the
Device ID
column to the Intercom’s previously recorded ID#)
•
On the right hand side of the screen, select
SIP Standalone Device
from
the dropdown
•
Enter a descriptive name into the
Location Name
field (this name is only
used by this utility. The description from the phone system will be used to
identify this endpoint during a call)
•
Check the DHCP option to automatcally assign the IP Address infromation
or uncheck it to enter static IP address information


