


15
Configuring Remote Connection
Step 3 of 6: Locate your camera’s MAC address:
1.
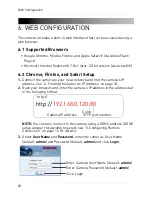
Open a web browser and enter the camera’s IP address in the address
bar in the following format:
http://
192.168.0.120
:
80
IP address
Colon
HTTP port number
http://
2.
Under
User Name
and
Password
, enter the camera’s User Name
(default:
admin
) and Password (default:
admin
) and click
Login
.
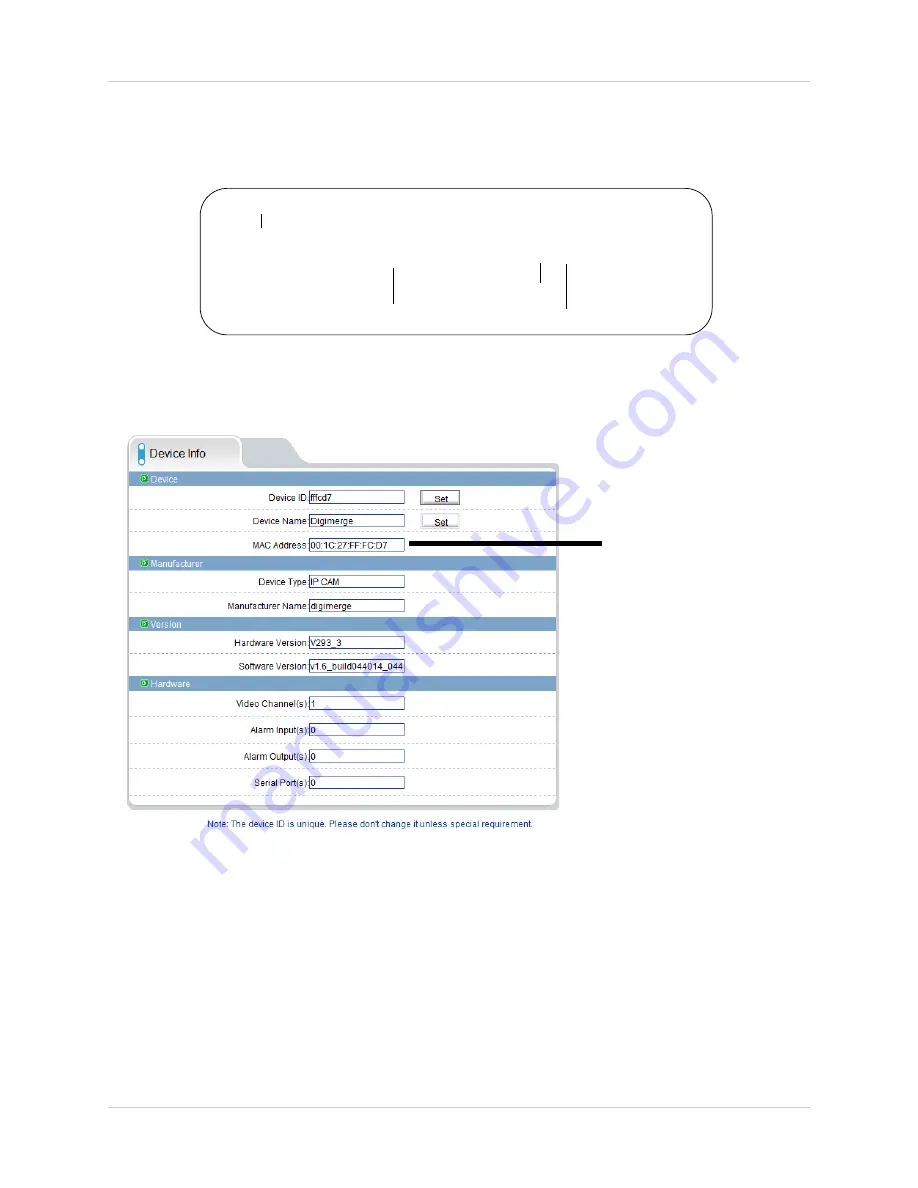
3.
Click
Device Info
and write down the
MAC Address
.
MAC Address
Step 4 of 6: Register for Digimerge DDNS:
Digimerge offers a free DDNS service for use with your IP camera. A DDNS
account allows you to set up a web site address that points back to your local
network. The following outlines how to set up your free DDNS account.
NOTE:
Your router must support UPnP to enable DDNS.
NOTE:
You may use the same DDNS account for multiple IP cameras on
the same LAN.
Содержание DNB14TL2
Страница 70: ...62 Dimensions 8 DIMENSIONS...
Страница 75: ......
Страница 76: ...www digimerge com Copyright 2012 Digimerge Technologies Inc English Version 2 0 DNB14TL2...


