English
- 10 -
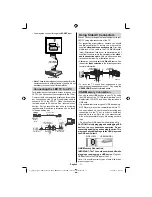
Connecting to a DVD player
via HDMI
Please refer to your DVD player’s instruction book
for additional information. Power off both the TV and
the device before making any connections.
Note
: Not all cables shown in the illustration are
supplied.
If your DVD player has an
•
HDMI
socket, you can
connect via
HDMI
for better video and audio quality.
HDMI
1
SPDIF
Coax.OUT
External device
(not
supplied)
HDMI Cable
When you connect to DVD player as illustrated above,
•
switch to the connected
HDMI
source. See,
Input
Selection
section for more information on changing
sources.
Note:
If the device is connected via HDMI and the
TV is turned off into standby mode, when the unit
comes back on there may be an error message
on screen ‘No video available’. You may need to
turn the device off at the wall socket to reset the
HDMI connection.
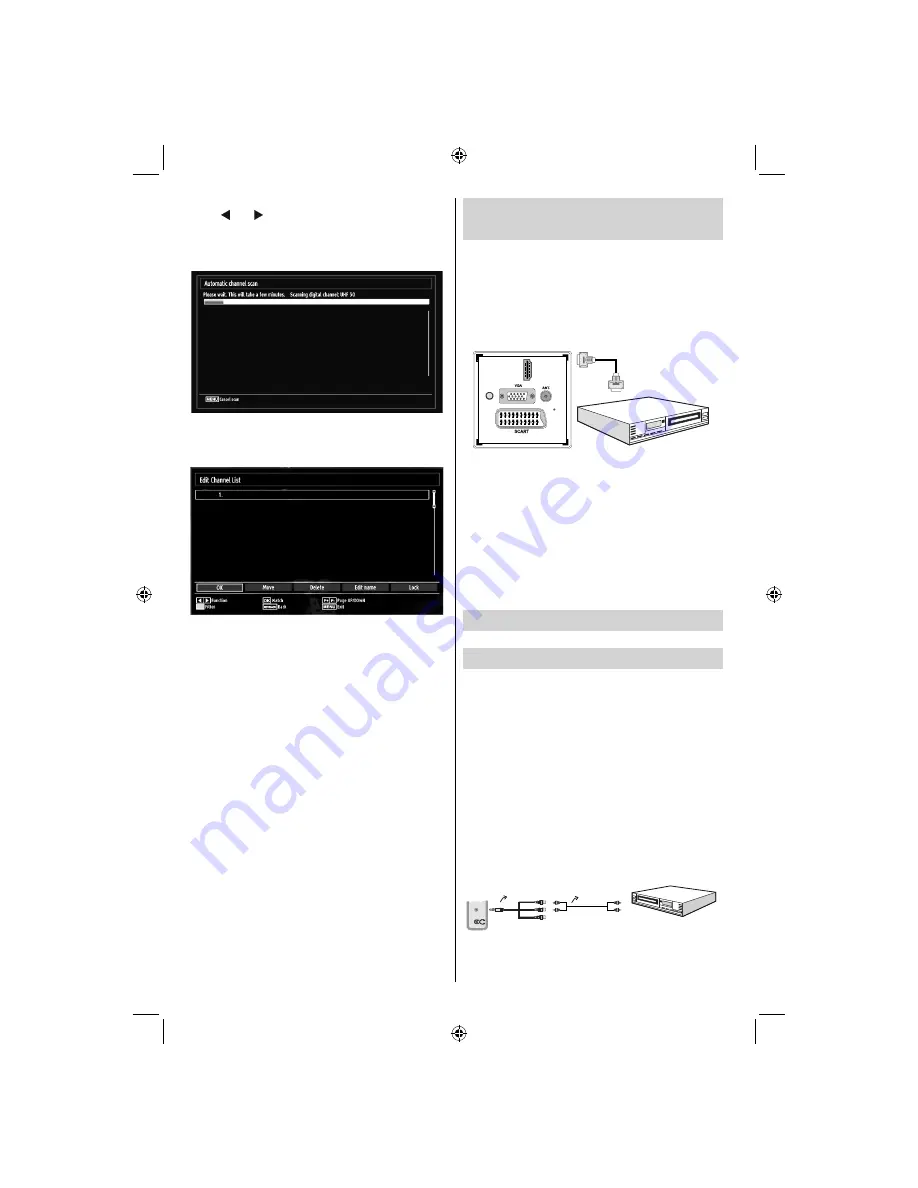
Connecting to a DVD Player via
Component Sockets (YPbPr) or
Scart Cable
Some DVD players are connected through
•
COMPONENT SOCKETS (YPbPr). YPbPr can be
used only when you connect a device that has a
YPbPr output through the PC input with YPbPr to
PC cable (YPbPr cable is not supplied).
When the connection is made, switch to YPbPr
•
source. See, “Input selection” section.
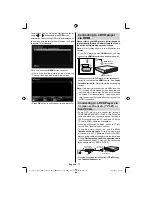
To enable audio connection, use the
•
VGA/
Component Audio cable
. First, plug single jack
of the cable to the TV. Afterwards, insert your DVD
player’s audio cable’s connectors into the plural part
of the
VGA/Component audio connection cable
(
see illustration below
). Colours of the connected
jacks should match ( RED & WHITE).
AV Connection
Cable (supplied)
Audio Cable
(not supplied)
To DVD Player's
Audio Outputs.
SIDE
AV
When the connection is made, switch to
•
YPbPr
source.
See,
Input selection
section.
To select the “Yes” or “No” option, highlight the item by
using “ ” or “ ” buttons and press
OK
button.
Afterwards, the following OSD will be displayed on
the screen and the television will search for digital
terrestrial TV broadcasts
Note: You can press
MENU
button to cancel.
After all the available stations are stored, the
•
Channel List will be displayed on the screen.
Press
•
OK
button to quit channel list and watch TV.
01_[GB]_woypbpr_MB60_1825UK_IDTV_BRONZE17_22914LED_10073113_50189784.indd 10
01_[GB]_woypbpr_MB60_1825UK_IDTV_BRONZE17_22914LED_10073113_50189784.indd 10
24.05.2011 15:43:47
24.05.2011 15:43:47
Содержание SAORVIEW LED22914FHD
Страница 1: ...LED22914FHD OPERATING INSTRUCTIONS COLOUR TELEVISION WITH REMOTE CONTROL ...
Страница 33: ...50189784 ...


