


28
E
N
GLISH
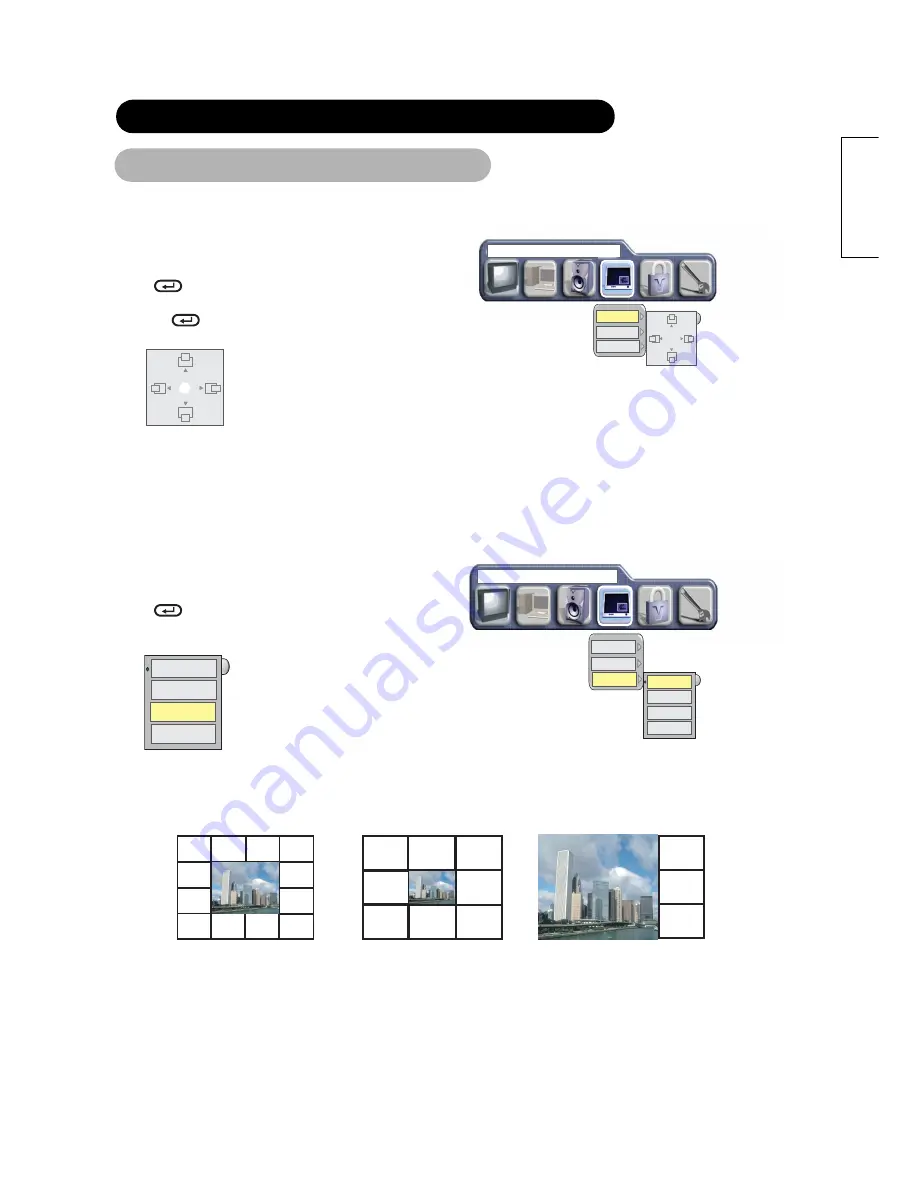
Change PIP Position
After selecting PIP Size and PIP Source,
1. Press the "MENU" button to display on the On Screen Main Manu.
2. Select "PICTURE IN PICTURE" Menu with
ADJUST button.
3. Press
ENTER button. The following Menu and a diagram
will appear.
4. Press the
ENTER Key and a white ball appears in the center
of the diagram.
5. Move the PIP display with
SELECT and
ADJUST buttons.
6. Press "MENU" button 2 times to return to "PICTURE IN PICTURE" Menu.
7. Press "MENU"button to exit
.
Multi PIP
After selecting PIP Size and PIP Source
1. Press the "MENU" button to display on the On Screen Main Manu.
2. Select "PICTURE IN PICTURE" Menu with
ADJUST button.
3. Press
ENTER button. The following Menu and a diagram
will appear.
4.Select Multi PIP with
SELECT button.
5. Select the PIP display mode with
SELECT buttons.
6. Press "MENU" key 2 times to return to "PICTURE IN PICTURE" Menu.
7. Press "MENU" to exit
.
OPERATING INSTRUCTIONS (continued)
PICTURE
IN PICTURE (Continued)
OFF
PIP (1+12)
PIP (1+8)
PIP (1+3)
A
A
A
A
A
A
A
A
A
A
A
A
A
A
A
A
A
A
A
A
A
A
A
PIP(1+12)
PIP(1+8)
PIP(1+3)
PICTURE IN PICTURE
PIP POSITION
PIP SIZE
MULTI PIP
PICTURE IN PICTURE
PIP POSITION
PIP SIZE
MULTI PIP
OFF
PIP (1+12)
PIP (1+8)
PIP (1+3)


