Element Series Manual
Page | 2
Setup Instructions
1.
Find the location.
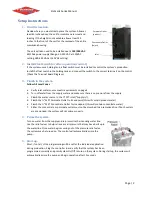
Decide where you would like to place the system. Allow at
least 45 inches above the unit for membrane removal and
loading. If the height is not available, allow at least 25
inches to the front of the unit for the removal of the entire
membrane housing.
The unit will also need to be installed near a
120/240 VAC
,
60/50Hz power supply (Range: 90-145 VAC at 120VAC
setting, 180-290 VAC at 240 VAC setting).
2.
Install Float Switch (or other operation control)
If the system uses a holding tank, a float switch must be installed to control the system’s production.
Install the float switch in the holding tank and connect the switch to the correct terminals on the control
(Check the Terminal Board Diagram).
3.
Plumb in the system.
Follow All Local Codes
a.
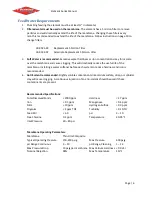
Verify inlet water source meets requirements on page 4.
b.
Turn off water from the supply water and make sure there is no pressure from the supply.
c.
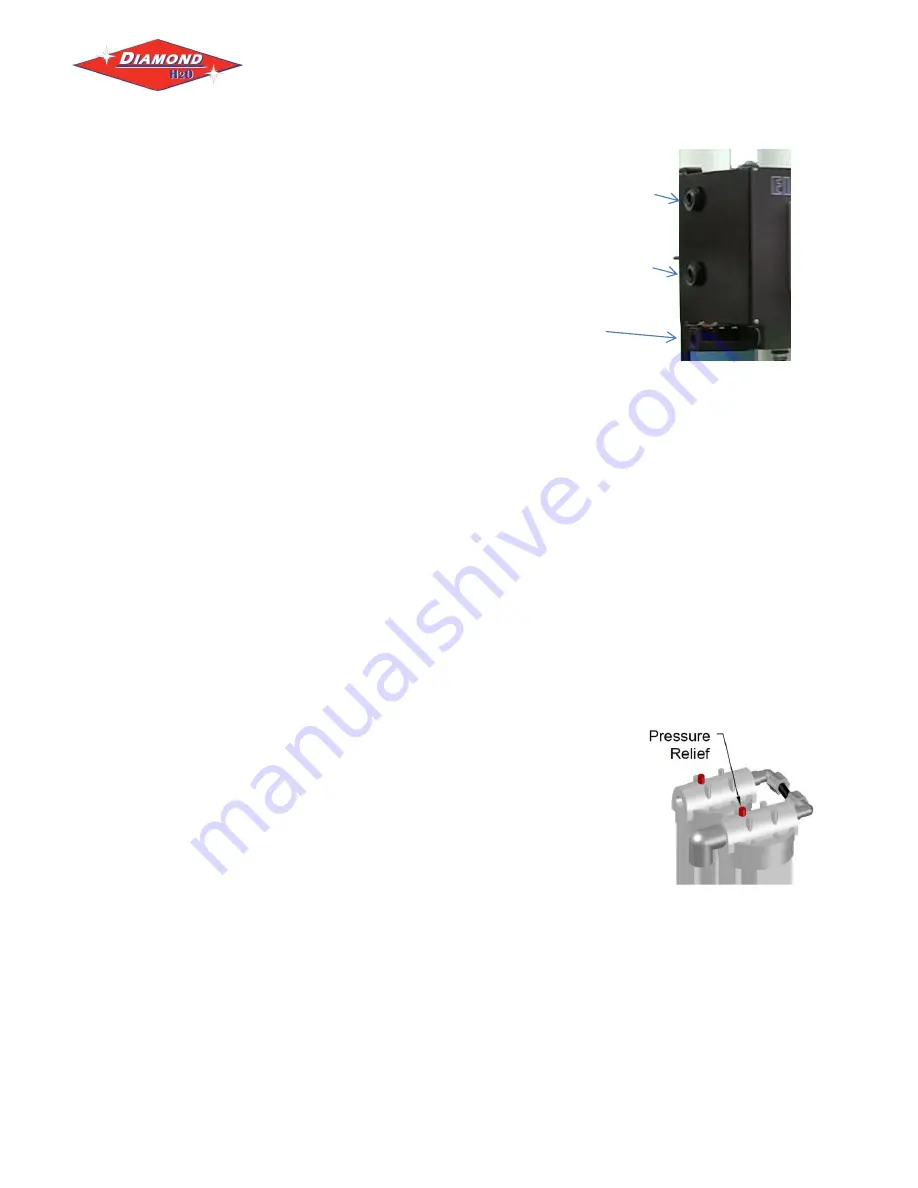
Plumb the water source to the
¾” FPT
inlet (“Supply In”)
.
d.
Plumb the ½” MPT Permeate Outlet to
its endpoint (this will contain product water)
e.
Plumb the ½” MPT Concentrate Outlet to its endpoint (this will contain
concentrate water)
f.
Either the concentrate or permeate outlet must not be plumbed to a pressurized line. If both outlets
are pressurized, the system will not prime properly.
4.
Prime the system.
Turn on water from the supply and re-pressurize the incoming water line.
Use the relief valves to help relieve any air pressure that may have built up in
the water line. Once water begins coming out of the pressure relief valve,
the system may be turned on. The control will automatically prime the
pump.
5.
Start up.
Most, if not all, of the programming will be set for the individual application
during production. Plug the controller in and verify that the system has been
programmed correctly and press System On/Off to turn on the system. During startup, the system will
automatically prime the pump and begin operation after 15 seconds.
Permeate Outlet
(product)
Concentrate Outlet
(Reject)
Inlet
Содержание Element ELE-1600
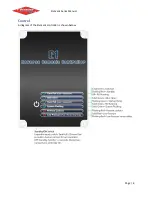
Страница 4: ...Element Series Manual Page 4 Control A diagram of the Element controller is shown below ...
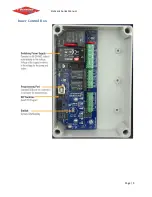
Страница 5: ...Element Series Manual Page 5 Inner Control Box ...
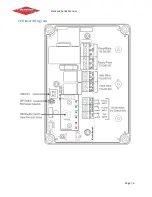
Страница 6: ...Element Series Manual Page 6 CPU Board Diagram ...
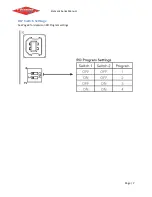
Страница 7: ...Element Series Manual Page 7 DIP Switch Settings See Page 8 for details on RO Program settings ...
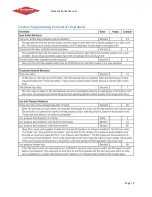
Страница 9: ...Element Series Manual Page 9 Control Programming Parameters Explained ...
Страница 10: ...Element Series Manual Page 10 Control Programming Parameters Explained Continued ...
Страница 12: ...Element Series Manual Page 12 Notes ...


