OverLord 3D Printer User Manual
23
a long time to create a high quality print. Under “Fast low quality print” option, the printing speed
accelerates, however the quality of print goes down too. You would like to choose “Normal quality
print” to balance the time and quality.
Region B enables you to choose whether the model need a support or not. If yes, then support
is automatically generated under over-hang structure during printing.
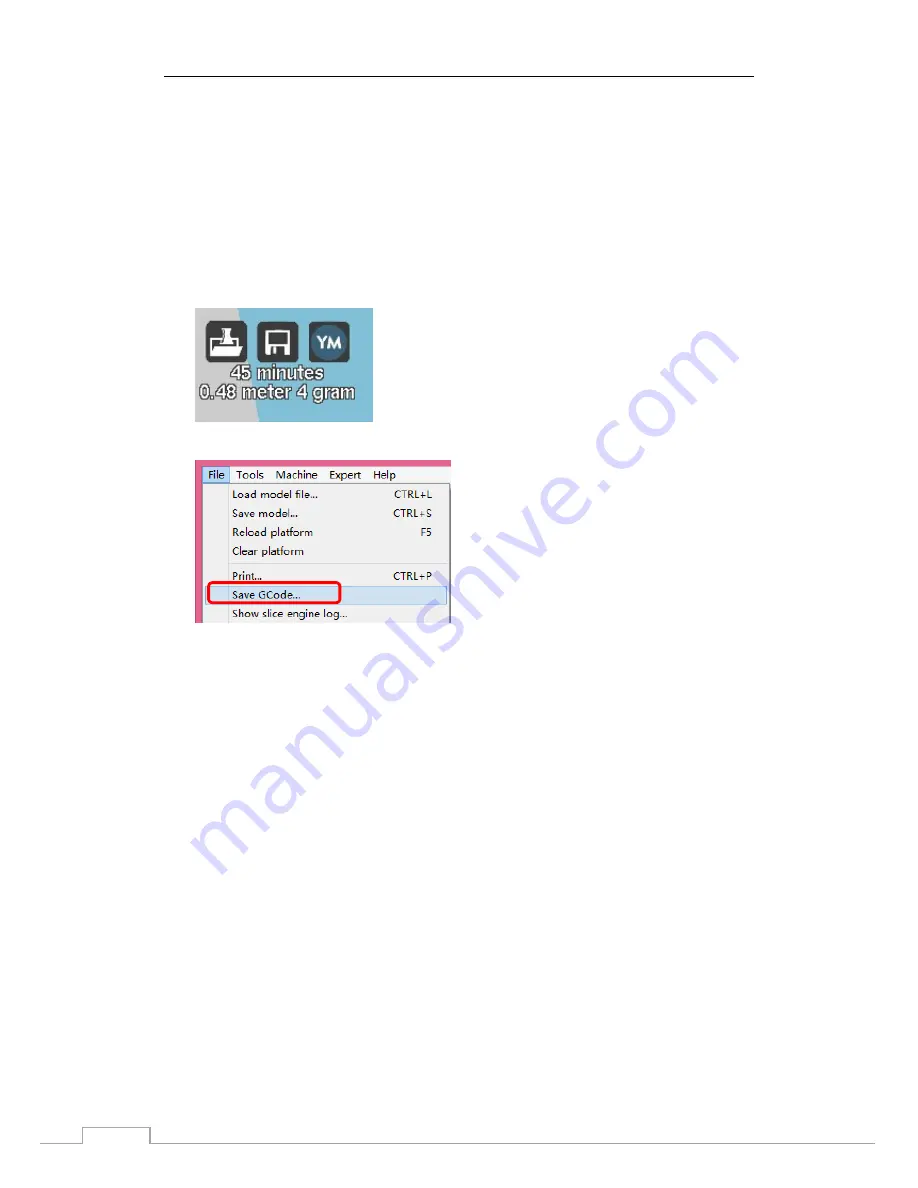
Slicing and transferring work is done automatically after the model is uploaded. In the left
corner of display region, it shows the estimated printing time and grams of material consuming.
For example, the picture below shows the model probably needs 0.48 meter 4gram material
to print 45 minutes.
The next step is click “file
-
Save GCode…” and save GCode to your SD Card.
OverLord can print without connecting a computer. Copy the generated Gcode into a SD card, and
then insert the SD card into OverLord. Now you can 3D print the model by touching the buttons
on OverLord’s control menu.
2.5.3 full-settings
Basic settings
In basic settings, users are able to adjust settings according to the model shape and their
special needs. We recommend you the following settings shown in picture below. (There are
no difference between OverLord and OverLord Pro in these settings.)
Содержание OverLord 3D
Страница 1: ...OverLord 3D Printer User Manual DFRobot 3DPrinting team Dec 2014...
Страница 15: ...OverLord 3D Printer User Manual 15...
Страница 16: ...OverLord 3D Printer User Manual 16 2 4 3 Cura settings...
Страница 49: ...OverLord 3D Printer User Manual 49...


