PCI/ISA System Board
34
To install an upgrade CPU in the G486VPB, follow the
steps below.
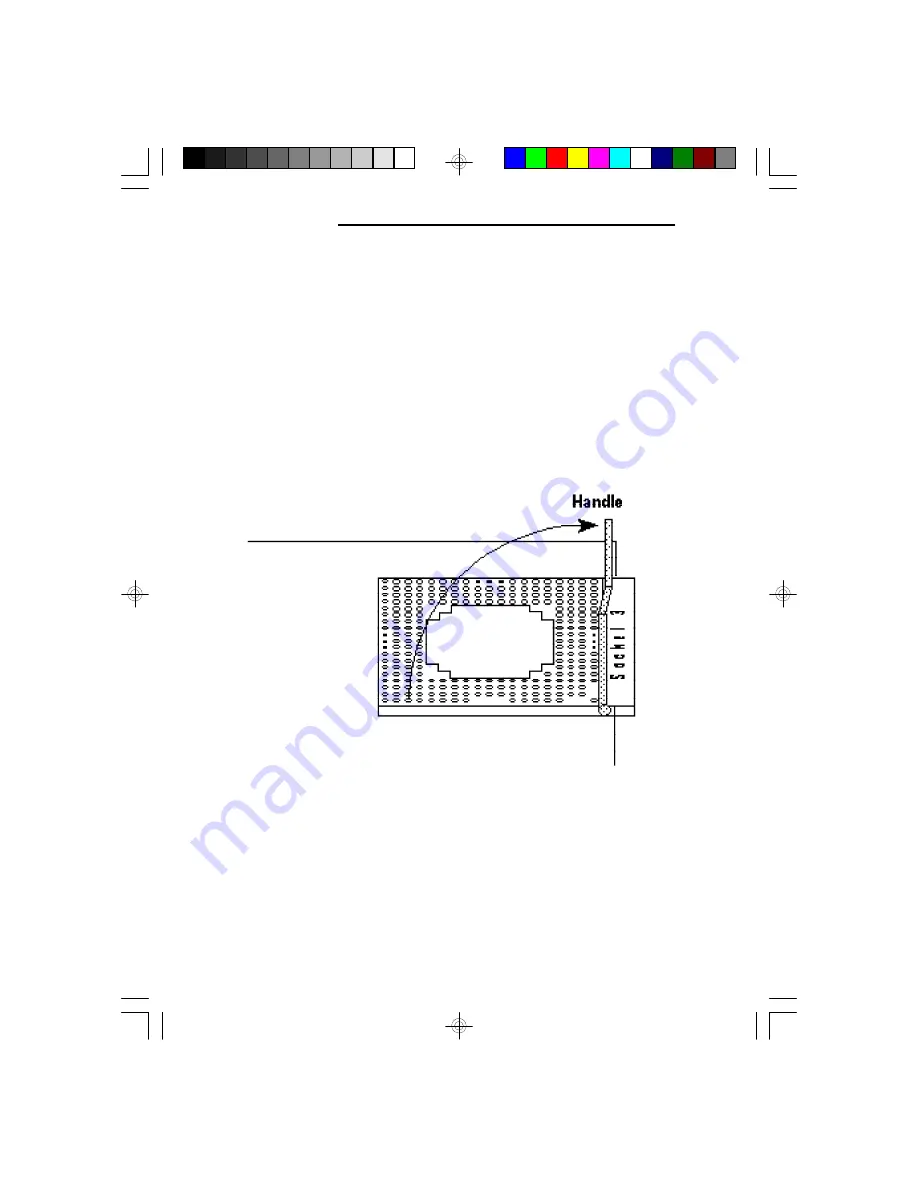
1. Make sure the handle on the side of the ZIF socket
is up. To raise the handle, pull it out to the side a
little and raise it as far as it will go. The top plate
will slide back. Do not use screwdrivers or other
tools to open the socket, or damage may occur to the
system or socket. It may be necessary to initially
apply a small amount of sideways force to free the
handle from its retaining “tab.” Once clear of the
“tab,” the lever will open easily.
2. Once the lever is completely up, remove the old
CPU by carefully lifting it straight out of the socket.
You are now ready to insert the new CPU.
Lifting the Handle
Содержание G486VPB
Страница 1: ...G486VPB Rev 0 SystemBoard User sManual D28750815...
Страница 13: ...LocationsofJumpersontheG486VPB...
Страница 21: ...G486VPB 21 JumperSettingsforCPUTypeSelect Intel486SX Pin 1...
Страница 22: ...PCI ISASystemBoard 22 Intel 486DX DX2 Default Pin 1...
Страница 23: ...G486VPB 23 IntelDX4 Pin 1...
Страница 24: ...PCI ISASystemBoard 24 Intel DX4 OverDrive Pentium OverDrive Pin 1...
Страница 25: ...G486VPB 25 AMDAm486DX2SV8B Pin 1...
Страница 26: ...PCI ISASystemBoard 26 AMDAm486DX2NV8T Pin 1...
Страница 27: ...G486VPB 27 AMDAm486DX4SV8B Am486DX4NV8T Pin 1...
Страница 28: ...PCI ISASystemBoard 28 UMCU5SD Pin 1...
Страница 29: ...G486VPB 29 UMCU5S U5SLV Pin 1...
Страница 30: ...PCI ISASystemBoard 30 CyrixCx486DX DX2 DX4 SGSThompsonST486DX2 Pin 1 Cyrix Cx486DX DX2 DX4 or SGS ST486DX2 Pin1...
Страница 31: ...G486VPB 31 CyrixCx5x86 Pin 1...


