128
7
BIOS Setup
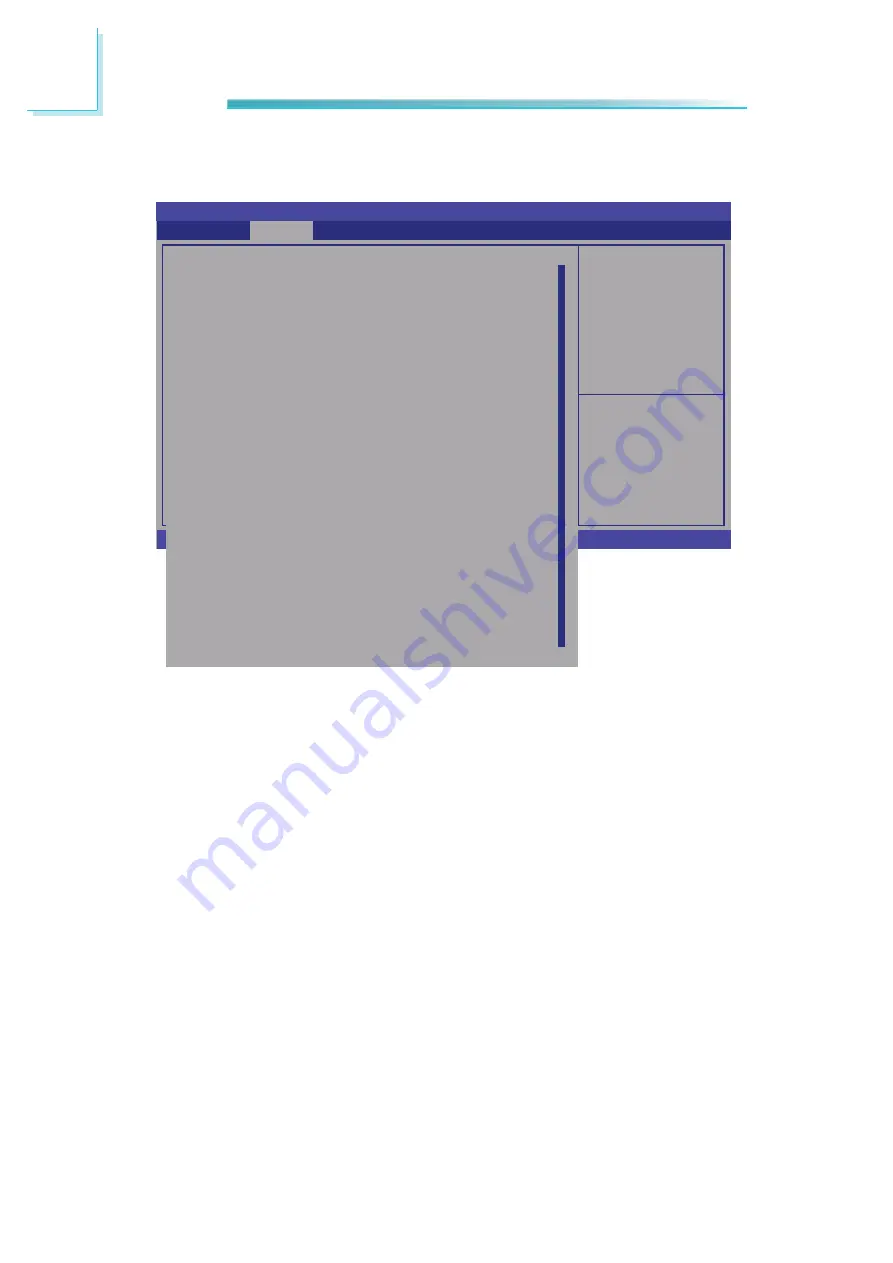
If AHCI or RAID is selected in the SATA Mode Selection, it will display the
following information:
Serial ATA Port 0 to Serial ATA Port 3
These fi elds are used to confi gure the connected SATA devices.
Aggressive LPM Support
Enter PCH to aggressively enter link power state.
Aptio Setup Utility - Copyright (C) 2011 American Megatrends, Inc.
Version 2.14.1219. Copyright (C) 2011 American Megatrends, Inc.
Advanced
Select Screen
Select Item
Enter: Select
+/-: Change Opt.
F1: General Help
F2: Previous
Values
F3: Optimized
Defaults
ESC: Exit
SATA Controller(s)
SATA Mode Selection
SATA Test Mode
Agressive LPM Support
Software Feature Mask Confi guration
Serial ATA Port 0
Software Preserve
Port 0
Hot Plug
External SATA
SATA Device Type
Spin Up Device
Serial ATA Port 1
Software Preserve
Port 1
Hot Plug
External SATA
SATA Device Type
Spin Up Device
Serial ATA Port 2
Software Preserve
Port 2
Hot Plug
External SATA
Spin Up Device
Serial ATA Port 3
Software Preserve
Port 3
Hot Plug
External SATA
Spin Up Device
[Enabled]
[AHCI]
[Disabled]
[Enabled]
Empty
Unknown
[Enabled]
[Disabled]
[Disabled]
[Hard Disk Driver]
[Disabled]
Empty
Unknown
[Enabled]
[Disabled]
[Disabled]
[Hard Disk Driver]
[Disabled]
Empty
Unknown
[Enabled]
[Disabled]
[Disabled]
[Disabled]
Empty
Unknown
[Enabled]
[Disabled]
[Disabled]
[Disabled]
Determines how SATA
controller(s) operate.
Содержание EC300 Series
Страница 1: ...EC300 310 320 321 322 Series User s Manual A 221 M 2008 ...
Страница 12: ...1 12 Introduction EC310 Series EC310 CR6881 EC310 CR6G60 EC310 CRA060 EC310 CR4866 ...
Страница 13: ...1 13 Introduction EC320 321 322 Series EC320 321 322 CR6881 EC320 321 322 CR6G60 EC320 321 322 CRA060 ...
Страница 14: ...1 14 Introduction EC321 322 CR4G65 EC320 321 322 CR4866 ...
Страница 41: ...3 41 Installing Devices SATA power data connector SATA data connector SATA power connector ...
Страница 62: ...62 4 Jumper Settings V G A Factory Testing 2 3 On Impedance 1 3 2 1 2 On Impedance 75Ω default JP15 1 3 2 ...
Страница 117: ...6 117 Mounting Options 357 10 40 00 80 00 120 00 16 00 Ø8 50 R2 00 R2 50 ...
Страница 159: ...159 8 Supported Software 3 Click Exit ...
Страница 169: ...169 8 Supported Software 4 Click Finish ...
Страница 171: ...171 8 Supported Software 4 Click Install to begin the installation 5 After completing installa tion click Finish ...
Страница 177: ...177 8 Supported Software 7 Click Install 8 The setup program is cur rently installing the driver 9 Click Finish ...
Страница 182: ...182 8 Supported Software 4 After completing instal lation click Finish to exit setup ...


