Advanced copy operations
6
ineo 163/213
6-21
6
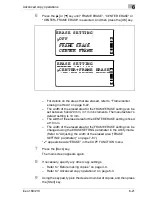
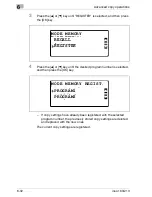
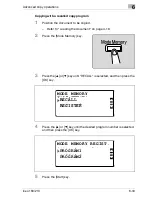
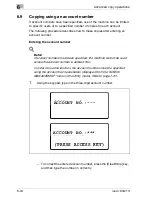
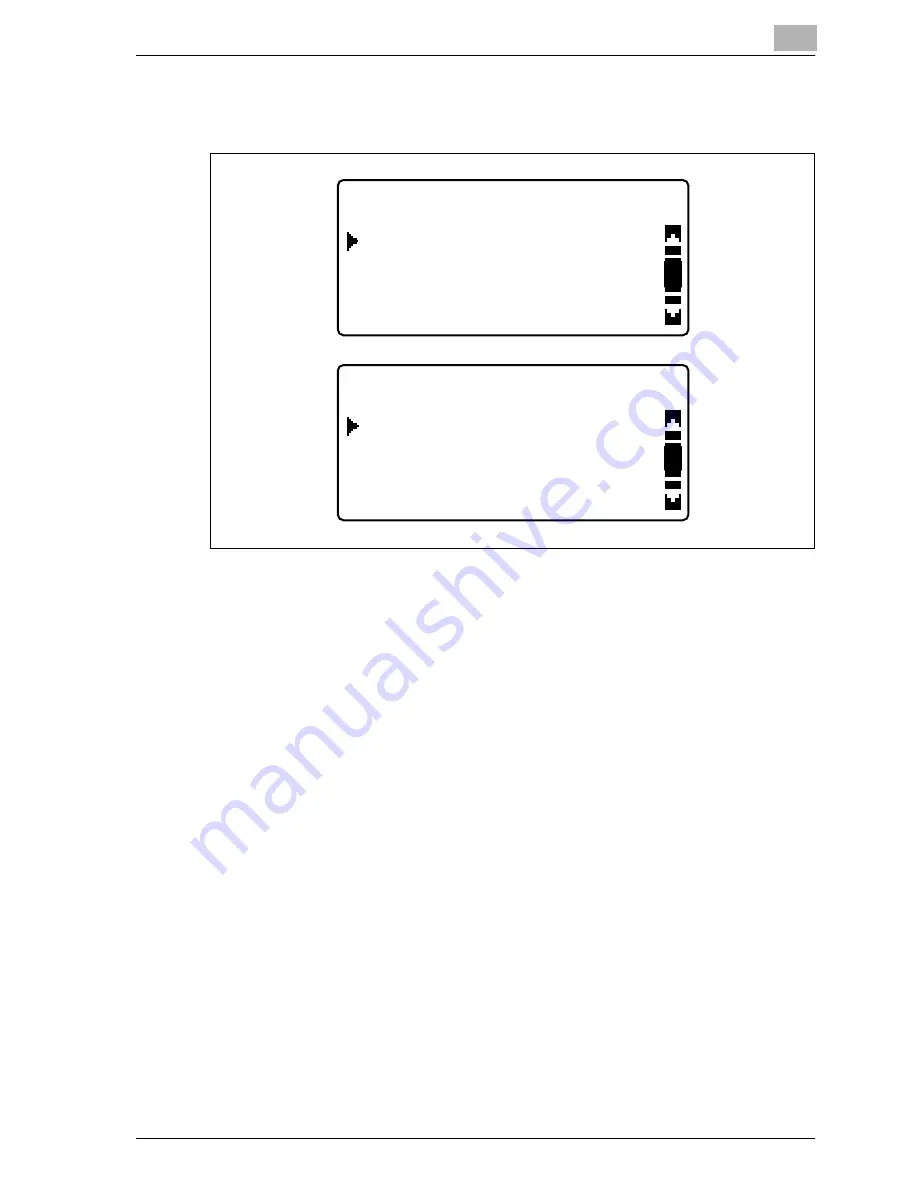
Press the [
+
] or [
,
] key until "FRAME ERASE", "CENTER ERASE" or
"FRAME ERASE" is selected, and then press the [OK] key.
–
For details on the areas that are erased, refer to "Frame/center
erasing methods" on page 6-22.
–
The width of the erased area for the FRAME ERASE setting can be
set between 5 and 20 mm, in 1 mm increments. The manufacturer’s
default setting is 10 mm.
–
The width of the erased area for the CENTER ERASE setting is fixed
at 10 mm.
–
The width of the erased area for the FRAME ERASE setting can be
changed using the ERASE SETTING parameter in the Utility mode.
(Refer to "Adjusting the width of the erased area ("ERASE
SETTING" parameter)" on page 7-67.)
"
/
" appears beside "ERASE" in the COPY FUNCTION menu.
7
Press the [Back] key.
The main screen appears again.
8
If necessary, specify any other copy settings.
–
Refer to "Before making copies" on page 4-3.
–
Refer to "Advanced copy operations" on page 6-3.
9
Using the keypad, type in the desired number of copies, and then press
the [Start] key.
ERASE SETTING
FRAME ERASE
OFF
CENTER FRAME
ERASE SETTING
FRAME ERASE
Содержание ineo 163
Страница 1: ...ineo 163 213 Dynamic balance www develop de User Manual ...
Страница 2: ......
Страница 11: ...1 Introduction ...
Страница 12: ......
Страница 19: ...Introduction 1 ineo 163 213 1 9 Documents Mixed document widths For details refer to page 4 22 ...
Страница 25: ...2 Installation and operation precautions ...
Страница 26: ......
Страница 48: ...2 Installation and operation precautions 2 24 ineo 163 213 ...
Страница 49: ...3 Precaution ...
Страница 50: ......
Страница 51: ...Precaution 3 ineo 163 213 3 3 3 Precaution 3 1 Components and their functions 1 2 3 4 5 6 7 8 9 10 ...
Страница 54: ...3 Precaution 3 6 ineo 163 213 3 2 Part names and their functions Main unit 1 2 3 4 7 6 5 11 10 8 9 ...
Страница 74: ...3 Precaution 3 26 ineo 163 213 ...
Страница 75: ...4 Before making copies ...
Страница 76: ......
Страница 84: ...4 Before making copies 4 10 ineo 163 213 Push the paper guides firmly up against the edges of the paper ...
Страница 99: ...5 Making copies ...
Страница 100: ......
Страница 110: ...5 Making copies 5 12 ineo 163 213 To delete the stopped job select YES and then press the OK key JOB CANCEL NO YES ...
Страница 167: ...6 Advanced copy operations ...
Страница 168: ......
Страница 202: ...6 Advanced copy operations 6 36 ineo 163 213 ...
Страница 203: ...7 Utility mode Copy mode parameters ...
Страница 204: ......
Страница 284: ...7 Utility mode Copy mode parameters 7 82 ineo 163 213 ...
Страница 285: ...8 When a message appears ...
Страница 286: ......
Страница 295: ...When a message appears 8 ineo 163 213 8 11 10 Close the 1st paper drawer ...
Страница 298: ...8 When a message appears 8 14 ineo 163 213 7 Close the paper drawer ...
Страница 308: ...8 When a message appears 8 24 ineo 163 213 ...
Страница 309: ...9 Troubleshooting ...
Страница 310: ......
Страница 314: ...9 Troubleshooting 9 6 ineo 163 213 ...
Страница 315: ...10 Appendix ...
Страница 316: ......
Страница 337: ...11 Index ...
Страница 338: ......
Страница 342: ...11 Index 11 6 ineo 163 213 ...


