17
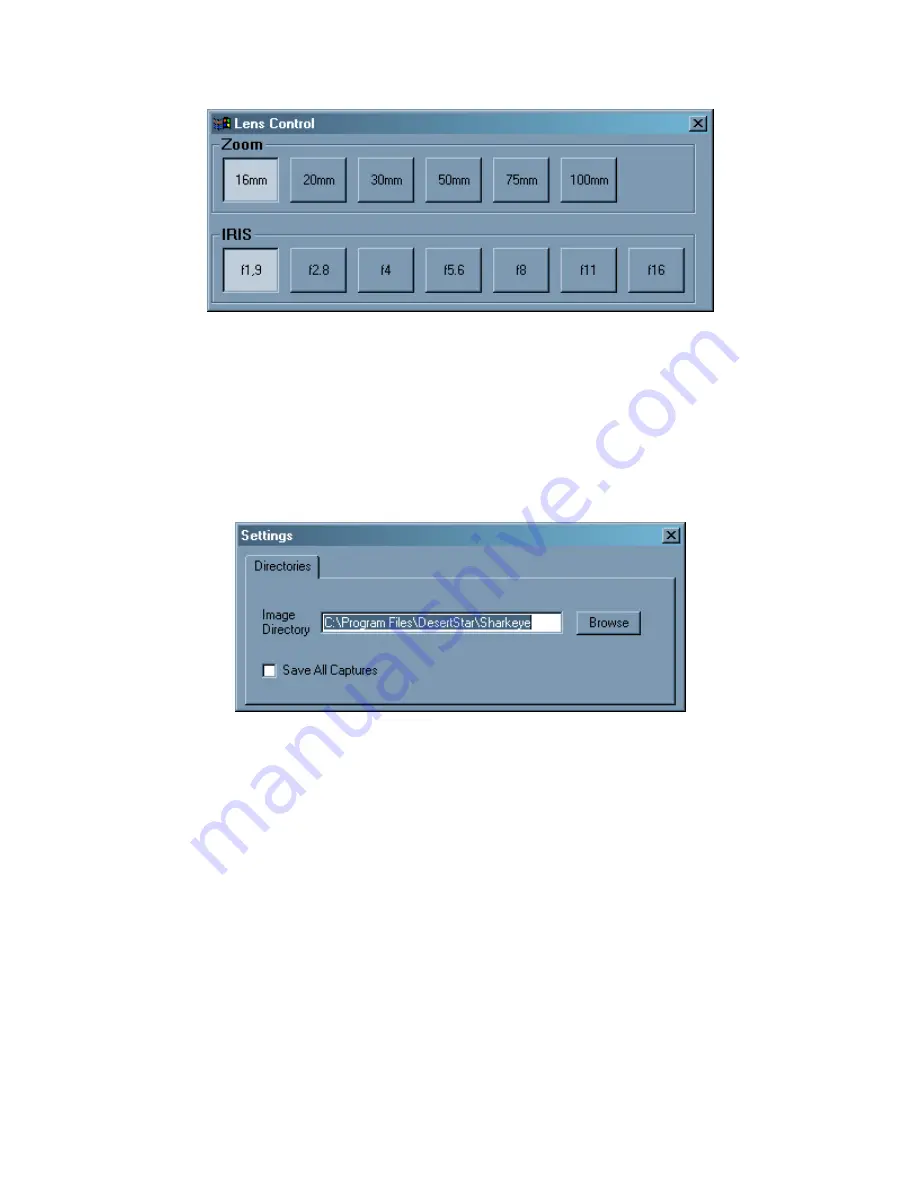
Lens Control Dialog
6.9 Saving Images
6.9.1 Saving Images on the PC
Images can be saved on the PC in several ways. Images saved on the PC are saved in the image directory. The image
directory can be set through the Settings Dialog, which is displayed by selecting
Windows/Settings
from the main menu.
Enter the desired directory or press the browse button and select a directory from the file browser.
Selecting
Save All Captures
will cause ALL images acquired to be saved to the PC.
Entering a mission name on the main window can further modify the image directory. All images will then be saved to a
sub-directory with the mission name in the Image directory.
In addition to selecting Save All Captures, individual images can be saved on the PC by selecting
File/Save Image
from
the main menu bar.
Pressing the right mouse button while the cursor is anywhere in the image window can save an annotated image. The
annotation window will pop up. Selecting an annotation in the list box will save an image annotated with the selected
string. An additional annotation string can also be entered into the edit box on the annotation window. Pressing enter in
the edit box will also save an annotated image. The standard operating procedure is to enter any desired information in
the edit box and then select the desired annotation in the list box.
The image annotations can be modified by editing or creating the text file annotation_cnf.txt in the SharkEye™ directory
(C:\Program Files\Desertstar\SharkEye is the default) This file can be modified in any text editor, such as notepad. Below
is an example annotation_cnf.txt file.


