DISASSEMBLY
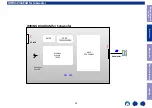
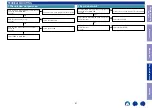
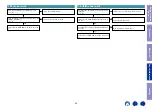
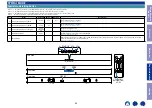
Flowchart
• Remove each part following the flow below.
• Reassemble the removed parts in the reverse order.
• Read "
" before reassembling the removed parts.
• If wire bundles are removed or moved during adjustment or part replacement, reshape the wires after completing the work. Failure to shape the wires correctly may cause problems such as noise.
• See "
• See "
"
BAFFLE ASSY
DISASSEMBLY
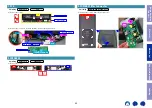
1. BAFFLE ASSY
and "
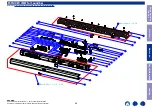
EXPLODED VIEW
"
BAFFLE ASSY
Ref. No. of EXPLODED VIEW : 1,2,3,4
PCB
DISASSEMBLY
2. PCB
and "
EXPLODED VIEW
"
AU_OPT PCB
Ref. No. of EXPLODED VIEW : 11
Main PCB
Ref. No. of EXPLODED VIEW : 18
SMPS PCB
Ref. No. of EXPLODED VIEW : 19
KEY PCB
Ref. No. of EXPLODED VIEW : 27
SPEAKERS
DISASSEMBLY
3. SPEAKERS
and "
EXPLODED VIEW
"
120*40Speaker
Ref. No. of EXPLODED VIEW : 22
Speaker
Ref. No. of EXPLODED VIEW : 23
Sound bar
Subwoofer
POWER PCB for Subwoofer
DISASSEMBLY
4. POWER PCB for Subwoofer
and "
EXPLODED VIEW
"
MAIN(SUB) PCB
Ref. No. of EXPLODED VIEW : 7
43
Before Servicing
This Unit
Electrical
Mechanical
Repair Information
Updating

