1. Getting acquainted with your High Pressure Cleaner
H-110-200E V00
Page 4
Unpacking
Remove the high-pressure cleaner and its accessories from the packing material. For transport
and packing reasons some accessories may be supplied disassembled.
Make sure all components are present:
High-pressure machine itself
Electrical cord (attached)
High pressure hose with Spray-gun trigger
Double barrel lance
Water inlet male hose coupling
Installation
-
M
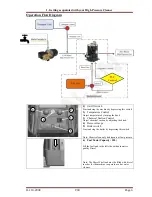
ount the high-pressure hose on to the high-pressure cleaner by pulling back the retainer on
the high-pressure hose coupling, while sliding it on the male part positioned on the bottom
rear of the high-pressure cleaner.
-
M
ount the assembled spray-lance by pushing forward the front of the trigger gun and slide in
the male swivel coupling part of the spray-lance.
-
P
repare the water supply for the high-pressure cleaner, by connecting one end of the water
supply hose to a fresh water tap. Insert the end with the male coupling into the female inlet
quick coupling located at bottom rear of the machine. Turn on the tap.
Notice:
Connection to the public mains water supply according to regulations.
-
P
ut the power-plug into a main power supply socket and turn on the power. Switch on the
high-pressure cleaner by depressing the on/off switch.
-
T
he high pressure cleaner is now ready for operation. The spray-gun lance will experience a
recoil force during operation – therefore keep a firm grip with both hands on the Spray-gun
handle and the lance. Press the trigger and start cleaning.
-
P
ressure can be regulated by adjusting the knob on the spray-gun lance.
-
W
hen using the chemical injector, pressure must be adjusted to low.
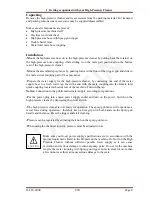
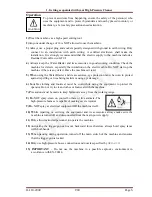
Make sure your local power supply specifications are in accordance with the
motors requirement. Refer to the ID-plate on the machine. Do Not run the High
Pressure Cleaner without sufficient potable water supply as it can cause
cavitation and serious damage to internal pump parts. Do not let the machine
recycle the water (running with Spray-gun trigger not activated) for more than
a few minutes as this can cause serious damage to the seals.
CAUTION
Содержание H-110-200E
Страница 20: ...4 Spare Part List H 110 200E V00 Page 19 Boiler assembly H 110 200E ...
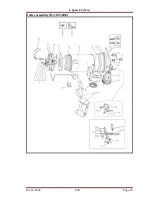
Страница 23: ...4 Spare Part List H 110 200E V00 Page 22 Pump assembly H 110E ...
Страница 26: ...4 Spare Part List H 110 200E V00 Page 25 Pump assembly H 200E ...
Страница 34: ...4 Spare Part List H 110 200E V00 Page 33 H 200E 220V 60Hz Standard ...


