background image

30

H E A T I N G

Heating food in a microwave oven is much quicker and energy efficient than traditional methods.

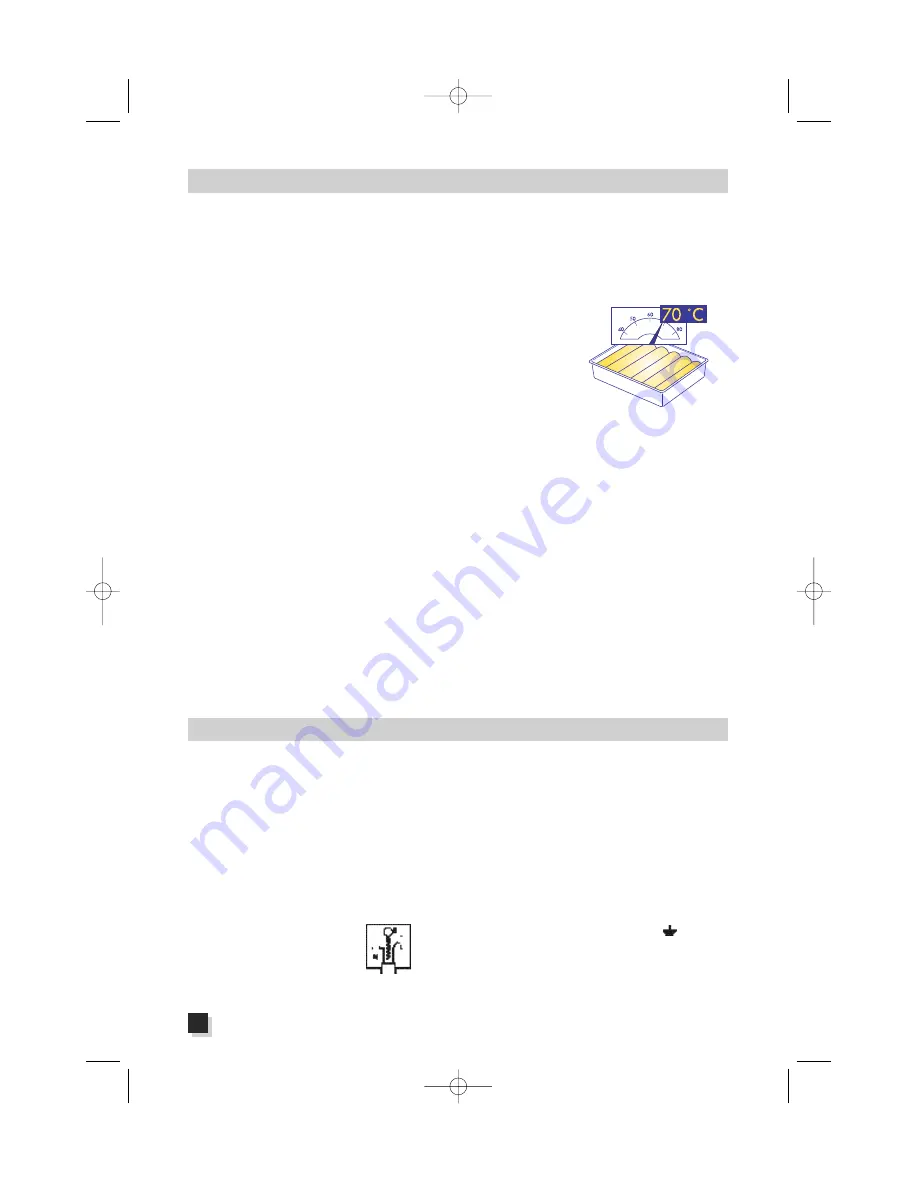
• We recommend that you heat foodstuffs (especially if they are frozen) to a temperature of at least

70° C. (it must be piping hot!). Leave to stand for a few minutes as you will not be able to eat that
food immediately because it will be too hot.

• This will ensure that any possible bacteria present in food will

have been killed.

• To heat pre-cooked or frozen foods, follow these rules:

- remove the food from its metal containers;

- cover it with plastic wrap (the clear-film type suitable for microwave ovens) or wax paper; in

this way, all the food’s natural flavour will be preserved and the oven will stay cleaner; you may
also cover the food with an upside-down plate;

- if possible, stir or turn the food over frequently so as to speed up the heating process and keep

the heat uniform at the same time;

- follow the cooking times listed with great caution; remember that under certain conditions the

timings given must be lengthened

• Frozen foods must be defrosted before the heating process begins. The lower the food’s initial tem-

perature, the longer the time needed for heating.

• Foodstuffs and drinks may be heated briefly in paper or plastic containers. In any event, howev-

er, such containers may become misshapen if the heating time is too long.

WARNING

- THIS APPLIANCE MUST BE EARTHED

IMPORTANT

The wires in the mains lead are coloured in accordance with the
following code:

Green and yellow:

Earth

Blue:

Neutral

Brown:

Live

As the colours of the wires in the mains lead  may not correspond
with the coloured markings identifying the terminals in your plug,
proceed as follows:
The green and yellow wire must be connected to the terminal in the
plug marked with the letter E or the earth symbol 

or coloured

green or green and yellow.
The blue wire must be connected to the terminal marked with the
letter N or coloured black.
The brown wire must be connected to the terminal marked with the
letter L or coloured red.

E L E C T R I C A L   C O N N E C T I O N   ( U . K .   O N L Y )

A)  If your appliance comes fitted with a plug, it will incorporate

a 13 Amp fuse. If it does not fit your socket, the plug should
be cut off from the mains lead, and an appropriate plug
fitted, as below.
WARNING: Very carefully dispose of the cut off plug after
removing the fuse: do not insert in a 13 Amp socket
elsewhere in the house as this could cause a shock hazard.

With alternative plugs not incorporating a fuse, the circuit must be

protected by a 15 Amp fuse.

If the plug is a moulded-on type, the fuse cover must be re-
fitted when changing the fuse using a 13 Amp Asta approved
fuse to BS 1362. In the event of losing the fuse cover, the plug
must NOT be used until a replacement fuse cover can be
obtained from your nearest electrical dealer. The colour of the
correct replacement fuse cover is that as marked on the base
of the plug.

B)

If your appliance is not fitted with a plug, please follow the
instructions provided below:

GB-069IDL   8-04-2004  16:25  Pagina 30

Содержание GB-069IDL

Страница 1: ...the door C clean using a damp cloth and non abrasive detergents Do not allow dirt or remains of food to accumulate between the front panel of the oven on the door 7 Do not operate the oven if the supp...

Страница 2: ...napkins cardboard trays and plastic throwaway plates as a base As far as shape and size are concerned it is absolutely essential that containers be such as to allow the turntable to rotate In order to...

Страница 3: ...face portions and the walls to the side and the back and a free space of at least 20 cm above the oven see Fig 1 4 Never block up or otherwise obstruct the air outlet holes In particular never place a...

Страница 4: ...R LEVEL Not with all models 25 32 ONLY FOR SOME MODELS The microwave output power is also indicated inside this simbol placed on the oven door ONLY FOR U K The letter indicates the heating category to...

Страница 5: ...ed in a microwave oven the longer the cooking time required Food having a room tempera ture will cook more quickly than food having a refrigerator temperature 7 Always do your cooking by placing the f...

Страница 6: ...sec onds to a minute you are however recom mended to check the time using a clock 5 Once the set cooking time has expired a buzzer will sound to signal that your food is ready It is possible to interr...

Страница 7: ...he SPACER WIRE RACK that food which requires less cookig time it will thus be easier to remove the upper pan Take the wire rack out and finish cooking the food underneath 3 Pay strict attention to the...

Страница 8: ...5 to 10 min At the end let sit for 5 to 10 min Cover the food with plastic wrap Cover the food with plastic wrap Cover the food with plastic wrap Cover the food with plastic wrap Cover the food with p...

Страница 9: ...of meat from its bag before putting it in the freezer This will help you save valuable time will preparing foods Be careful about following the timings printed on frozen products because they are gui...

Страница 10: ...gr 250 gr 500 gr 300 gr 250 gr 20 5 10 15 10 10 10 20 20 10 10 5 5 5 5 5 5 5 5 5 5 5 5 7 7 7 7 10 15 5 3 3 3 3 10 10 6 Remove the aluminium paper and metal pieces Partially defrosted Needs the standi...

Страница 11: ...ns lead are coloured in accordance with the following code Green and yellow Earth Blue Neutral Brown Live As the colours of the wires in the mains lead may not correspond with the coloured markings id...

Страница 12: ...Remove the food from any rice metal packets and put it directly onto the plate from which it is to be eaten For best results always cover the food Portions of any kind of already cooked food to heat...

Страница 13: ...00W output power 700W output power Timer minutes If you wish to make meat more tender we recommend that you add 1 2 of a cup of water at the start of the cooking process The times indicated on the cha...

Страница 14: ...eces It would be better to use arti choke bottoms Cut into pieces Separate into individual flo rets Leave whole Cut into strips Cut into strips Cut into same size pieces Separate into stalks Separate...

Страница 15: ...imer minutes 900W output power 700W output power Timer minutes FRUIT AND BAKED GOODS Baked goods rise at lower oven power much more than then do with regular baking Since no crust is formed it is bett...

Страница 16: ...e the turntable in cold water after a prolonged heating session the extreme thermal shock could irreparably damage the turntable The turntable motor is sealed tight When you are cleaning the floor of...

Отзывы: