Installing the Webcam Application (Microsoft
®
Windows
®
Operating Systems)
The
setup.exe
application tool launcher provided in the CD allows you to the install Webcam Application on the computer.
You are now ready to use the Webcam. The Webcam application provides the following functions.
l
Dell Webcam Center
: Dell Webcam Center makes it easy to capture photos and video with your Dell Webcam. With Webcam Center, you can perform
photo and video captures, or perform advanced tasks such as remote monitoring, motion detection, and time lapse video capturing.
l
Dell Webcam Manager
: Dell Webcam Manager is a central access point for all your webcam-related applications. Locate and launch your favorite
webcam applications quickly and easily from Webcam Manager while you use your webcam.
l
Dell Webcam Console
: The Dell Webcam Console provides a customized set of attractive features, such as Advanced Video and Audio Effects, face
tracking and parental control, and enhancing your video chatting experience.
l
L
ive! Cam Avatar
: Live! Cam Avatar lets you disguise yourself as a superstar, a furry friend, or any customized animated character while you video chat
using any instant messaging software. The avatar tracks your head movement and lip sync anything you say instantly at the same time.
l
Live! Cam Avatar Creator
: Live! Cam Avatar allows you to create your very own personalized avatar from digital photos you have chosen, accompanied
by the advanced speech technology which provides lip sync to your animated avatar.
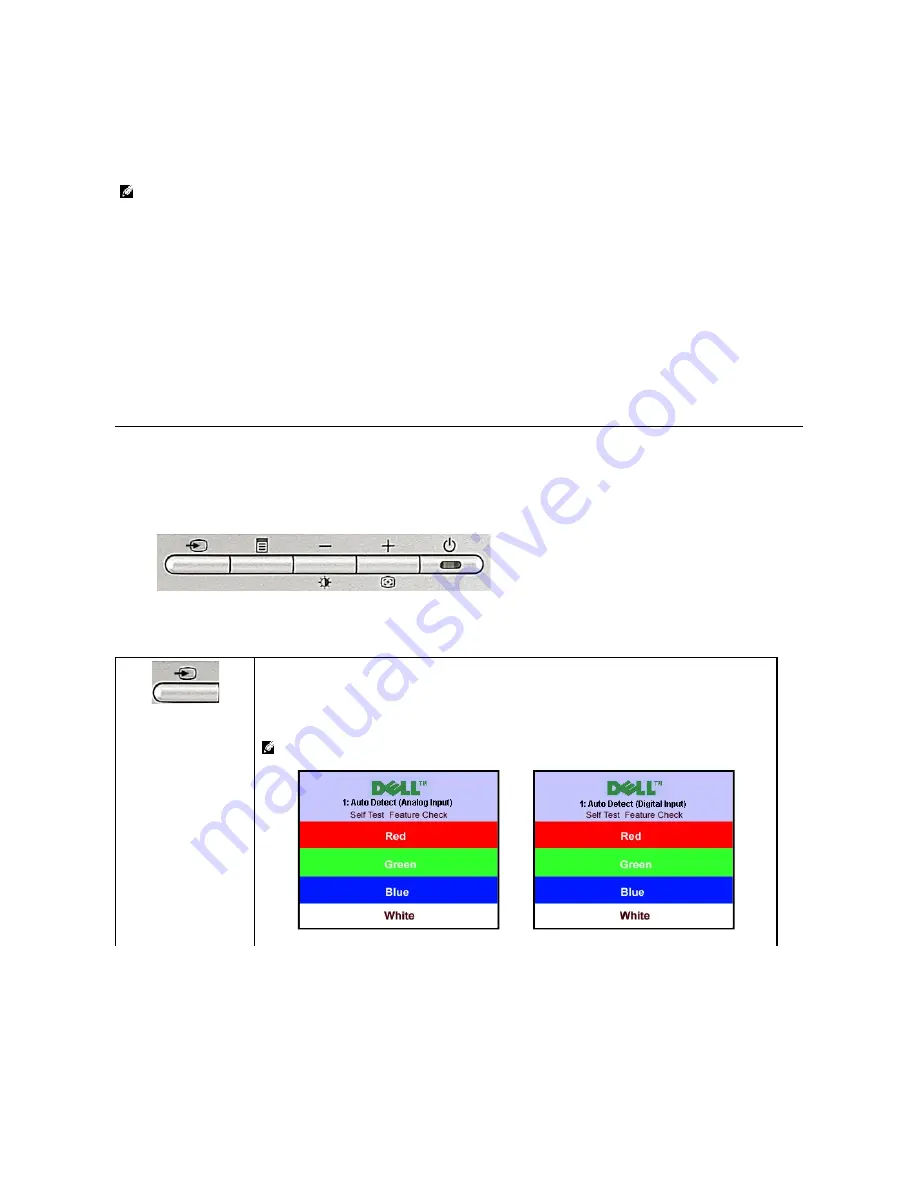
Using the Front Panel
Use the buttons on the front of the monitor to adjust the image settings.
The following table describes the front panel buttons:
1.
Insert the Webcam resource media into the CD drive.
NOTE:
Ensure that the USB cable is connected between the monitor and the computer.
2.
The
Install Shield Wizard
automatically launches the setup application. Choose your desired Language and click
Next
to continue.
3.
Read
Software License Agreement
and click
Yes
to continue.
4.
Click
Browse
to change the destination folder where the software will be installed to and click
Next
to continue.
5.
Select
Full Installation
, click
Next
and follow the instructions to complete the installation. Click
Finish
to restart the computer after installation is completed.
Alternatively, choose
Custom Installation
to customize the installation.
Video input select
Use the Input Select button to choose between two different video signals that may be connected to your monitor.
If both VGA and DVI cables are connected to one PC, the monitor displays an image automatically as long as a video
signal is present in either the VGA or DVI outputs. When connecting one display to two PCs, if using screen savers,
best to set both to the exact times. Whichever mouse is moved first will activate that video input first.
NOTE:
The floating 'Dell Self-
test Feature Check' dialog appears on a black background if the monitor cannot
sense a video signal. Using the input select button, select the desired input to be tested either Analog Input
or Digital Input. Disconnect the video cable from the video card and the Dell Self-test Feature Check dialogue
box will appear if the display is operating correctly.
or
Содержание SP2008WFP - 20" LCD Monitor
Страница 29: ...Back to Contents Page ...


