


Replacing the keyboard
WARNING: Before working inside your computer, read the safety
information that shipped with your computer and follow the steps in
. After working inside your computer, follow
the instructions in
After working inside your computer
. For more safety best
practices, see the Regulatory Compliance home page at
.
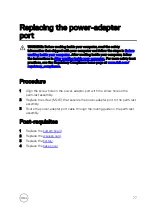
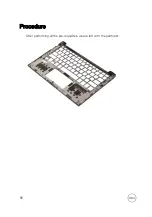
Procedure
1
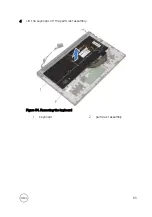
Align the screw holes on the keyboard with the screw holes on the palm-rest
assembly.
2
Replace the 30 screws (M1.6x1.5) that secure the keyboard to the palm-rest
assembly.
3
Adhere the touchpad cable, the I/O-board cable, and the keyboard-controls
board cable to the keyboard.
4
Slide the keyboard cable and the keyboard-backlight cable into the keyboard-
controls board and close the latches to secure the cables.
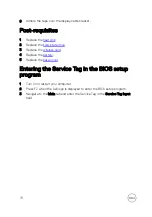
Post-requisites
1
Replace the
.
2
Replace the
3
Follow the procedure from step 1 to step 8 in "
".
4
Replace the
.
5
Replace the
6
Replace the
.
7
Replace the
.
8
Replace the
.
9
Replace the
.
10
Replace the
.
86
Содержание P54G
Страница 1: ...XPS 13 Service Manual Computer Model XPS 9360 Regulatory Model P54G Regulatory Type P54G002 ...
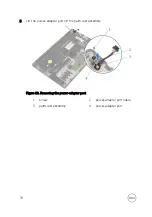
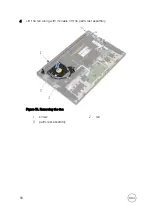
Страница 38: ...2 Lift the heat sink off the system board Figure 11 Removing the heat sink 1 heat sink 2 M2x3 screws 4 38 ...
Страница 61: ...Post requisites 1 Replace the battery 2 Replace the base cover 61 ...
Страница 66: ...2 Lift the antenna off the display assembly Figure 24 Removing the antenna 1 antenna 2 screws 4 66 ...
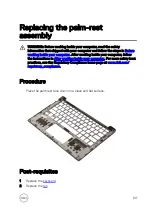
Страница 88: ...Procedure After performing all the pre requisites we are left with the palm rest 88 ...


