34
Setting Up Your Computer
www
.del
l.
com |
su
ppo
rt.
d
e
ll.
co
m
FILE LOCATION: C:\Documents and Settings\patricia_drake\Desktop\New Folder\D5016c20.fm
D E L L C O N F ID E N T IA L – P R E L IM I N A RY 3 / 1 8/ 0 4 – FO R PR O O F O N LY
Printer Problems
C
H E C K
T H E
P RI N T ER
C A B L E
CO N NE C T I O N S
—
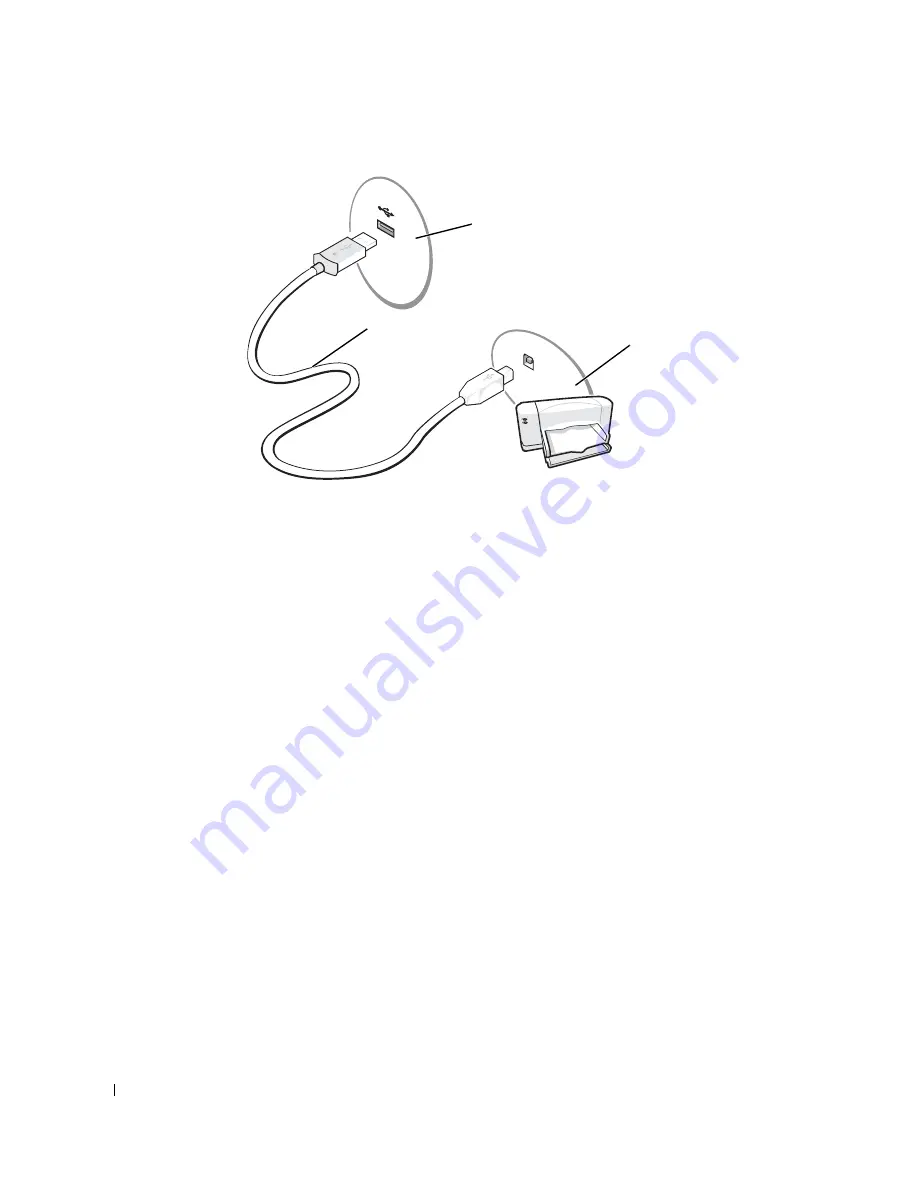
Ensure that the printer cable is properly connected to the
computer (see page 33).
T
E ST
T H E
E L E CT R I C A L
O U T L E T
—
Ensure that the electrical outlet is working by testing it with another
device, such as a lamp.
E
N SU RE
T H A T
T H E
P RI N T E R
I S
T U RN E D
O N
—
See the documentation supplied with the printer.
V
E RI F Y
TH A T
W
I N DOWS
R E C O G N I Z E S
T H E
P RI N T E R
—
Windows XP
1
Click the
Start
button and click
Control Panel
.
2
Click
Printers and Other Hardware
.
3
Click
View installed printers or fax printers
. If the printer model is listed, right-click the printer icon.
4
Click
Properties
and click the
Ports
tab. Ensure that the
Print to the following port(s):
setting is
LPT1
(Printer Port)
.
Windows 2000
1
Click the
Start
button, point to
Settings
, and then click
Printers
.
If the printer model is listed, right-click the printer icon.
2
Click
Properties
and click the
Ports
tab.
3
Ensure that the
Print to the following port:
option is set for your printer type:
• For a parallel printer:
LPT1 (Printer Port)
• For a USB printer:
USB
R
E I N S T A L L
T H E
P RI N TE R
D R I V E R
—
See page 69.
USB printer cable
USB connector on computer
USB connector
on printer


