background image


Before you begin…


If you are cloning the original Drive 

 ensure that the USED capacity of the old Drive is 

LESS than the capacity of the new SSD 


Back-up all important data on the old Drive to an external storage device 

 such as a 

USB Hard Drive or DVD 


Version A -  Replacing an existing Drive 

 
This guide assumes that you are replacing an existing Drive and you do not have a spare 
Drive Bay (this is the most likely scenario if you are upgrading a Laptop and some All-in-
One Computers). 
If your device has more than 1 Drive Bay and you want to leave the old Drive installed, 
please follow Version B on Page 4 
 

 Before Cloning 

a.


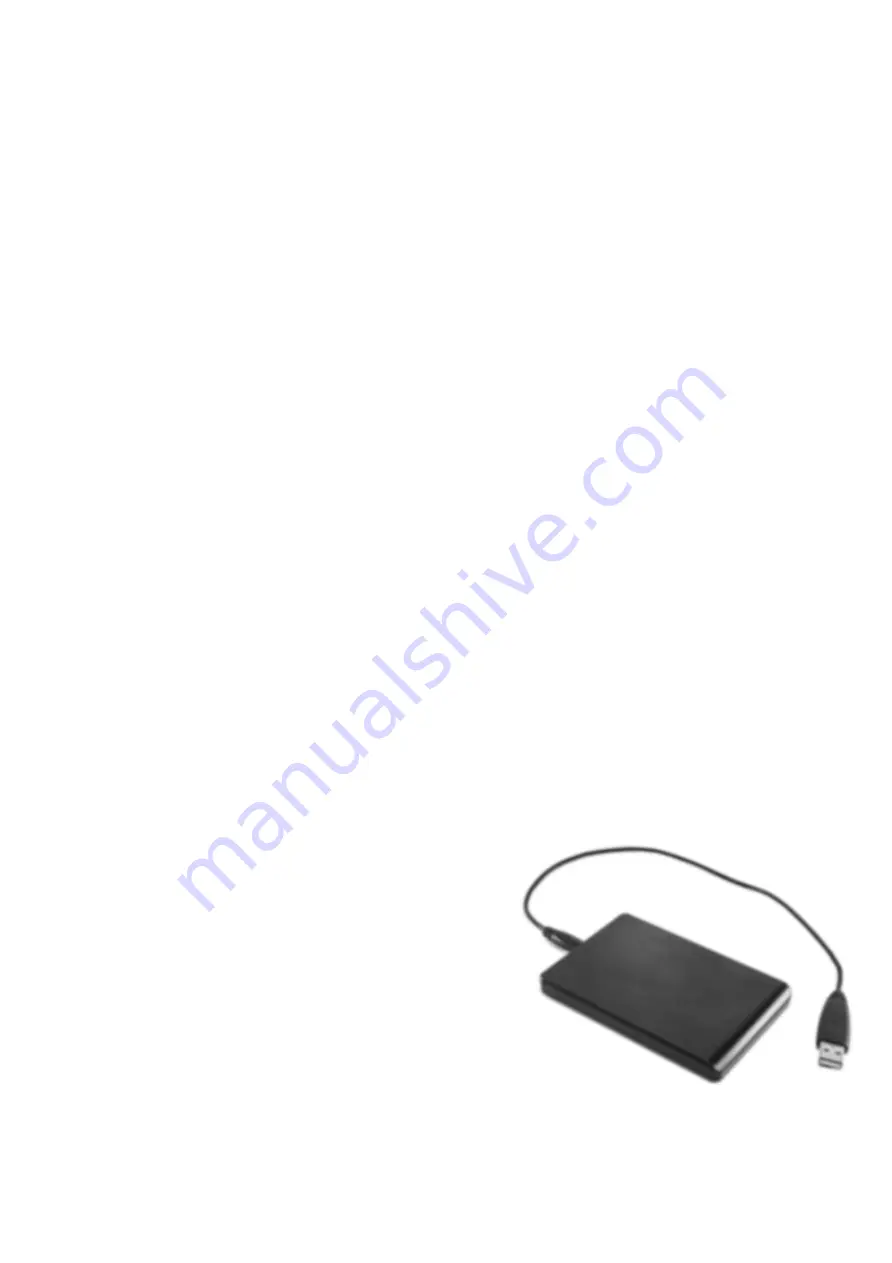
Insert the SSD into the External Drive 

Enclosure 

b.


Using the USB Cable, connect the External 

Drive Enclosure to the Computer 

c.


You are now ready to copy the Data from 

the Original Drive to the SSD 

 please refer 

to the Cloning Section below on Page 5 


Installation 

 
Replacing an Old Drive with a new SSD? 

 Follow Version A below  

(e.g. Upgrading your Laptop or All-in-One Hard Drive) 
 
Installing new SSD alongside Old Drive? 

 Follow Version B on Page 4 

(e.g. Desktop or Server with an additional Drive Bay) 
 

Содержание Inspiron 24

Страница 1: ...ial damage from anti static electricity you should discharge yourself first This can be done by simply touching a grounded metal object such as a radiator If you are leaving the original Drive installed andinstalling the new SSD alongside it you will also need SpareInternalPower Cable SpareSATA Data Socket on the Motherboard Spare2 5 3 5 DriveBayinside the Computer If upgrading an All in One machi...

Страница 2: ...d some All in One Computers If your device has more than 1 Drive Bay and you want to leave the old Drive installed please follow Version B on Page 4 1 Before Cloning a Insert the SSD into the External Drive Enclosure b Using the USB Cable connect the External Drive Enclosureto the Computer c You are now readyto copythe Data from the Original Driveto the SSD please refer to the Cloning Section belo...

Страница 3: ...daptor spacer and you are installing into a Laptop you may need this to match the depth of the SSD with the Old Drive Remove the adhesive backing from the adaptor align it with the outer edges on the label side of the SSD and firmly press the adhesive side onto the SSD surface h Alternatively at this stage you may need to install the SSD into a 3 5 SATA DriveCarrier i Install the reassembled SSD i...

Страница 4: ...the Computer making a note of which cable goes where 3 Remove the outer casing This is normallydone by removing the screws that hold it in place 4 Attach the 2 5 to 3 5 Mounting Brackets to the SSD by aligning the Mounting Screw Holes on the Brackets with those on the SSD and inserting the M3 Flat Head Screws 5 Locate an available 2 5 3 5 Bayinside the Computer and install the SSD using the Screws...

Страница 5: ... the original Drive to the new SSD Please skip to the Cloning section below Cloning If you have a software disk supplied with your SSD Kit please insert that into your Computer soptical driveand followthe instructions If you do not have a CD or Optical Drive you will need to use the SSD Manufacturer s Software which is downloadablefrom their website Please see the SSD Installation Section on mrmem...

Отзывы: