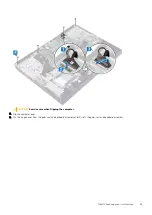


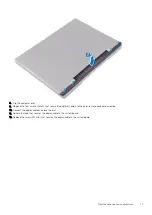
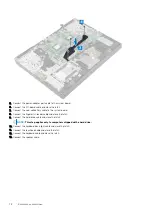
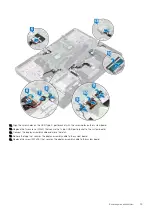


14. Align the screw holes on the USB Type-C port bracket with the screw holes on the system board.
15. Replace the two screws (M2x4) that secure the Type-C USB port bracket to the system board.
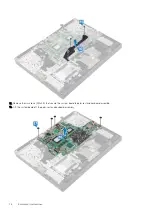
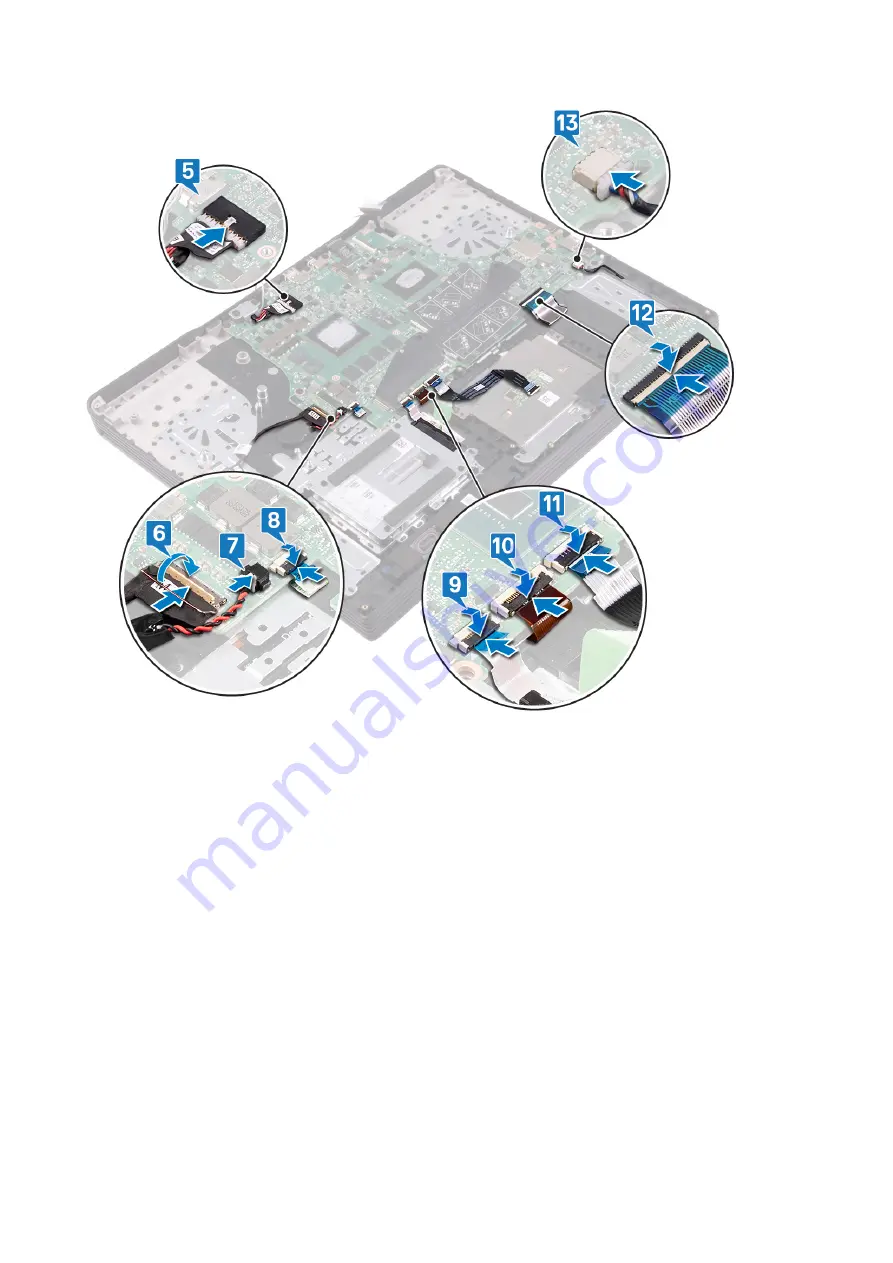
16. Connect the display-assembly cable and close the latch.
17. Adhere the tape that secures the display-assembly cable to the system board.
18. Replace the screw (M2x2.5) that secures the display-assembly cable to the system board.
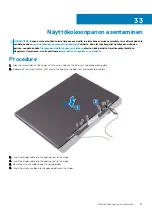
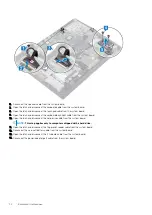
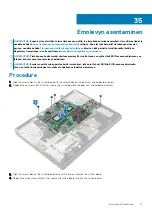
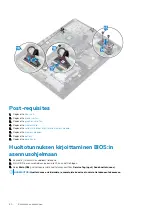
Emolevyn asentaminen
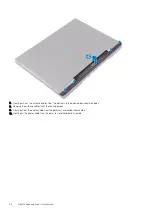
79
Содержание G7 7790
Страница 1: ...Dell G7 7790 Service Manual Regulatory Model P40E Regulatory Type P40E001 ...
Страница 20: ...20 Rungon suojuksen asentaminen ...
Страница 23: ...Akun irrottaminen 23 ...
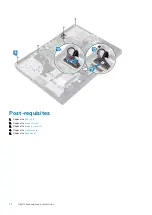
Страница 25: ...Jälkivaatimukset Asenna rungon suojus Akun asentaminen 25 ...
Страница 27: ...Muistimoduulien irrottaminen 27 ...
Страница 29: ...Jälkivaatimukset Asenna rungon suojus Muistimoduulien asentaminen 29 ...
Страница 32: ...32 Kiintolevyn irrottaminen ...
Страница 40: ...40 Kosketuslevyn irrottaminen ...
Страница 42: ...Jälkivaatimukset 1 Asenna akku 2 Asenna rungon suojus 42 Kosketuslevyn asentaminen ...
Страница 44: ...44 SSD aseman Intel Optane muistin irrottaminen ...
Страница 49: ...Jälkivaatimukset Asenna rungon suojus SSD aseman Intel Optane muistin asentaminen 49 ...
Страница 51: ...Langattoman kortin irrottaminen 51 ...
Страница 53: ...Jälkivaatimukset Asenna rungon suojus Langattoman kortin asentaminen 53 ...
Страница 55: ...Removing the graphics card fan 55 ...
Страница 57: ...Jälkivaatimukset Asenna rungon suojus Replacing the graphics card fan 57 ...
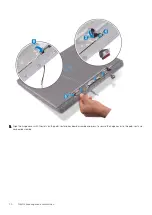
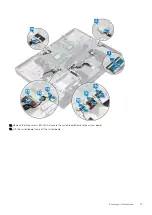
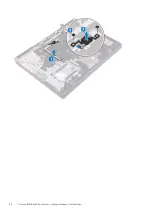
Страница 68: ...68 Näyttökokoonpanon irrottaminen ...
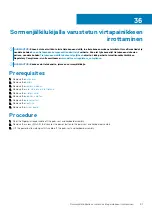
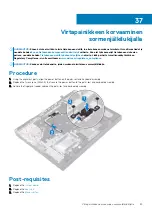
Страница 82: ...82 Sormenjälkilukijalla varustetun virtapainikkeen irrottaminen ...
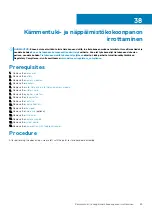
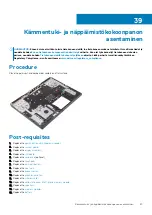
Страница 86: ...86 Kämmentuki ja näppäimistökokoonpanon irrottaminen ...
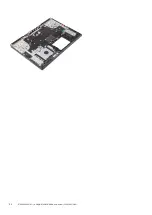
Страница 88: ...16 Replace the base cover 88 Kämmentuki ja näppäimistökokoonpanon asentaminen ...


