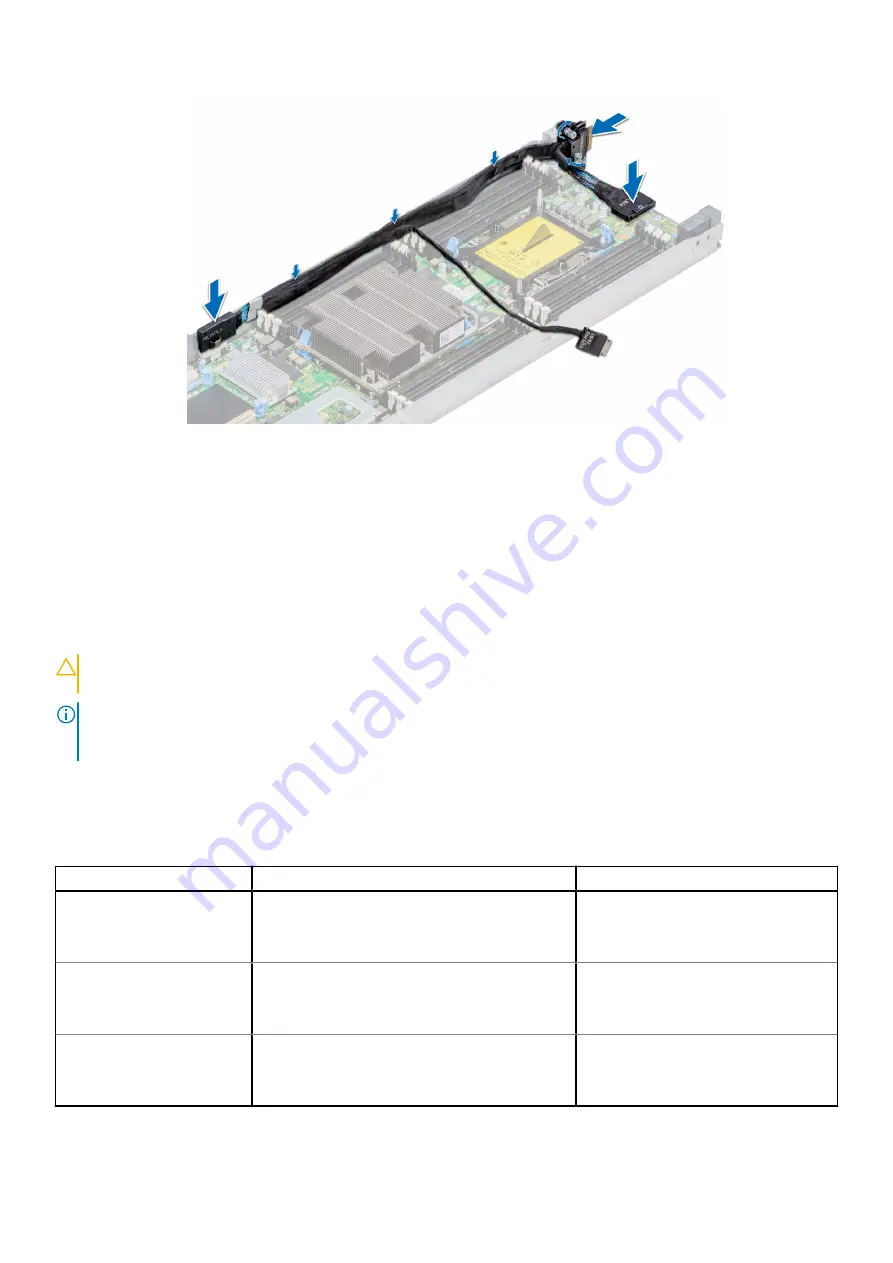
Figure 28. Installing the linking board and SATA cable
Next steps
1.
.
2.
.
3. Follow the procedure listed in
After working inside your system
.
Processor and heat sink module
CAUTION:
This is a Field Replaceable Unit (FRU). Removal and installation procedures must be performed only
by Dell certified service technicians.
NOTE:
In a sled which has been configured with mixed CPUs – a fabric processor installed in the CPU2 socket and a
non-fabric processor installed in the CPU1 socket, you must connect the external Omnipath link cables to Port 2 on the
OCP carrier card.
Use the following procedure when:
●
Removing and installing a heat sink
●
Replacing a processor
Table 10. Supported heat sinks
Heat sink
Dimensions
Design
CPU 1, standard heat sink
Length =108 mm (4.25 inches),
Width =88 mm (3.46 inches),
Height =24.8 mm (0.97 inches)
2 heat pipes
CPU 1, extended heat sink
Length =108 mm (4.25 inches),
Width =96 mm (3.77 inches),
Height =24.8 mm (0.97 inches)
2 heat pipes
CPU 2, standard heat sink
Length =108 mm (4.25 inches),
Width =88 mm (3.46 inches),
Height =24.8 mm (0.97 inches)
3 heat pipes
Installing and removing enclosure components
39


