


22
About Your Monitor
Weight without
stand assembly (For
wall mount or VESA
mount considerations
- no cables)
2.70 kg (5.94 lb)
3.13 kg (6.89 lb)
Weight of stand
assembly
0.70 kg (1.54 lb)
0.70 kg (1.54 lb)
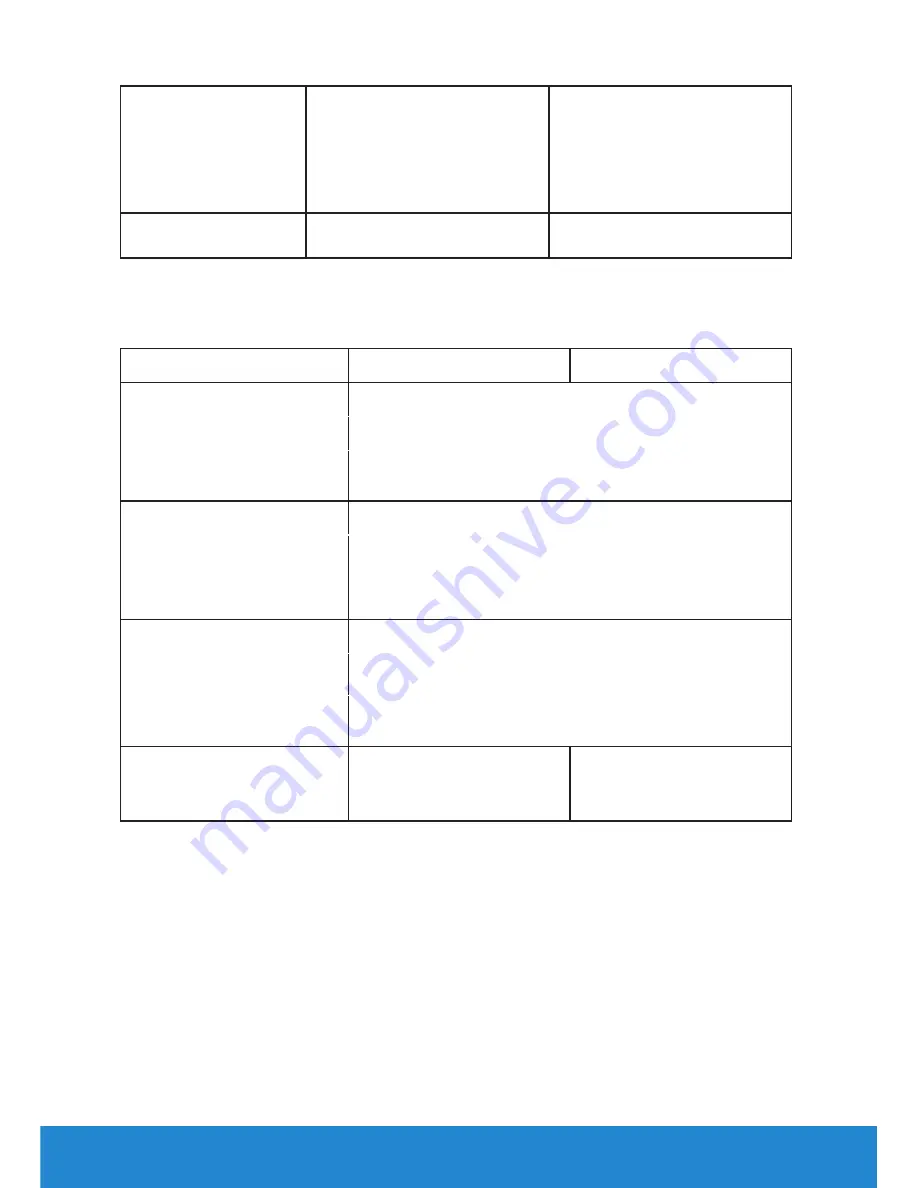
Environmental Characteristics
The following table lists the environmental conditions for your monitor:
Model Number
Dell E2214H monitor Dell E2314H monitor
Temperature
0 °C to 40 °C (32 °F to 104 °F)
•
Operating
Storage: -20 °C to 60 °C (-4 °F to 140 °F)
Shipping: -20 °C to 60 °C (-4 °F to 140 °F)
•
Non-operating
Humidity
10 % to 80 % (non-condensing)
•
Operating
Storage: 5 % to 90 % (non-condensing)
Shipping: 5 % to 90 % (non-condensing)
•
Non-operating
Altitude
5,000 m (16,404 ft) max
•
Operating
12,191 m (40,000 ft) max
•
Non-operating
Thermal dissipation
102.3 BTU/hour
102.3 BTU/hour
(maximum)
(maximum)
64.8 BTU/hour (typical)
75.1 BTU/hour (typical)
LCD Monitor Quality & Pixel Policy
During the LCD Monitor manufacturing process, it is not uncommon for
one or more pixels to become fixed in an unchanging state. The visible
result is a fixed pixel that appears as an extremely tiny dark or bright
discolored spot. When the pixel remains permanently lit, it is known as a
“bright dot.” When the pixel remains black, it is known as a “dark dot.”
In almost every case, these fixed pixels are hard to see and do not
detract from display quality or usability. A display with 1 to 5 fixed pixels
is considered normal and within competitive standards. For more


