Dell E173FPc
13
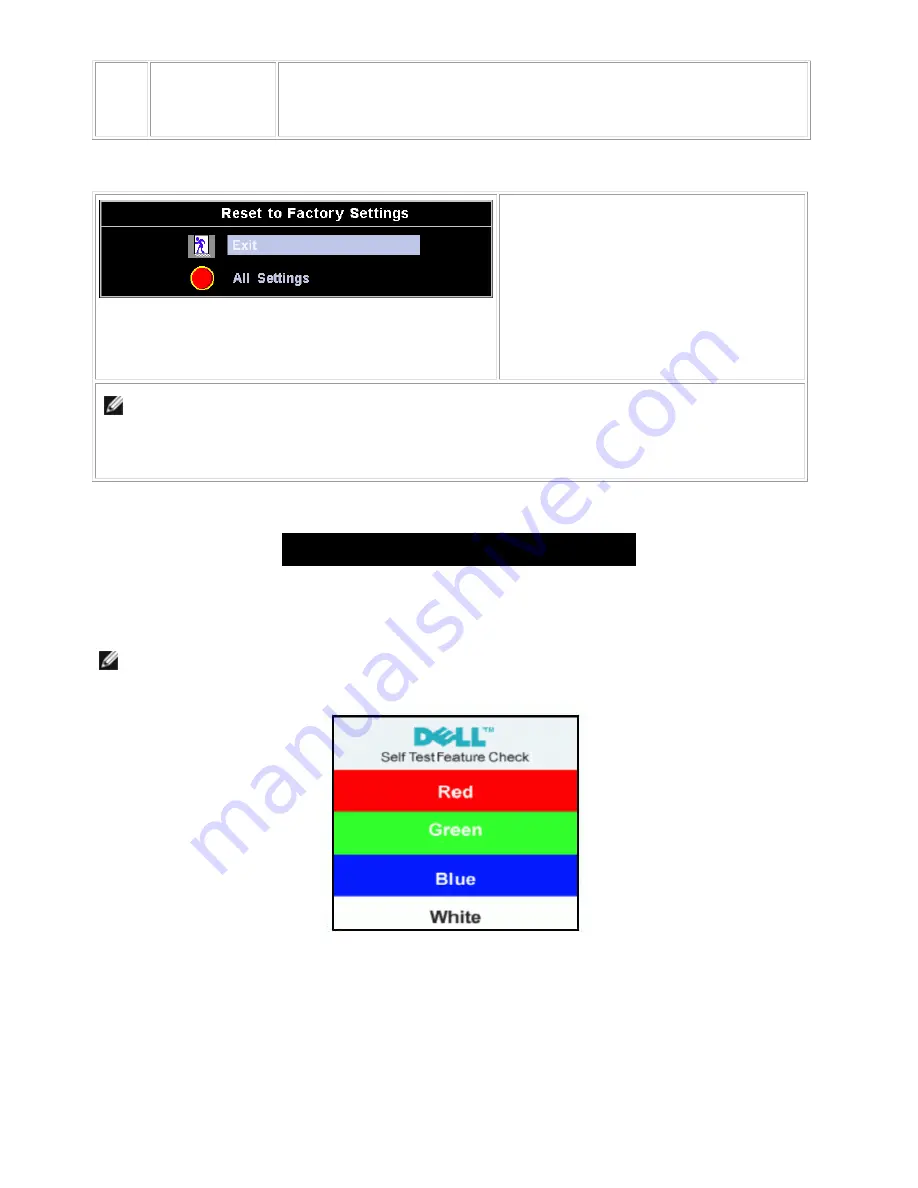
For 'All settings', all user adjustable settings are reset at one time except 'Language
settings'.
Reset Functions
Factory Preset Restoration
'Exit' leaves this submenu without resetting any
values.
'All Settings' returns your monitor settings to
those that were set at the time of manufacture.
This includes 'Color', 'Position', 'Clock
frequency', 'Phase', 'Brightness', 'Contrast' and
'OSD hold time'.
NOTE: There is no "Undo" when you use the
'
Reset function
'
. To return to the previous function settings,
you must adjust the functions again.
'
Reset
'
will set the clock and phase back to factory settings, activating
auto adjust may be required and this will optimize the image for your system.
OSD Warning Messages
A warning message may appear on the screen indicating that the monitor is out of sync.
Cannot Display This Video Mode
This means that the monitor cannot synchronize with the signal that it is receiving from the computer. Either the
signal is too high or too low for the monitor to use. See Specifications for the Horizontal and Vertical frequency
ranges addressable by this monitor. Recommended mode is 1280 X 1024 @ 60Hz.
NOTE: The floating 'Dell - self-test Feature Check' dialog will appear on-screen if the monitor cannot sense a
video signal.
Occasionally, no warning message appears, but the screen is blank. This could also indicate that the monitor is not
synchronizing with the computer. See Troubleshooting for more information.
Содержание E173FPc
Страница 16: ...Dell E173FPc 16 4 4 Panel Specification 4 4 1 Display Characteristics For LPL panel For Hydis panel ...
Страница 17: ...Dell E173FPc 17 Display Characteristics For CPT panel ...
Страница 19: ...Dell E173FPc 19 For Hydis panel ...
Страница 20: ...Dell E173FPc 20 For CPT panel ...
Страница 21: ...Dell E173FPc 21 5 Block Diagram 5 1 Exploded View ...
Страница 24: ...Dell E173FPc 24 5 3 Electrical Block Diagram 5 3 1 Main Board ...
Страница 30: ...Dell E173FPc 30 The end The angle between CCFL line and vertical direction should be 30 40 degree ...
Страница 36: ...Dell E173FPc 36 7 2 PWPC Board ...
Страница 37: ...Dell E173FPc 37 ...
Страница 38: ...Dell E173FPc 38 8 PCB Layout 8 1 Main Board ...
Страница 39: ...Dell E173FPc 39 ...
Страница 40: ...Dell E173FPc 40 ...
Страница 41: ...Dell E173FPc 41 8 2 PWPC Board ...
Страница 42: ...Dell E173FPc 42 ...
Страница 43: ...Dell E173FPc 43 ...
Страница 53: ...Dell E173FPc 53 b Click the Select Chip button and choose the type you are going to program ...
Страница 54: ...Dell E173FPc 54 c Click the Select Bank0 button and selecting a file which a binary Format required ...
Страница 55: ...Dell E173FPc 55 d Select the communication Setting Port Name e Click the ConNect button ...
Страница 70: ...Dell E173FPc 70 15 2 HT17E13 100 ...
Страница 71: ...Dell E173FPc 71 15 3 CLAA170EA 07 ...
Страница 72: ...Dell E173FPc 72 ...


