2.
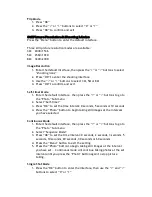
Press the “Photo” button to take a picture, the self-timer LED will
flash once to indicate that one photo was taken
Triple Shot Mode
1.
Enter the default interface, then press the “<” or “>” buttons to go to
the “Photo” Sub-menu
2.
Select “Sequence Mode”
3.
Press the “Photo” button to take 3 pictures consecutively, the
self-timer LED will flash three times to indicate that three pictures
were taken
System Parameters
1.
In the preview mode, press the “Playback” button to enter the
playback interface
2.
Press the “Menu” button to enter the setting interface, then use the
“<” and “>” buttons to select “Set-up”
3.
Press “OK” to enter the interface
Setting Date & Time
1.
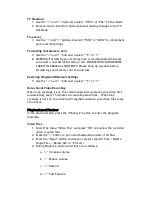
Use the “<” and “>” buttons to select 00/00/00
2.
Press “OK” to enter the sub interface
3.
Use the “+” and (-) buttons to specify the correct date and time, then
confirm and exit
Time Display
1.
Use the “<” and “>” buttons to select “X” or “√”
Beep On/Off
1.
Use the “<” and “>” buttons to select “X” or “√”
Loop Record
1.
Use the “<” and “>” buttons to select “X” or “√”
LCD Standby
1.
Use the “<” and “>” buttons to select LCD power saving mode, then
select: 0 seconds, 10 seconds, 30 seconds, 2 minutes
2.
Press the “Record” or “Photo” button to restart the LCD once it has
entered power saving mode
Camera Standby
1.
Use the “<” and “>” buttons to select LCD power saving mode, then
select: 0 minutes, 2 minutes, 5 minutes or 10 minutes
2.
Press the “Record” or “Photo” button to start up the camera. ALL
OTHER BUTTONS WILL HIBERNATE ONCE AUTO STANDBY IS ACTIVATED.
Содержание WingmanHD
Страница 1: ......


