background image

1
2
3
4
5

6

SETUP

COMPLETE

7
8
9

?

STEP 1

A

B

C

D

E

F

G

G

G

H

1
2
3
4
5

6

SETUP

COMPLETE

7
8
9

?

STEP 1

A

B

C

D

E

F

G

G

G

H

QUICK START GUIDE

www.defender-usa.com

14

FIND YoUR EXTERNAL IP

Now you will need to find your external IP address. This will be the 

address you will be entering in order to access the DVR from outside 

your network (over the internet).
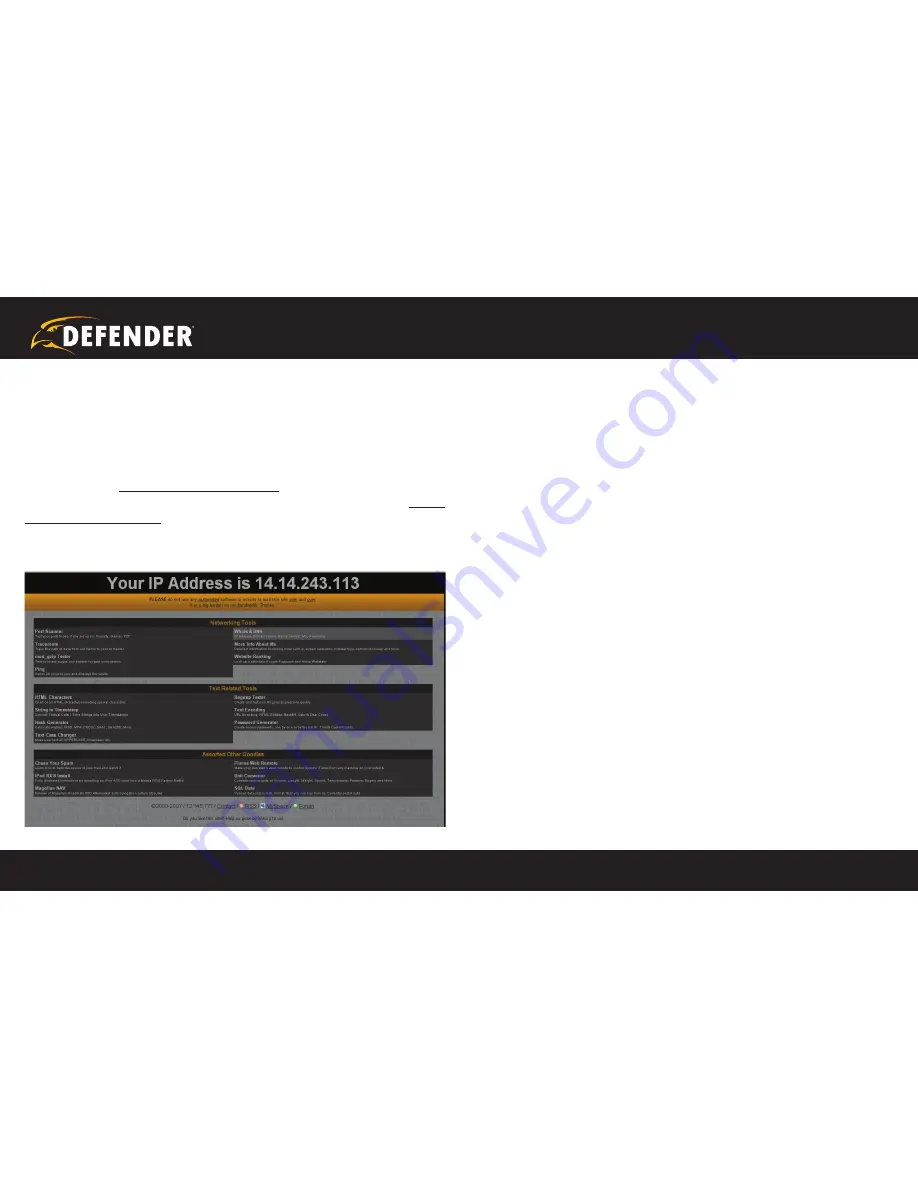
There are many ways to find your external IP address. The simplest 

way is to go to 

http://www.whatsmyip.org

. This site will display your 

external IP address in the top portion of the screen. If you go to http://

www.portforward.com

,  it  will  also  display  this  IP  address.  Write  it 

down on the second page marked EXTERNAL IP.

TEST YoUR EXTERNAL IP

Now that you know your external IP address, you can perform a test to en-

sure your DVR is accessible from outside your network (over the internet).

1.  Open  Internet  Explorer,  and  in  the  address  bar  type  in  the  EX-

TERNAL  IP  address,  followed  by  a  colon  and  your  port  num-

ber  (default  is  port  2000).  It  should  similar  to  the  following  2 

examples:14.14.243.113 :2000 OR 14.14.243.113:2000

2.  Press ENTER, and your DVR’s login window should pop up. If it 

does not pop up, your router is not properly forwarding the neces

-

sary  port. This  could  be  due  to  a  number  of  problems  including 

incorrect settings, presence of a firewall, or a DSL modem that has 

its own IP address. 

If your DSL modem has its own internal IP address, it will not properly 

forward the necessary port. You may have to configure PPPoE settings 

in  the  DVR  to  match  the  settings  provided  to  you  by  your  Internet 

Service Provider (ISP). Consult your ISP for more information. DE-

FENDER technical support cannot troubleshoot modems, since chang-

ing these settings can potentially render your modem inoperable.


 See section Advanced Network Setup for PPPoE configuration instruc-

tions in your user manual.

 You should also check all your network connections and go through the 

above steps again to make sure a configuration error was not made.

STEP 4: DVR NETWoRKING GUIDE 

continued

Содержание SENTINEL3

Страница 1: ...ETE 7 8 9 A B C D E F G G G H 1 2 3 4 5 6 SETUP COMPLETE 7 8 9 STEP 1 A B C D E F G G G H QUICK START GUIDE SENTINEL3 Deluxe Internet Accessible 8CH DVR System w 8 Hi Res Indoor Outdoor NightVision Ca...

Страница 2: ...rea Ensure that the sunshade is positioned to avoid glare and position cameras away from direct sunlight Decide whether the camera will be wall mounted or sit on a desk table top If wall mounting use...

Страница 3: ...deo power wire Wiring the Cameras Follow these instructions for the installation of each camera 4 Attach the BNC to RCA con nectors to the camera inputs and the monitor outputs on the back of the DVR...

Страница 4: ...ne end of an RCA wire into the DVR s VIDEO OUT port Plug the other end into the female end of the 3 5mm to RCA female wire 3 Ensure that the DVR is plugged in and powered on POWERING ON THE LCD STEP 2...

Страница 5: ...t on the DVR 2 Insert the power cord into the power supply 3 Plug the power cord into a power outlet STEP 3 DVR INSTALLATION IMPORTANT We recommend using a surge protected power bar and or Uninterrupt...

Страница 6: ...that you have everything you need to do this properly You should have these ready and connected before beginning n DVR connected to a router n Router connected to the internet In order for this DVR sy...

Страница 7: ...Domain Chosen Example dyndns org Sign In URL Example myname1234 dyndns org Before starting to set up your network connection you have to be sure that your computer is able to view the footage from th...

Страница 8: ...ialize and script ActiveX controls not marked as safe PROMPT Run ActiveX controls and plug ins ENABLE Script ActiveX controls marked safe for scripting ENABLE If it is an option Allow automatic prompt...

Страница 9: ...your network 3 Open IPEDIT EXE from your desktop Depending on your firewall settings a warning message may appear asking if you want to block or unblock this program Click Unblock 4 Click on the UPDAT...

Страница 10: ...k Start Guide www defender usa com 10 7 The first time you logon to the DVR an ActiveX Installation window will appear Install the ActiveX control 6 If entered successfully a window will open up with...

Страница 11: ...t Forwarding section CONNECT TO THE INTERNET PORT FORWARDING Port forwarding is a necessary step that opens a path on your home business network to allow you to view your DVR video feed from outside y...

Страница 12: ...een With some D LINK routers the port forwarding screen is located within the Applications Games or Filters tab in others it is located in the Advanced Tools tab 1 Openyourwebbrowser EntertheROUTERIPa...

Страница 13: ...P In the Private port enter the port number you need to forward By default this DVR is set to port 2000 Use port 2000 unless you have a reason to change the DVR to another port not recommended In the...

Страница 14: ...P address followed by a colon and your port num ber default is port 2000 It should similar to the following 2 examples 14 14 243 113 2000 OR 14 14 243 113 2000 2 Press ENTER and your DVR s login windo...

Страница 15: ...ter your preferred user name email address and password 4 Do not worry about the optional information Agree to the Terms of Service by checking the boxes Click Create Account 5 Now check your email fo...

Страница 16: ...P COMPLETE 7 8 9 STEP 1 A B C D E F G G G H Quick Start Guide www defender usa com 16 7 Click on the Services button located on the top menu 8 Click on the Dynamic DNS link 9 Click on the Get Started...

Страница 17: ...We recommend you use your first name or company name 11 Choose a domain name from the dropdown menu We recommend using the dvrdns org suffix 12 In the IP address field type in your external IP addres...

Страница 18: ...Log on to your DVR through your computer by using either the internal or external IP address 2 Click the CONFIGURATION button 3 Under the Network DVR Setup window scroll down to DDNS Account Setting 4...

Страница 19: ...HCP your DVR s internal IPaddress may change if your DVR or router is rebooted To resolve this problem you need to configure your router to forward to this new address simply replace the old private I...

Страница 20: ...products for any illegal activities DEFENDER is not responsible or liable in any way shape or form for any damage vandalism theft or any other action that may occur while a DEFENDER product is in use...

Отзывы: