Configuration
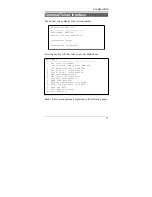
6. The configuration program should now start and after a
few seconds display a sign-on screen.
If nothing appears on your screen, press ESC.
Refer to the Terminal/Telnet Interface chapter for details
on using the configuration program.
Telnet Management
NOTE: To use telnet, there MUST be compatible IP
addresses in both the PC and the unit!
1. Install the unit into your LAN as described in Chapter 2.
Ensure that the unit is powered on.
2. Connect to it with the telnet program on your workstation.
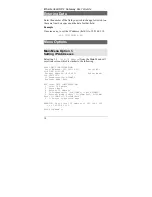
A typical command is:
telnet IP_Address 8000
Where:
IP_Address
is the IP address of the unit.
8000 is the management port number. For example, if the
default IP address has not been changed, then you would
enter the command:
telnet 192.168.1.1 8000
If you can't connect
If the unit does not respond, check the following:
•
It is properly installed, LAN connections are OK, and it
is powered ON.
•
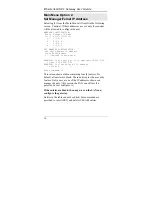
Check that your PC is using a compatible
IP Address
and
Network Mask
.
In Windows, using Control Panel-Network to examine
the Properties for the TCP/IP protocol can check the IP
11
Содержание EtherSeries EDNP-3
Страница 1: ...EtherSeries DNP 3 Gateway EDNP 3 User s Guide Revised January 16 2008 Firmware Version 3 x...
Страница 2: ......
Страница 4: ...ii...
Страница 9: ...Introduction v...
Страница 10: ......
Страница 16: ...EtherSeries DNP 3 Gateway User s Guide 6...
Страница 38: ...EtherSeries DNP 3 Gateway User s Guide 28...
Страница 48: ...Etherseries DNP 3 Gateway User s Guide 38...
Страница 54: ...44...
Страница 60: ...Etherseries DNP 3 Gateway User s Guide 50...
Страница 64: ...Etherseries DNP 3 Gateway User s Guide Ring Indicator Not used 54...
Страница 66: ...Etherseries DNP 3 Gateway User s Guide 56...

