6
How to install
How to use
2. Power connection
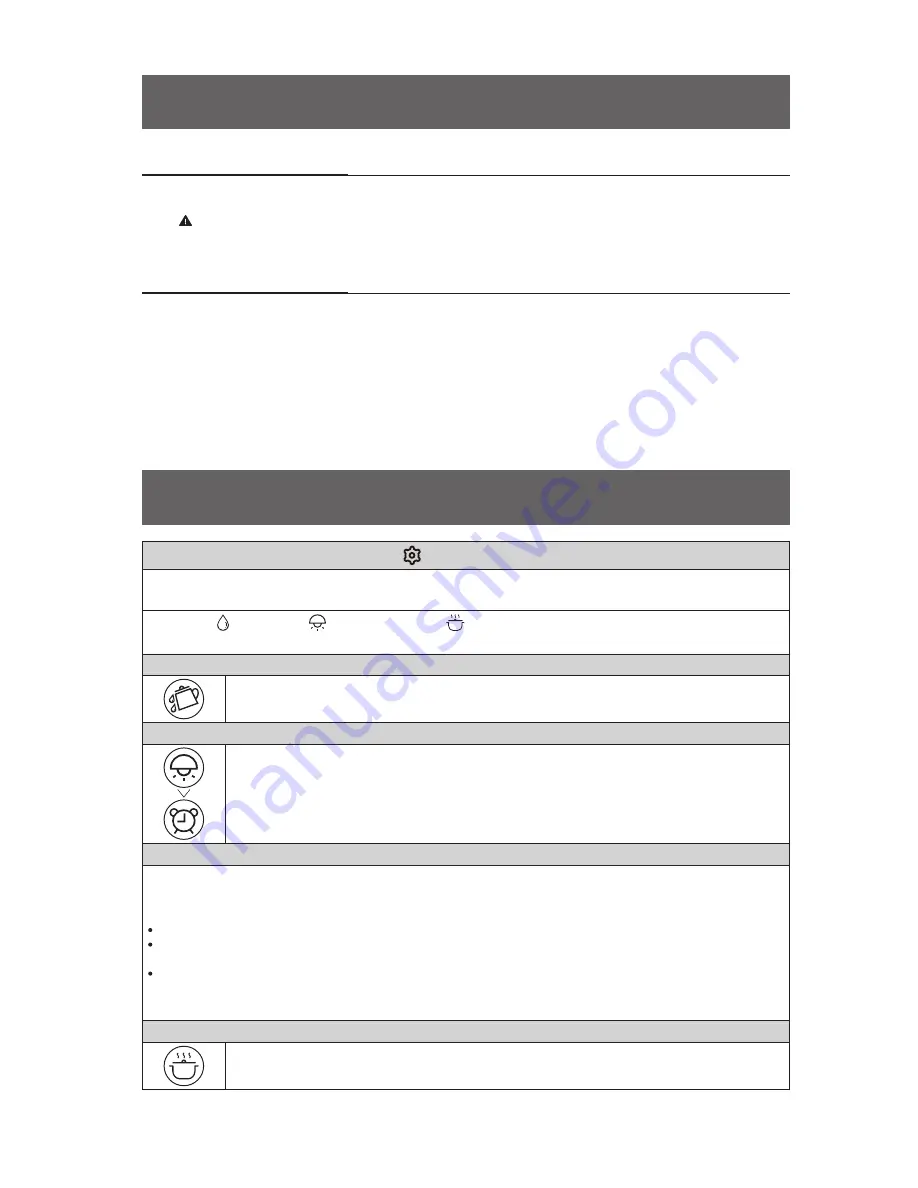
Basic usage
①
Put the food in container and place it on the induction. (raise it by aligning
with outlet and the heating part of induction)
②
Touch " Water" > " Preparation" > " Start-Stop" buttons in order.
(Basic settings - Operating time : 240sec, Water supply amount : 420cc)
If water quantity needs to be increased
Water is supplied while touching "Add Water" button.
If additional heating is required
touch "Preparation" > "Start·Stop" buttons in order.
- Can add up to 5 times in 1 minute depending on the number of times
"Time Adjustment" button is touched.
- The time add function operates only when it is initialized. (when display number is 000)
What is initialization status?
It is before the start of cooking, or when the cooking is completed,
and when display window number indicates 000.
When initialization occurs?
"Preparation" button is not touched within 4 minutes after "Water" button is touched.
"Start·Stop" button or "Time Adjustment" button is not touched within 1 minute after touching
"Preparation" button.
Next button is not touched within 5 seconds after touching various setting buttons.
* If "Preparation" button is not touched within for 4 seconds subsequently after touching "Water"
button, other buttons will not be working (touched) until the watering is completed.
How to stop heating and watering during cooking
In order to stop water supply and heating during cooking, touch "Start·Stop" button.
3. Installation check
- Connect the power cord and turn on the power switch.
NOTICE: Distribute power consumption to prevent power usage concentration
at power connection socket.
- Turn on the power switch.
- Ensure that water enters the electric water heater built into the cooker.
(water is supplied when the input/output button blinks)
- If the number displayed on display changes to 000 during counting from 60 to 0,
the installation is complete.
- Wait about 15 minutes. (warm water preparation time) and start using
it after confirming the installation


