Datex-Ohmeda S/5 monitors
A-2(2)
Document No. 800 1011-1
OK
N.A.
Fail
OK
N.A.
Fail
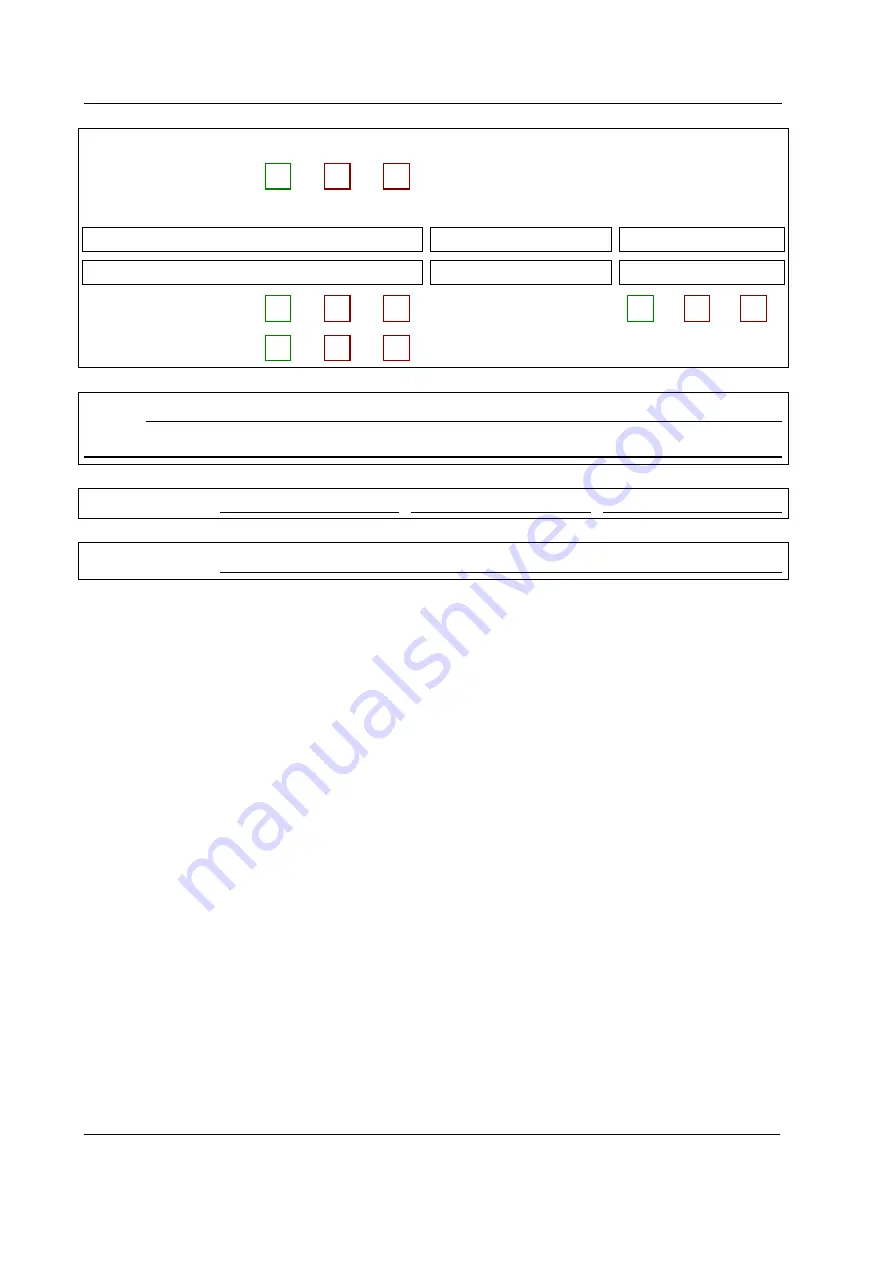
14.
AEP stimulation
15.
AEP response
Channel 1
35...45
µ
V
Channel 2
35...45
µ
V
16.
Electrical safety check
17.
Functioning after
electrical safety check
18.
Final cleaning
Notes
Used Spare Parts
Signature


