37
GPI / GPO Connections
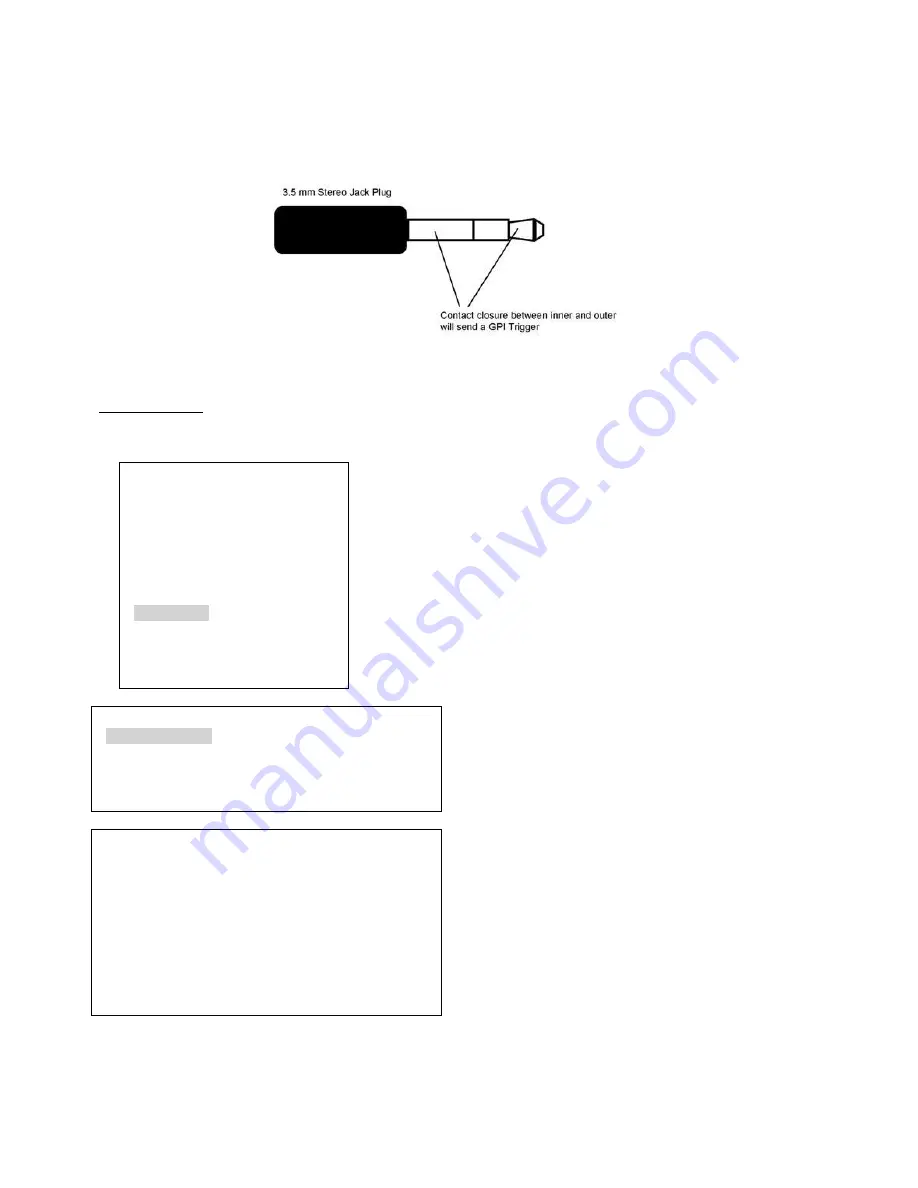
The HS-600 can be controlled externally via a simple contact closure GPI (General Purpose Interface) switch. This
could be a push button, foot switch or any relay or any circuit that is able to provide a simple contact closure.
The GPI interface is a 3.5mm Jack Socket which is situated on the rear panel of the HS-600. Contact closure
between the Outer and Inner contacts on the jack plug will trigger a user selected event. Power is supplied by the
HS-600 and is less than 5V DC.
This GPI socket can also be used as a GPO socket to trigger record or playback events with other equipment such
as the Datavideo DN-200, DN-400 or DN-500 recorders.
SAFETY FIRST
The cabling required needs to be designed specifically to connect the HS-600 to the chosen
record or playback device as they are not all the same. The cabling required can be made by yourself or purchased.
Please speak with your Dealer or local Datavideo office to get further help and advice.
1: COUNT_DOWN_TIME
2: PIP
3: CG (LUMA KEY)
4: LOGO
5: VIDEO IN & OUT
6: AUDIO MIXER
7: MULTI. IMAGE
8: SYSTEM
9: STORE RECALL & UPDATE
10: RESET DVI_IN
ESCAPE
When the
SETTING
button
is pressed in the
EFFECTS
area of the
HS-600 keyboard the Main Menu list, shown left, is displayed between
the PST and PGM images on the Multi-Image Preview output.
Option 7: MULTI. IMAGE allows the user to change settings which
effect the labelling and appearance of this DVI based preview output.
Use the arrow buttons to highlight the
SYSTEM
item then press the
ENTER
button to confirm the selection.
The settings for the Multi-Image Preview are covered across two menu
pages. The first page of options is shown below.
[SYSTEM SETTING]
1: GPI SETTING
2: SPEED KEY SETTING
3:
KEY’S BRIGHTNESS=
ESCAPE
[ [ GPI SETTING ] ]
1: GPI_IN ON/OFF = OFF
2: GPI_IN FUNC. = CUT
3: GPI_OUT ON/OFF = OFF
4: GPI_OUT TRIGGER KEY = MAIN_6
5: GPI_OUT MODE = USER DEFINE.
6: GPI_OUT DELAY = 0 FRAMES
7: GPI_OUT SIGNAL WIDTH = 1 FRAME
ESCAPE


