14
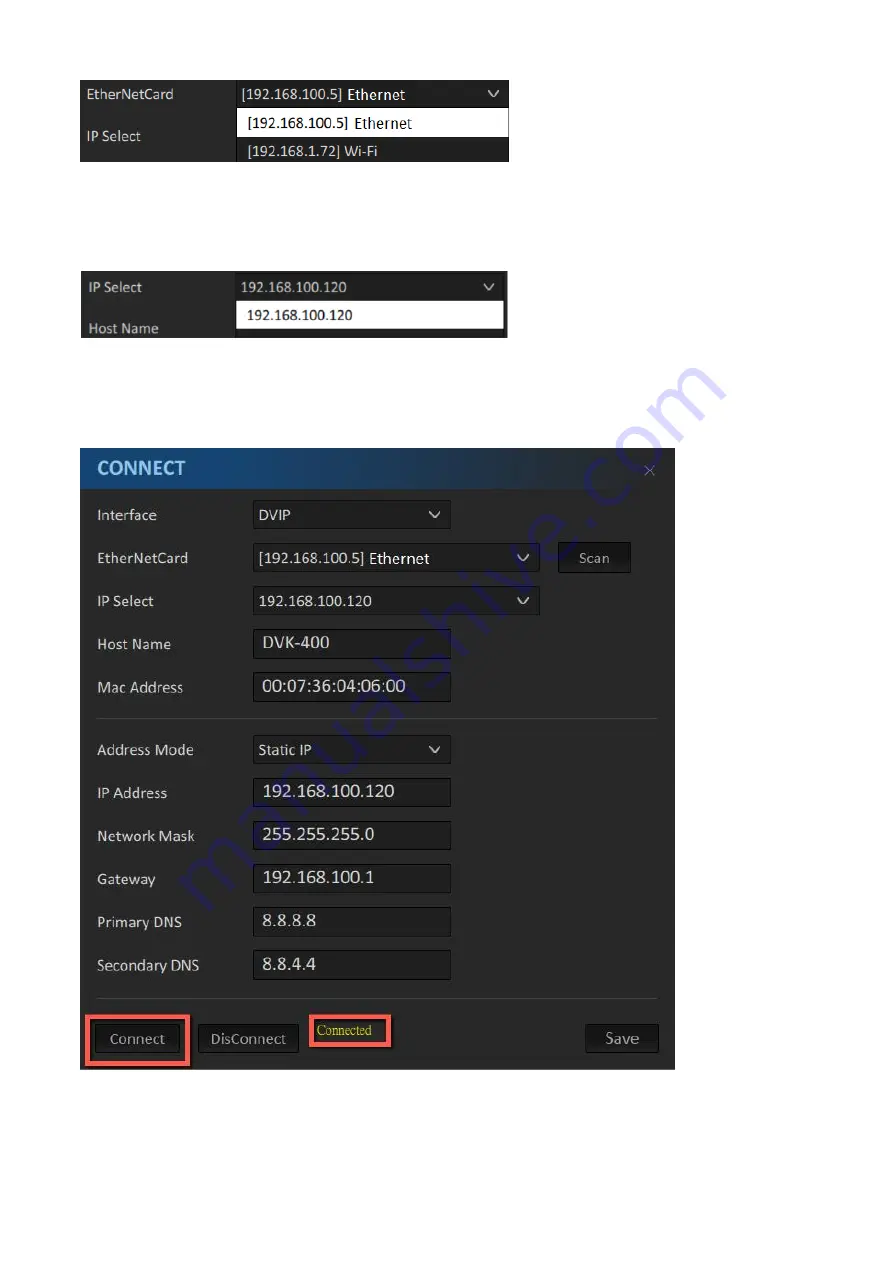
7. From the “IP Select” drop-down menu, select the IP address of the DVK-400 that you would like
to connect. Once selected, the Host Name (DVK-400), Mac Address, Address Mode, IP Address
and other network settings will be shown.
8. Click the “Connect” button to start connecting to the device. As soon as the connection to the
device has been established successfully, you will see the message “Connected” shown in yellow,
after which the “Connect” window will shut down automatically.
Note: After you’ve modified the network settings such as switching to DHCP mode, please
restart the UI for the new settings to take effect. Remember to click the “Save” button after
change.
Содержание DVK-400
Страница 1: ...DVK 400 4K CHROMAKEY Instruction Manual...
Страница 8: ...8 1 2 System Diagram...
Страница 12: ...12 3 Open the DVK 400 User Interface then at the top right corner of the interface click the Globe icon...
Страница 22: ...22 Bright Enhancement Shadow Enhancement Spill Suppression Edge Fix HD only...
Страница 43: ...43 4 In the following image green components of the TV are kept after chromakey is applied...
Страница 57: ...57 Appendix 3 Dimensions Unit mm...
Страница 59: ...59 Note...


