DI-148U, DI-148U-SP, and DI–158 Series Hardware Manual
Installation
11
Click the
Unblock
button to continue with installation.
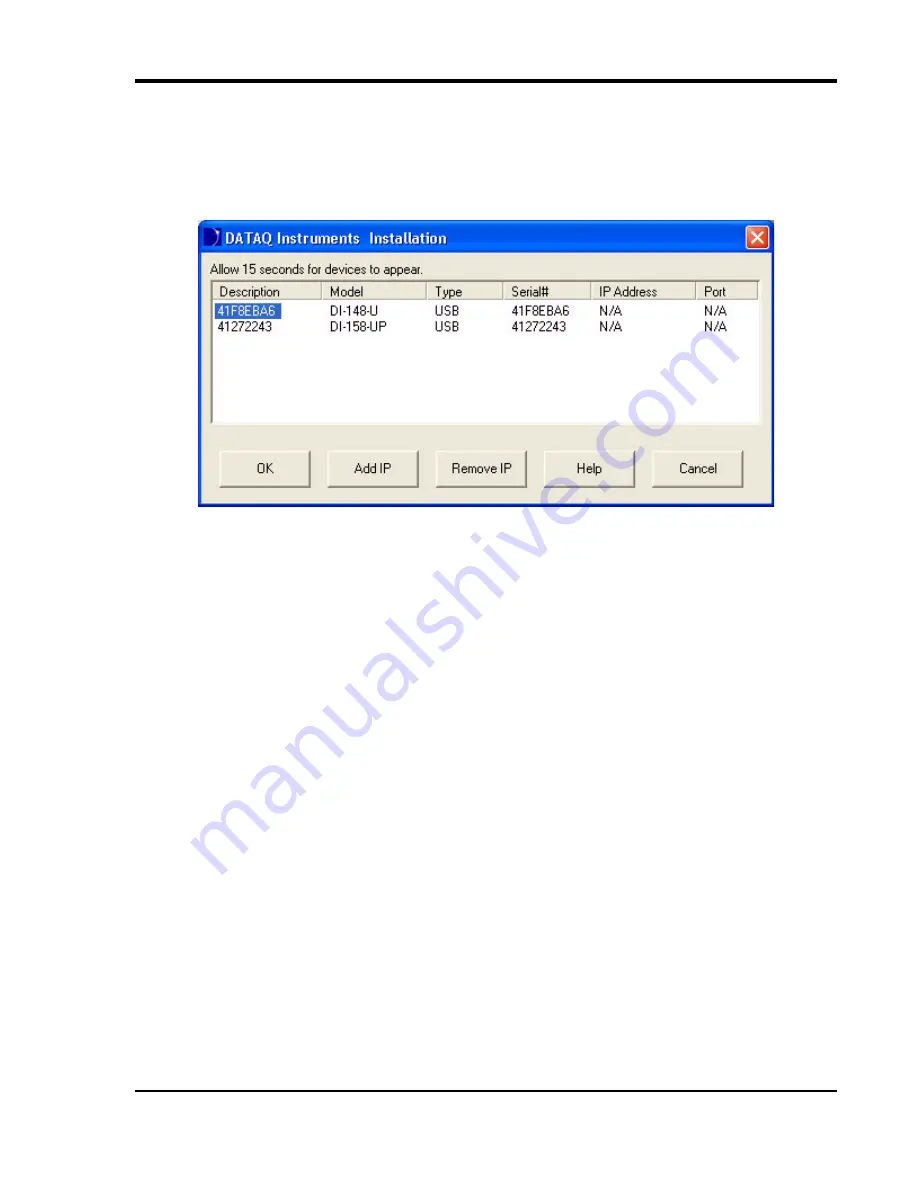
11. The DATAQ Installation Manager shows all DI-148, DI-158, DI-710, and DI-715B devices currently connected
via USB or Ethernet to your PC. Click on the Help button for a description of all the functions in the installation
software.
12. When all desired devices are showing up in the list click on the OK button to continue installation. Click Cancel
to exit without installing.
13. When prompted to Select a Program Manager Group specify a destination (or group window) in the Start Menu
for W
IN
D
AQ
software icons. It is recommended that you accept the default.
14. In the “Installation Option” Dialog box specify whether you want all users to have access to WinDaq software or
just the current User. Click Yes to allow all users to have access, click No to allow just the current user to have
access.
15. After W
IN
D
AQ
Software installs, you will prompted to install W
IN
D
AQ
/XL and Advanced CODAS Analysis
software. If you purchased either software click on Yes in the appropriate dialog box. If you did not - click on
No. Follow the on screen prompts to complete installation.
16. Installation is complete - you will now see a Successful Installation box - click on OK to exit W
IN
D
AQ
Installa-
tion. If you purchase more devices at a later date you must run the installation again with
all
devices (old and
new) plugged in.
17. To run W
IN
D
AQ
Data Acquisition software or the Stand-alone Set Up software go to the appropriate program
group (specified above—default is
Start > Programs > W
IN
D
AQ
) and click on
Dataq Instruments Hardware
Manager
. All DATAQ Instruments software is located in the same program group.


