Cabling
20
Cabling
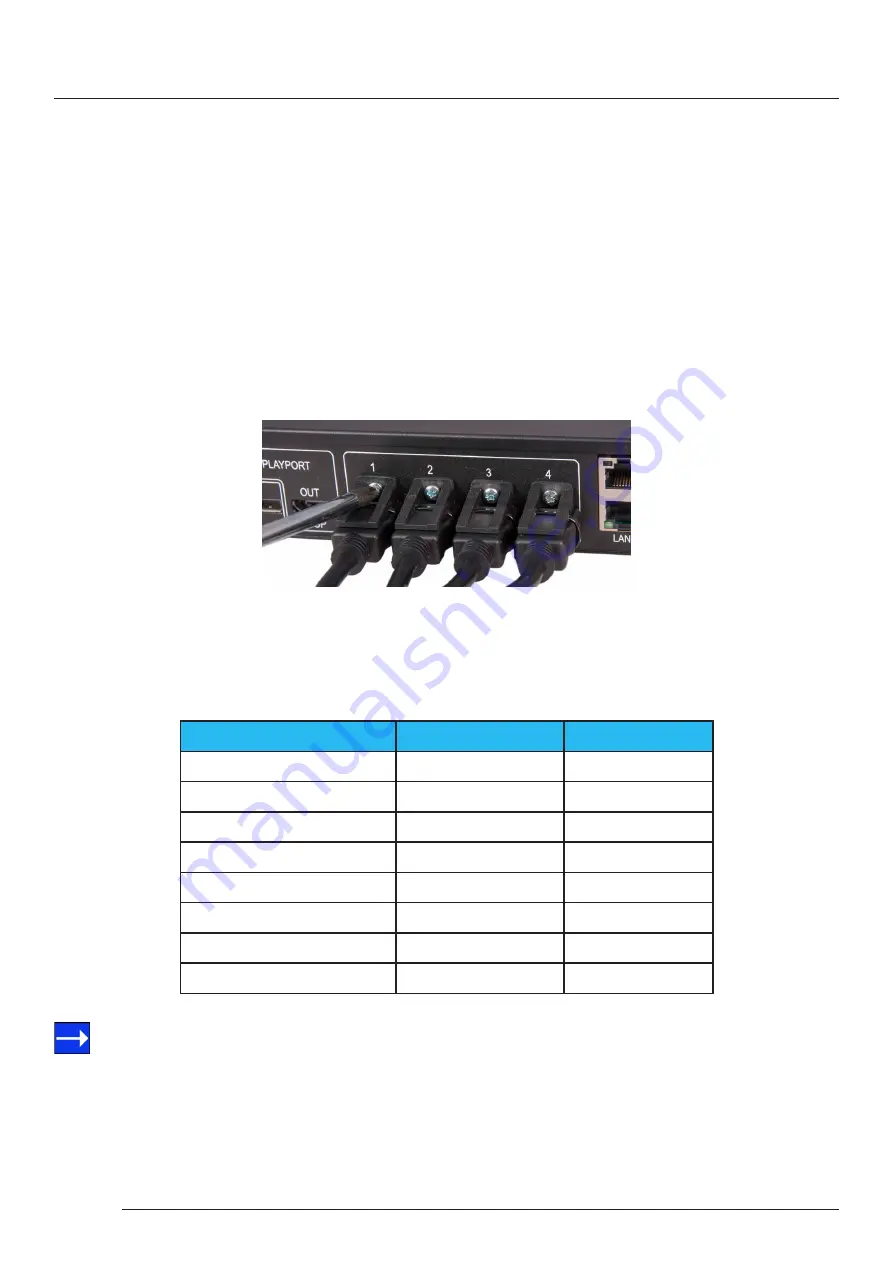
6.5 Connecting Outputs to Monitors
Each Fx4 display controller can support up to 4 monitors on a display wall, the output connectors will be HDMI or DisplayPort
depending on the model ordered. Once again it is highly recommended that locking cables are used.
Each output can display any region of the input image, all the required cropping, scaling and rotations is calculated within the
Fx4 hardware.
Cable Type
Bit Rate
Maximum Length (m)
HDMI (output)
N/A
10
DisplayPort (output)
Reduced Bit Rate (RBR)
20
DisplayPort (output)
High Bit Rate (HBR)
10
DisplayPort (Loop through)
Reduced Bit Rate (RBR)
20
DisplayPort (Loop through)
High Bit Rate (HBR)
10
DisplayPort (Loop through)
High Bit Rate 2 (HBR2)
2
Ethernet Cable (Network/Setup)
N/A
100
USB (Setup)
N/A
3
6.4
Connecting the Out Loop
The Out Loop connector is used to connect two or more Fx4’s when the requirement is to create large video display walls with
more than 4 monitors.
Using a DisplayPort cable (not supplied) connect the Out Loop from the first Fx4 to the DisplayPort Input on the second Fx4
and so on until all the required units are connected. The input signal will be gen-locked through all the connected Fx4’s in the
chain.
6.5.1
Cable Lengths
Workable cable lengths depend on the quality of the cables used to set up your Fx4, Datapath recommends using certified
cables when installing your Fx4.
Connecting HDMI Output Cable
The Wall Designer software has a Maximum Link Rate selector which enables you to manually select the link rate of the
DisplayPort input to suit your own requirements. The default rate of HBR2 allows operation up to the full 4k/60 capability of the
DisplayPort input, but if the actual input signal is only HD then the maximum link rate can be changed to HBR or RBR to enable
the use of longer cables.


