22
Chapter 3 – Printer Operation
3
3
3
.
.
.
7
7
7
M
M
M
e
e
e
d
d
d
i
i
i
a
a
a
C
C
C
a
a
a
l
l
l
i
i
i
b
b
b
r
r
r
a
a
a
t
t
t
i
i
i
o
o
o
n
n
n
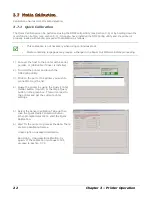
Calibration ensures correct media detection.
3.7.1 Quick Calibration
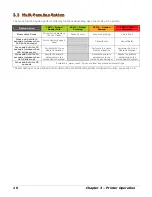
The Quick Calibration can be performed using the DMXConfig Utility (see Section 3.5) or by holding down the
multi-function button, (see section 3.3) . Once you have installed the DMXConfig utility and the printer is
properly loaded with media, proceed with calibration as follows:
This calibration is not necessary when using continuous stock.
Media containing large gaps may require a change in the Paper Out Distance before proceeding.
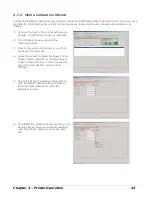
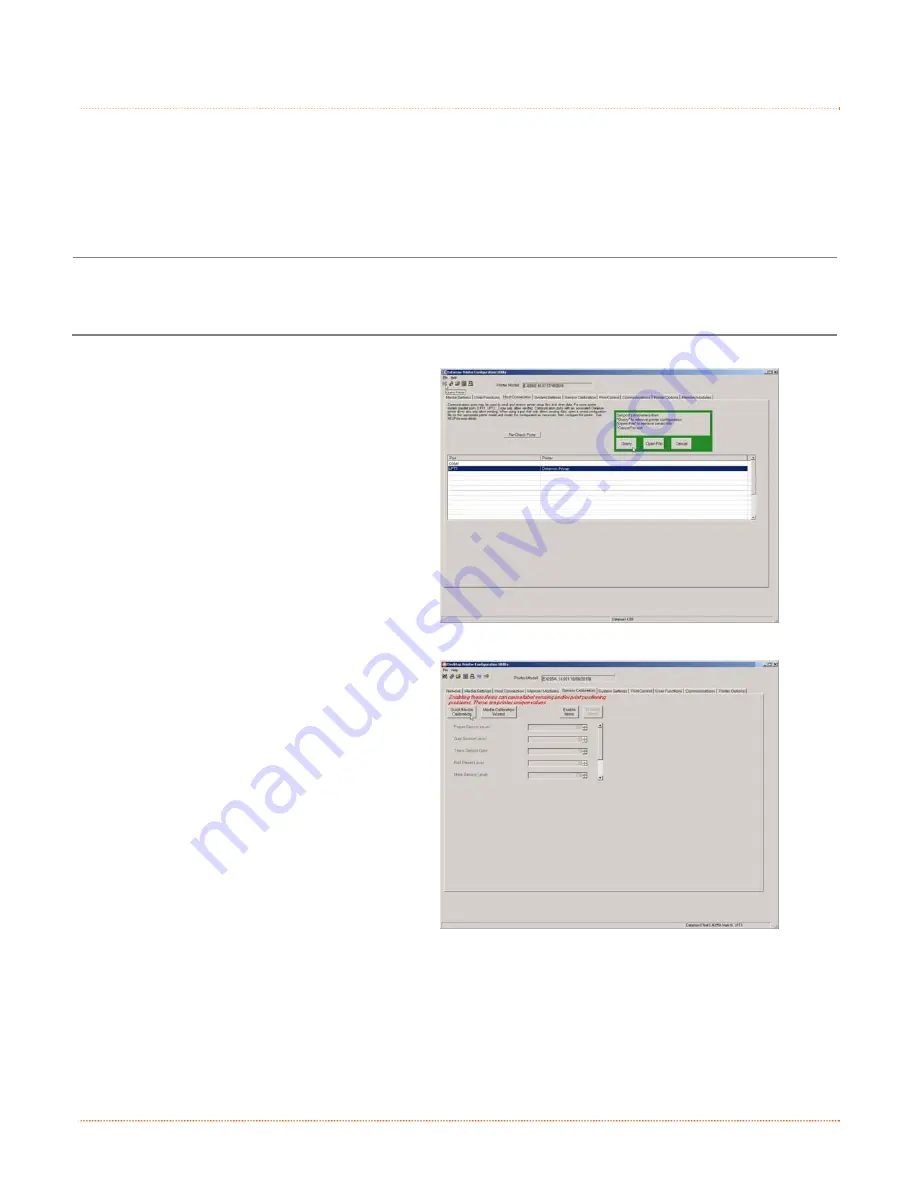
1) Connect the host to the printer with a serial,
parallel, or (USB cable if driver is installed).
2) Turn ON the printer and launch the
DMXConfig utility.
3) Click on the port or the printer you wish to
connect to from the list.
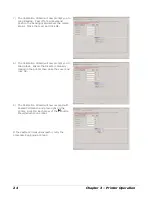
4) Query the printer by using the Query Printer
toolbar button (top-left) or the large ‘Query’
button in the green box. This will connect to
the printer and get the current printer
settings.
5) Select the Sensor Calibration Tab and then
click the Quick Media Calibration button.
When prompted click OK to start the Quick
Calibration.
6) Wait for the printer to process the data. There
are two possible outcomes:
Green Light = Successful calibration
Red Light = Unsuccessful calibration, try
again. If the calibration continues to fail,
proceed to Section 3.7.2.
Содержание E-Class Mark II
Страница 1: ...Operator s Manual Basic and Advanced Models Serial 3xxxxxxx or earlier ...
Страница 2: ......
Страница 8: ...2 Chapter 1 Getting Started ...
Страница 32: ...26 Chapter 3 Printer Operation ...
Страница 42: ...36 Chapter 4 Maintenance Adjustments ...
Страница 48: ...42 Appendix A Specifications ...

