background image


Setup and Installation  

Getting started with the K300 is easy: 

1

POWER ON SENTRY K300 

Hold  

 key for 3 seconds (If the battery is low or dead, charge by plugging into a 

certied USB port for 30 min.) 
 

2

ENTER PASSWORD

WHEN PROMPTED 

 
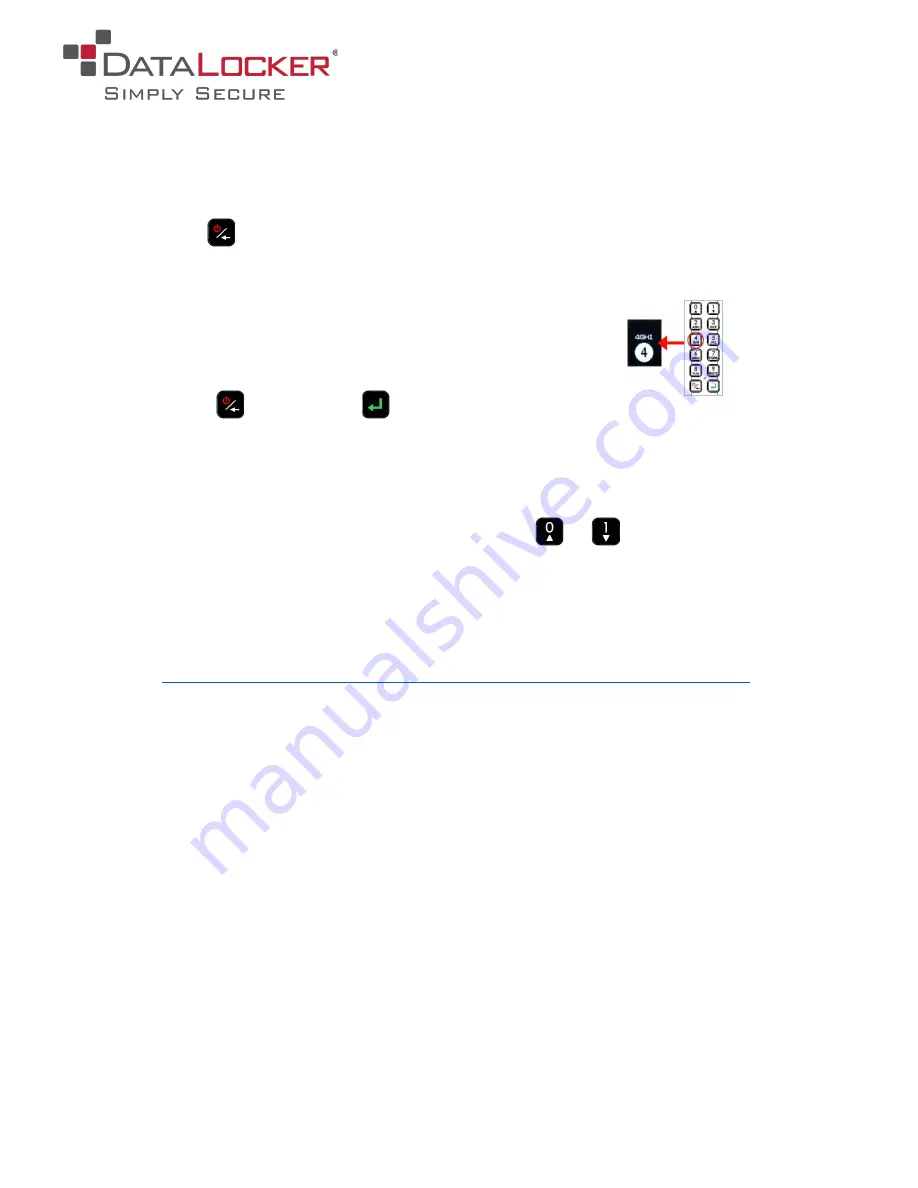
Selected character is shown in the white circle on the screen 
Press key repeatedly within one second to switch characters   

Press  

  to delete and  

  to enter 

*

Enter default password 

1234567 

on first use (default password can be used 3 times 

before it MUST be changed) 
 

3

CONNECT AND WORK


Before connecting, navigate the menu by pressing 

 or 


From the connect screen, plug in to any system that utilizes USB Mass Storage.  
Select connection method: 

Windows: Start > This PC > Devices > Sentry K300 
Mac: Finder > Devices > Sentry K300 

Refer to the full user manual for connecting to other systems. 

https://media.datalocker.com/manuals/sentry/DataLocker_K300_User_Guide.pdf


Before removing, safely eject the device to securely lock the drive. 

Formatting The Sentry K300 

The 

Sentry K300 is formatted as NTFS from the factory

 but can be reformatted to any file 

system to accommodate a different operating system or to remove file size restrictions. Not all 
file systems are available on all operating systems. Recommended file systems: 

● FAT32 

Pros: Cross-platform compatible (Windows, macOS, and Linux) 


Cons: Limited individual file size of 4GB 

● NTFS

Pros: No file size limitations


Cons: Limited cross-platform compatibility - Windows, macOS (read-only), 
and Linux (read-only) 

● exFAT

Pros: No file size limitations 
Cons: Not supported by legacy operating systems 

Note:

 Reformatting your Sentry K300 drive will erase all your files but will not erase your device 

password and settings. This should not be used as a method of securely erasing files. To 
securely erase your files, perform a Zeroize function.  


Содержание Sentry K300

Страница 1: ...Reviewer s Guide DataLocker Sentry K300 Encrypted Keypad SSD with OLED Screen...

Страница 2: ...llection devices ATM machines voting machines etc Also encrypted USBs are a creative way to securely store your cryptocurrency wallet data The DataLocker Sentry K300 is the newest addition to our encr...

Страница 3: ...systems https media datalocker com manuals sentry DataLocker_K300_User_Guide pdf Before removing safely eject the device to securely lock the drive Formatting The Sentry K300 The Sentry K300 is format...

Страница 4: ...computer 1 Log in as a local administrator on your computer Note If you are not an administrator you will receive a warning indicating you won t be able to make changes when you open Device Manager Pl...

Страница 5: ...l force the device to launch in Read Only Mode for Users only until the feature is turned off For more information on finding the Administrator Menu see Administrator Menu Screen Options Boot Mode Aft...

Страница 6: ...r off Pressing the Power button will allow the user to continue entering passwords After 17 and 18 consecutive incorrect password attempts the message Brute Force detected All data will be deleted wil...

Страница 7: ...initialized password is 1234567 Unplug the device and press any key to continue 7 Device will show the message You must reformat the drive Press any key to continue 8 The device will power off and ba...

Страница 8: ...d characters for all new passwords Read Only Mode Force the drive to unlock in read only mode after unlocking with the user password The user is unable to write to the drive without the administrator...

Страница 9: ...ibility Windows macOS Linux Operating Temp 0 C 45 C Storage Temp 20 C 60 C Long Term Storage Temp More than 1 week 20 C 40 C Warranty 3 years Limited Hardware USB 3 1 SuperSpeed port recommended Backw...

Страница 10: ...ry before connecting to a computer Only connect the device to certified USB ports Safely eject the device from the operating system before removing it Use a strong password and be sure to remember it...

Отзывы: