


Practice Operation
20
12 Practice Operation
The Practice mode allows up to 99 individual segment times for different practice
activities, depending on the sport in play. A standard break time between may be
added between each segment for more automation, or breaks may be disabled to let
the coach control the pace of the practice session. The
Auto Advance Segments
and
Break Time Length
options are set in the Rules configuration. Refer to
Segments
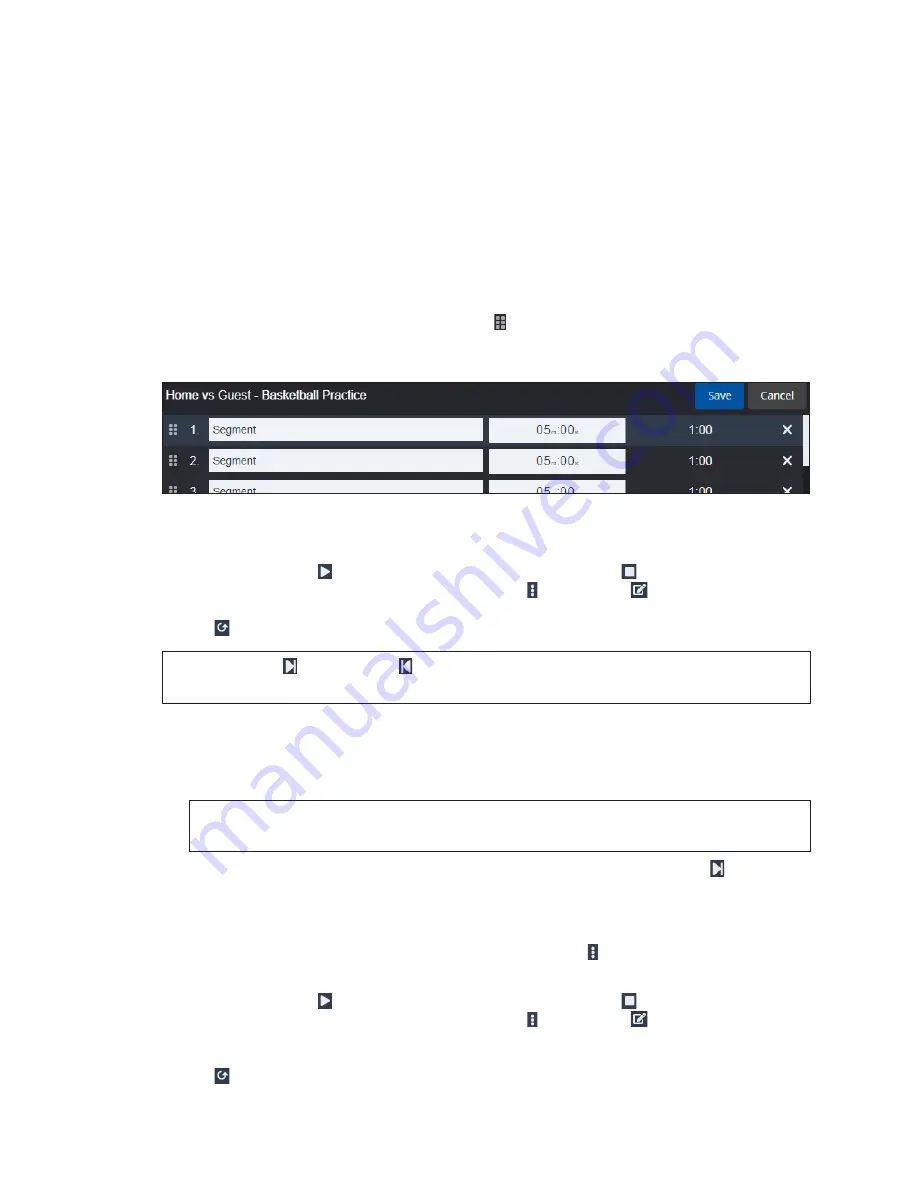
To customize the segments, click
Edit
. Enter a descriptive name for
each segment (max 15 characters). Set the minutes/seconds values using the on-screen
number pad. Click and drag the handle icon to rearrange the segments as needed.
To completely remove a segment, click the
X
button. When finished adding, removing,
and editing the segments, click
Save
to exit the edit mode.
Figure 34:
Edit Segments
Main Clock
Click the play button to start the clock. Click the stop button to pause the clock.
When the clock is stopped, click the menu button followed by
Edit [Segment Name]
Clock
to set the minutes/seconds values using the on-screen number pad. Click the reset
button to reset the clock to the default time.
Note:
The
Next
and
Previous
buttons may be used whenever the clock is stopped
to move through the segment list or end a break early.
• With
Auto Advance Segments
enabled
, the break time will begin counting down
once the segment time reaches 00:00. When the break time reaches 00:00, the next
segment time will begin counting down. If it is the last segment, the current segment
will return to segment 1, and the clock will stop.
Note:
If the
Break Time Length
is set to 00:00, the segments will continue with no
pauses in between.
• With
Auto Advance Segments
disabled
, the operator must use the
Next
button to
begin the next segment when the segment time reaches 00:00 or is stopped.
Play/Shot Clock
To make the play/shot clock visible, click the menu button followed by
Enable Play/
Shot Clock
.
Click the play button to start the clock. Click the stop button to pause the clock.
When the clock is stopped, click the menu button followed by
Edit Play/Shot Clock
to set the seconds value using the on-screen number pad. There may be one or two shot
clock time values depending on the selected rules profile; click the appropriate reset
button to reset the clock to the default time.


