background image


1


Quick Start 


The actual appearance or quantity might be different depending on the model you purchased. 

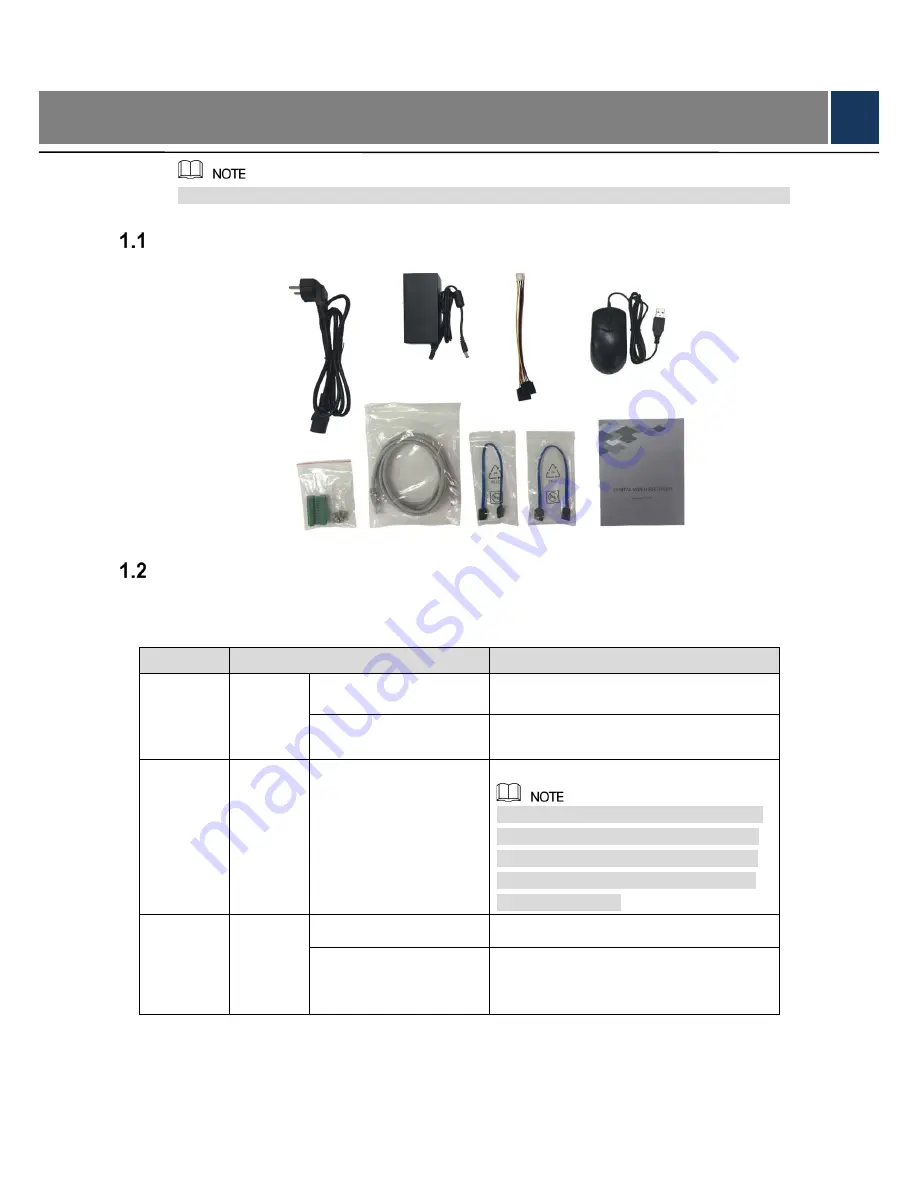
 Unpacking the Accessories 


 Checking the Components 

When you receive the DVR, please check against the following checking list. If any of the items 

are missing or damaged, contact the local retailer or after-sales engineer immediately. 

Sequence 

Checking items 

Requirement 

Package 

Appearance 

No obvious damage. 

Packing materials 

No broken or distorted positions that 

could be caused by hit. 

Labels 

Labels on the device 

Not torn up. 


Do not tear up or throw away the labels; 

otherwise the warranty services are not 

ensured. You need to provide the serial 

number of the product when calling the 

after-sales service. 

Device 

Appearance 

No obvious damage. 

Data cables, power 

cables, fan cables, and 

mainboard 

No loose connection. 

Содержание XVR SERIES

Страница 1: ...DIGITAL VIDEO RECORDER Quick Start Guide V1 0 0...

Страница 2: ...We assume no liability or responsibility for any problems caused by unauthorized modifications or attempted repair Use a power supply that meets the requirements for SELV Safety Extra Low Voltage and...

Страница 3: ...borne by the user Upgrade the reader software or try other mainstream reader software if the Guide in PDF format cannot be opened There still might be deviation in technical data functions and operati...

Страница 4: ...sk Drive HDD 2 Booting up 2 2 The Grand Tour 3 Front Panel Error Bookmark not defined Rear Panel Error Bookmark not defined 3 Local Configurations 4 Initializing DVR 4 Adding Remote Device 5 Configuri...

Страница 5: ...sales engineer immediately Sequence Checking items Requirement 1 Package Appearance No obvious damage Packing materials No broken or distorted positions that could be caused by hit 2 Labels Labels on...

Страница 6: ...he DVR to see the back side of it Aim the screws of the HDD at the holes on the back of the DVR and then fasten the screws 5 Use the HDD cable and power cable to connect HDD and mainboard 6 Put back t...

Страница 7: ...ports as an example No Port Name No Port Name No Port Name 1 Ground 6 HDMI port 11 VGA port 2 Alarm input output port ground 7 USB port 12 Power button 3 Video input port 8 Network port 13 Power cable...

Страница 8: ...time the Device Initialization interface is displayed see Figure 3 1 You need to configure the password information for the admin by default If needed you can also configure the unlock pattern and pa...

Страница 9: ...ou reset the password If you want to configure the email or security questions fucntion later or you want to change the configurations select Main Menu ACCOUNT USER Table 3 1 Adding Remote Device Sele...

Страница 10: ...Recording Storage Schedule Select Main Menu STORAGE SCHEDULE Record the Record interface is displayed see Figure 3 3 The default setting is 24 hours recording for all channels You can modify the setti...

Страница 11: ...view search and play back the recorded video Configuring P2P Settings You can add the DVR into your cell phone client or the platform to manage For details please refer to the P2P operation manual Mak...

Страница 12: ...d device into Cell Phone Client as an example Use your cell phone to scan the QR code under Cell Phone Client to download the application Open the application and tap the menu is displayed Tap Device...

Страница 13: ...Menu interface or any interface after you have entered the Main Menu click Select Logout you will log out the DVR Select Reboot the DVR will be rebooted Select Shutdown the DVR will be turned off You...

Страница 14: ...ount is admin The password is the one that was configured during initializing settings To security your account it is recommended to keep the password properly and change it periodically You can selec...

Отзывы: