6
Table 3-1
Configure network
Network Type Description
WLAN
Click
when Wi-Fi is available near the Signage.
After enabling this function, you can connect the Signage to Wi-Fi in the
following ways.
Auto search: Click a Wi-Fi, enter its password, and then click
Connect
.
Connect to Wi-Fi manually: Click
, and then on the
Add network
interface, enter
Network SSID
, select a security option from
None
,
WEP
,
WPA/WPA2 PSK
, or
802.1x EAP
, and then click
Save
.
Ethernet
Connect your device to network by Ethernet. Two methods are available to plan
your device IP.
DHCP: When there is a DHCP server on the network, after selecting the DHCP
option, the Signage automatically obtains IP address from the DHCP server.
Static IP: After selecting
Static IP
, respectively click
IP Address
,
Gateway
and
Netmask
, and enter the IP address, default gateway and net mask
according to your network plan.
2)
Click
Save and Next
.
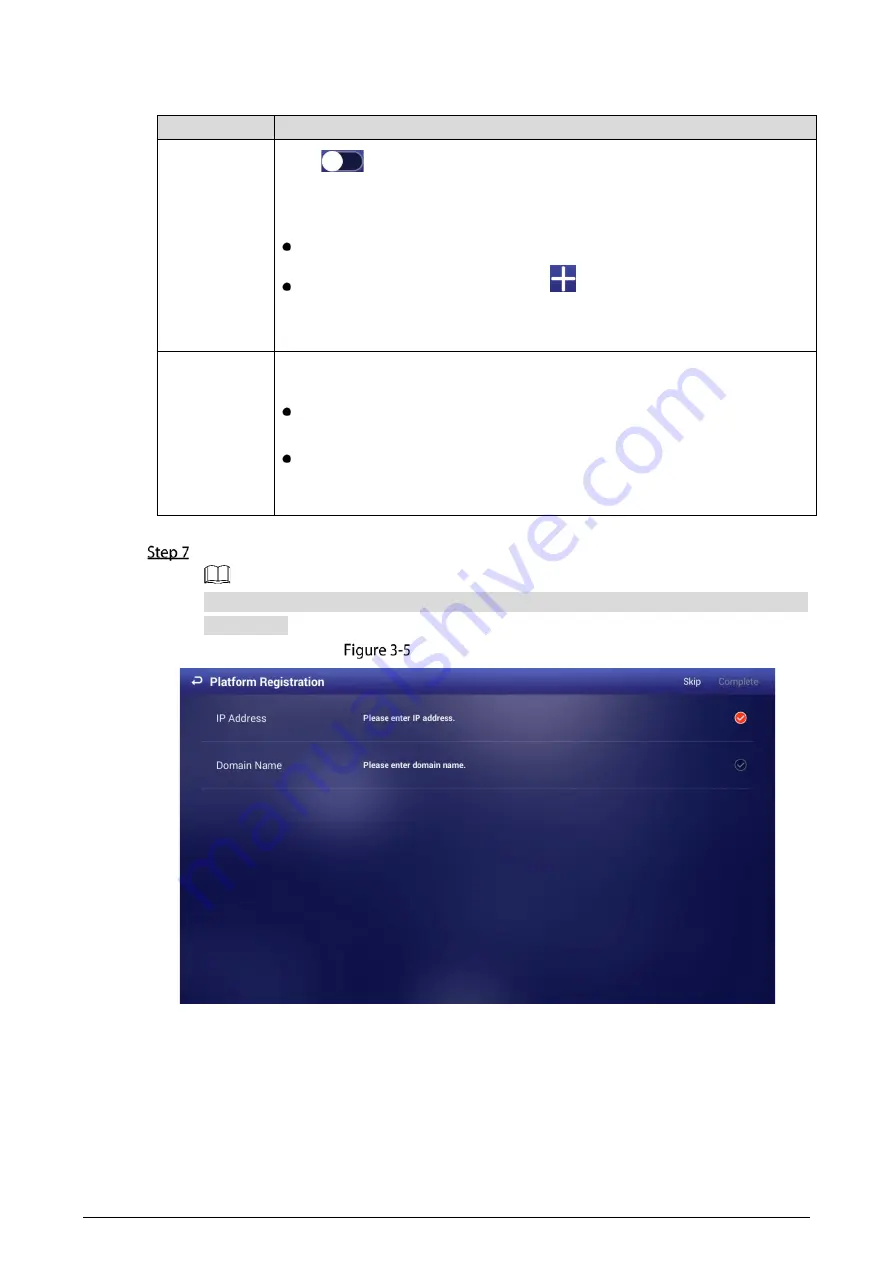
On the
Platform Registration
interface, register the Signage to the platform (MPS).
Click
Skip
to skip platform registration. Platform is required when multiple signages are used
in a solution.
Platform registration
1)
Enter the IP address or domain name of the platform (MPS).
2)
Click
Complete
.
Содержание LDV55-SAI400TK
Страница 1: ...Digital Signage User s Manual V1 0 1 ...
Страница 37: ...32 Device information ...


