11
Figure 2-2
2.2
Device Installation Steps
2.2.1 Installation Steps for Devices of Following Product Models:
HDB/HDBW3202,
HDB/HDBW3101, HDB/HDBW5202, HDB/HDBW5302, HDB/HDBW5502, HDB/HDBW8301,
HDB/HDBW8306.
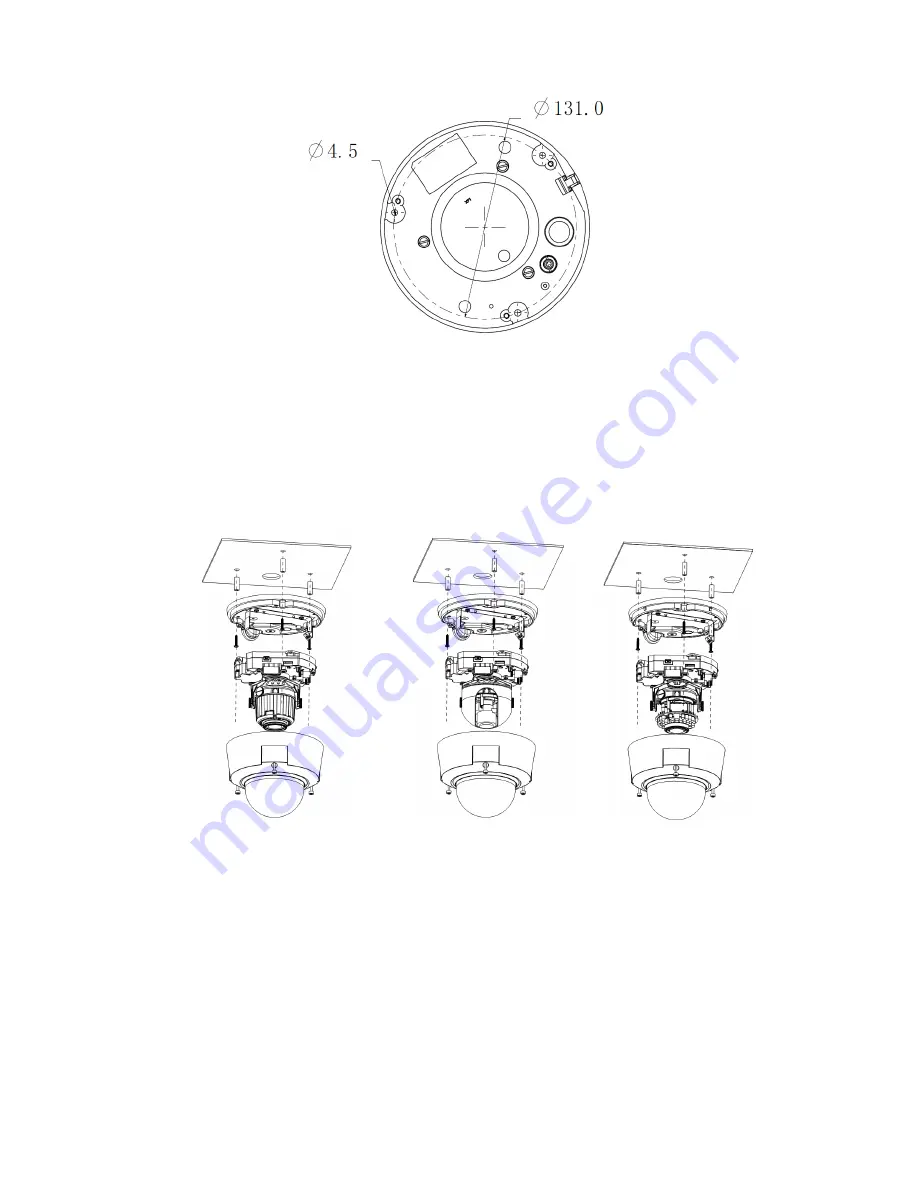
The interface is shown as in Figure 2-3.
IR Motorized Zoom Lens Series Non-IR Series IR Manual Zoom Series
Figure 2-3
Step 1
Take the installation position map from the accessories bag and then paste it on the installation ceiling
or the wall according to the monitor area. Please dig three bottom holes of the plastic expansion bolts
according to the map. Take three expansion bolts from the accessories bag and then insert them to
the holes you just dug and then fix firmly. If you need to dig a hole to pull through the cable, you need
to dig a cable exit hole (The diameter is more than 28mm) on the installation surface according to the
installation positioning map.
Step 2
Содержание IPC-HDBW5502N
Страница 1: ...HD IR Vandal Proof Network Dome Camera Quick Start Guide Version 1 3 0 ...
Страница 6: ...2 Figure 1 3 Camera internal without IR 1 a Figure 1 4 Camera internal without IR 1 b See Figure 1 5 ...
Страница 26: ...22 Step 3 Please refer to Step 7 in chapter 2 2 1 to put the device protection enclosure back ...


