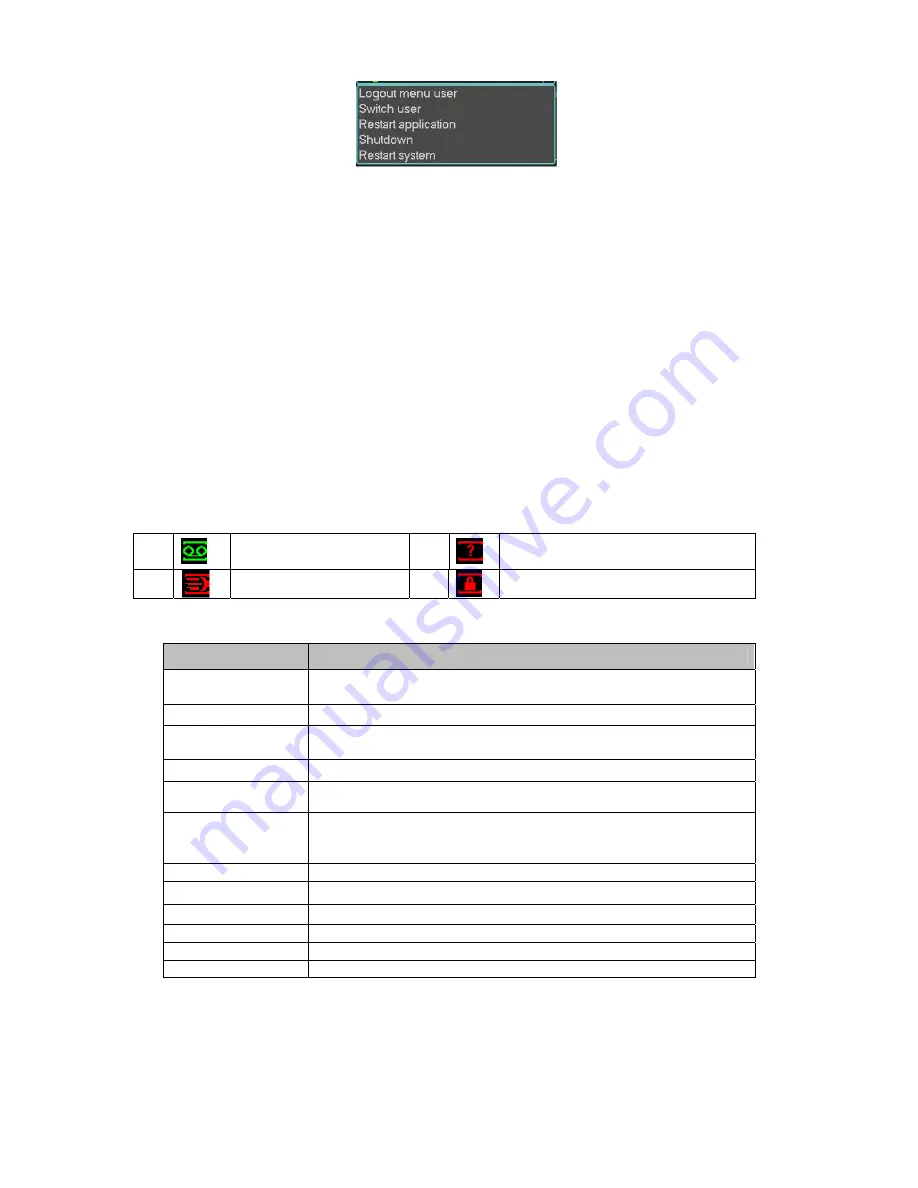
8
Figure 2-5
The other ways is to press power button on the front panel for at least 3 seconds, system will
stop all operations. Then you can click the power button in the front panel to turn off the NVR.
Please note, before you replace the HDD, do remember shutting down the device and unplug the
power cable.
2.1.4 Auto Resume after Power Failure
The system can automatically backup video and resume previous working status after power
failure.
2.2
Live Viewing
After you logged in, the system is in live viewing mode by default. You can see system date, time
and channel name. If you want to change system date and time, you can refer to general settings
(Main Menu->Setting->General). If you want to modify the channel name, please refer to the
display settings (Main Menu->Setting->Display). You can view there is a volume bar at the right
bottom corner. The volume bar becomes red when it is the max value.
Right click mouse, you can see system pops up the following menu. See Figure 2-6.
Please refer to the following sheet for detailed information.
Name
Function
View 1
System displays in one-channel. You can select channel 1 to
channel 4.
View 4
System displays in 4-window.
View PIP
System displays in picture in picture mode. One picture is big
and one picture is small.
Pan/Tilt/Zoom
Set PTZ parameter and realize fast positioning.
Auto focus
Click it to adjust auto focus distance.
Color Setting
Set video hue, brightness, contrast, saturation and gain.
Please note you need to set a period here and the time format
shall be 24H.
Search
Search record.
Record
Set record mode.
Remote device
It is the connected IPC setup.
Real-time burn
Click to go to real-time burn interface.
Alarm output
Set alarm output mode.
Main menu
Go to main menu.
1
Recording status
3
Video loss
2
Motion detection
4
Camera lock
Содержание Forensic NVR0404FD-S
Страница 1: ...Forensic NVR Quick Start Guide Version 2 2 0 ...
Страница 29: ...25 Figure 2 37 ...


