29
for details.
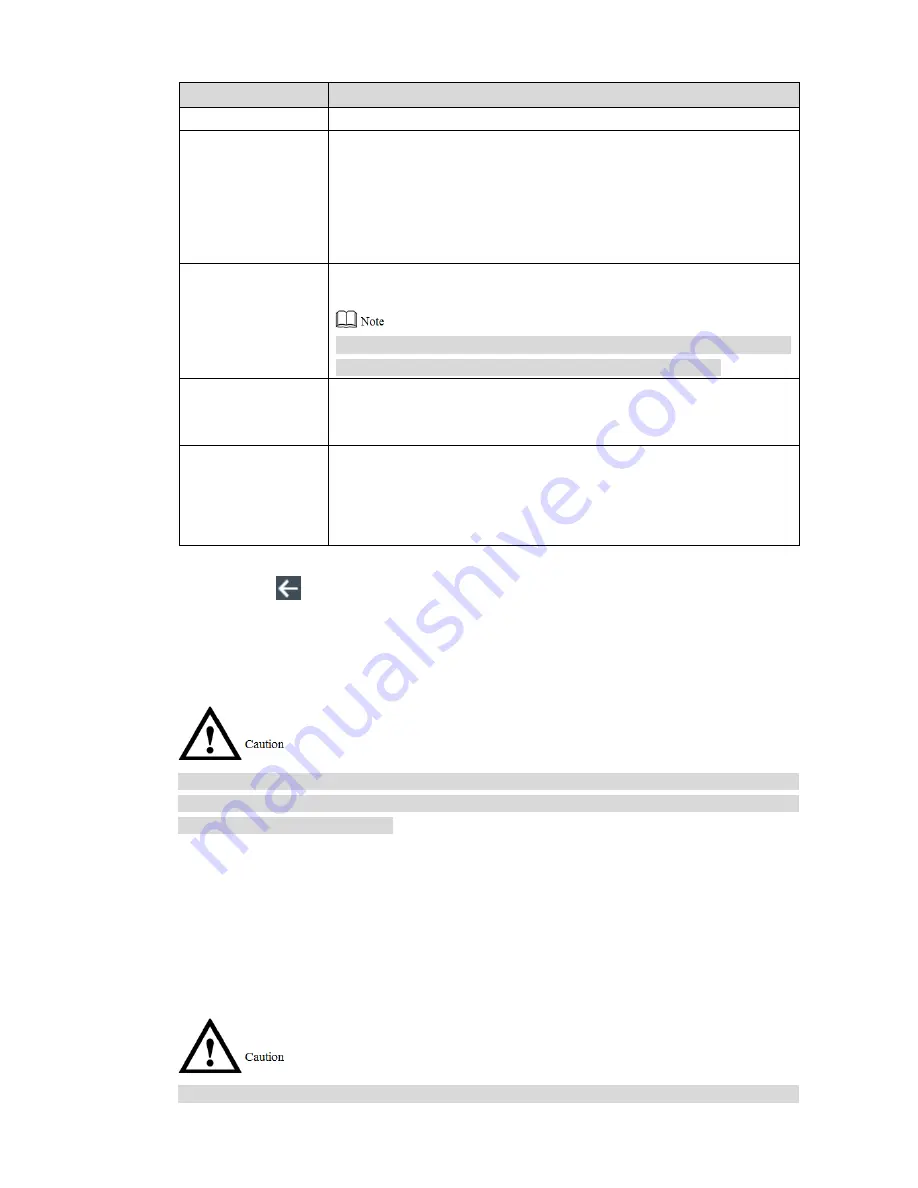
Parameter
Note
Shift Name
Customize shift name.
Period 1 and Period
2
Set attendance period. When the period between Check In and Check
Out meets this period, it is a normal attendance; otherwise, it is an
exception attendance. The system supports two periods.
If two periods are set, they are regarded to be normal attendance
when both period 1 and period 2 carry out normal Check In and
Check Out.
Overtime Period
Set overtime period. If period between overtime check-in and
check-out meets the set period, it is regarded to be overtime period.
Overtime check-in is valid only if the card is swiped between off-duty
time and overtime check-
in time of “Period 1” or “Period 2”.
Late-in Allowed
The range of check-in time later than on-duty time. For example,
when on-
duty time is 8:00, if “Late-in Allowed” time is set to be “5”
minutes, it is regarded to be late if you check in after 8:05.
Early-out Allowed
The range of check-out time earlier than off-duty time. For example,
when off-
duty time is 17:00, if “Early-out Allowed” time is set to be “5”
minutes, it is regarded to be early-out if you check out before 16:55.
Table 3-4
Press
. The screen prompts “Do you want to save settings?”
步骤
3
Press [Yes] to complete shift config.
步骤
4
3.7.1.2 Shift Import
Before importing shift table, please ensure that USB disk has been inserted. Please don’t pull
out USB disk or execute other operations during uploading; otherwise, uploading will fail, even
the device cannot work normally.
Update the corresponding file and store it in USB disk.
步骤
1
Select “Attendance > Shift Setting > Shift Import”.
步骤
2
The screen prompts “Are you sure to import?”
Press [Yes] to import.
步骤
3
It is suggested that files should be exported first and used as import template.
3.7.1.3 Shift Export
Before downloading shift table, please ensure that USB disk has been inserted. Please don’t
Содержание ASA4214F
Страница 1: ...Face Recognition Access and Time Attendance Terminal User s Manual V1 0 0...
Страница 11: ...2 1 2 External Dimension External dimension of the device is shown in Figure 1 1 The unit is mm Figure 1 1...
Страница 13: ...4 2 3 Installation Installation of the device is shown in Figure 2 2 and Figure 2 4 Figure 2 2 Figure 2 3...
Страница 15: ...6 Figure 2 5 Figure 2 6...
Страница 19: ...10 Figure 2 12 Figure 2 13 External alarm input is shown in Figure 2 14 Figure 2 14...
Страница 68: ...59 Appendix Figure 1 3...


