Basic Operations 13
Network
Type
Description
Ethernet
Connect your Signage to network by Ethernet and there are two kinds of methods
for you to give an IP to your Signage.
DHCP: When there is a DHCP server in the network, after selecting the DHCP
option, the Signage automatically obtains IP address from the DHCP server.
Static IP: After selecting Static IP, respectively click IP ADDRESS, DEFAULT
GATEWAY or NETMASK, and enter the IP address, default gateway and net
mask according to the network plan.
WLAN
Connect your Signage to network by Wi-Fi. Click
to turn on Wi-Fi first.
Then, to connect your Signage to network, you can:
Click a given Wi-Fi, type its password and click
Connect
.
Or you can add a Wi-Fi manually: click
to display the
Add Network
interface. Then type
Network SSID
and select
Security
from
None
,
WEP
,
WPA/WPA2 PSK
and
802.1x EAP
. Click
Save
to finish configuration.
4G
You can connect a 4G mobile network card to your device and select
Data
Enabled
to finally get your device networked.
VPN
Connect your device to VPN. Then your device can get programs from VPN.
4.6.1.2.2 Configuring Whitelist
Configure the IP that are allowed to access the Signage, and only IP addresses in the whitelist
can access the Signage. This is to enhance data security.
In main menu, click
Settings > Network Setting > Whitelist
.
Step 1
The
Whitelist
interface is displayed.
Click
to enable whitelist and make it take effect officially.
Step 2
Add an IP address to your whitelist.
Step 3
1) Click
.
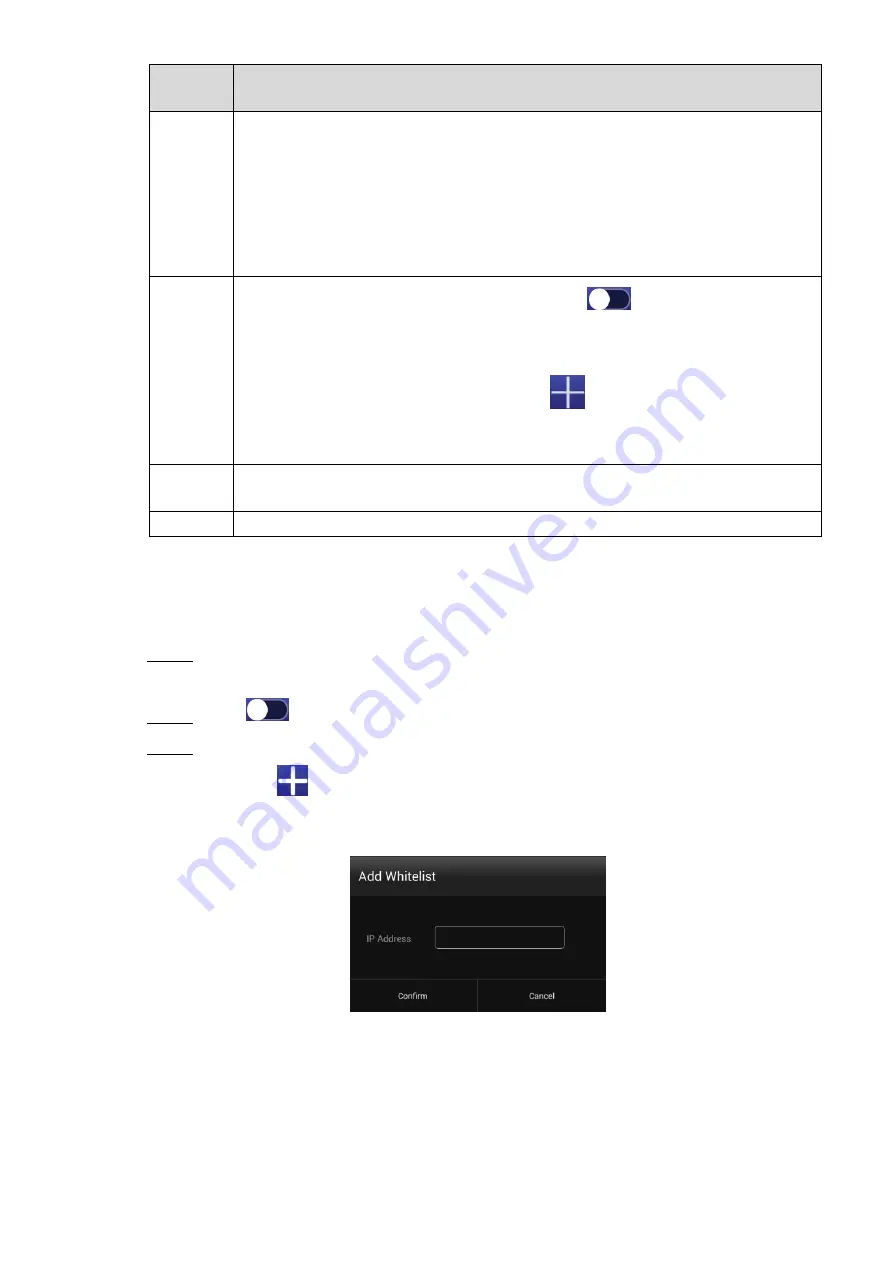
The
Add Whitelist
interface is displayed. See Figure 4-8.
The add whitelist interface
Figure 4-8
2) Type an IP address.
3) Click
Confirm
.
The IP address you have added is displayed.
Repeat Step 3 to add multiple IP addresses to your whitelist.


