background image

21

VCR

Oper

ation

20

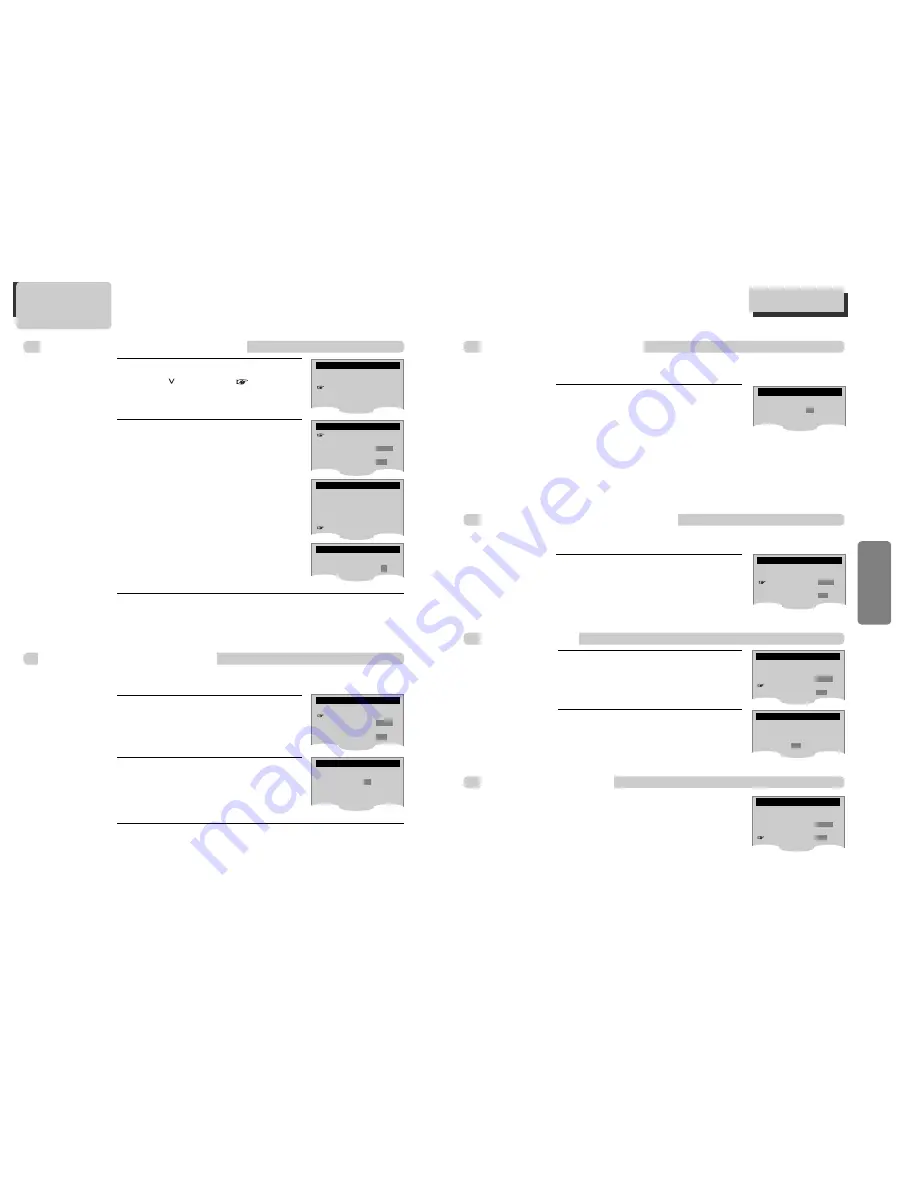
To Delete Channels Manually 

After memorizing automatically channels, when the same broadcasting is memorized in more than two
channels,  or you want to delete badly displayed channels, follow the procedures below.

You must set the viewing mode for your VCR, choosing either CABLE (cable system connection) or ANTENNA
(antenna connection). 

1

1

Press [SETUP] button and select

ÒCHANNEL SETÓ. Select ÒAdd/Remove

ChannelsÓ. 

2

2

Select the desired channel and delete it.

ADD/REMOVE CHANNELS

Channel 02

is now REMOVED.

To Memorize Channels Manually 

When the desired broadcasting finished or you want to add unmemorized channels owing to poor signals to
the memory, follow the procedures below.

Press [SETUP] button and select
ÒCHANNEL SETÓ.
Select ÒAdd/Remove ChannelsÓ. 

1

1

Select the desired channel and memorize it. 

Press [NUMBER] button of remote control to
select the desired channel to memorize. 
When [>] button is pressed, ÒREMOVEDÓ under
channel number converts into Ò

ADDEDÓ

.

2

2

Check the memorized channel.

To check the memorized channel, press [CH+/Ð] button on remote control. 

3

3

ADD/REMOVE CHANNELS

Channel 02

is now ADDED.

Memorizing TV Channels

Memorizing TV Channels

Press [SETUP] button.

Press [

] button to move 

into CHANNEL

SET, and then select CHANNEL SET with
[ENTER] button. 

Select ÒAUTO CHANNEL SEARCHÓ. 

Press [ENTER] button in CHANNEL SET window
to select AUTO CHANNEL SEARCH. 

Select ÒDetect AutomaticallyÓ. 

Press [ENTER] button in AUTO CHANNEL SEARCH
window to detect the channel automatically.

Channel number changes successively from 01
to 125, while only broadcasting channels are
memorized automatically. When memory
process is completed, the lowest numberÕs one
of memorized channels is displayed.

Please, check the memorized channels.

To check the memorized channels, press [CH+/Ð] button on remote control. 

1

1

2

2

3

3

To Memorize Automatically Channels

SETUP

CLOCK SET
TIMER RECORDINGS
CHANNEL SET
FUNCTIONS
LANGUAGE SELECT

AUTO CHANNEL SEARCH

What type of signal are you 
using?

Cable TV
Antenna
Detect Automatically

AUTO CHANNEL SEARCH

Now scanning channel 11

CHANNEL SET

Auto Channel Search
Add/Remove Channels
Signal Type:

CABLE

Cable Box Setup
Channel Change:

CH3

CHANNEL SET

Auto Channel Search
Add/Remove Channels
Signal Type:

CABLE

Cable Box Setup
Channel Change:

CH3

Selecting cable or antenna viewing

To set the viewing mode:

Press [ENTER] to toggle the setting between CABLE and
ANTENNA  in CHANNEL SET screen. 
When the desired viewing mode is displayed, press
[SETUP] twice to exit.

CHANNEL SET

Auto Channel Search
Add/Remove Channels
Signal Type:

CABLE

Cable Box Setup
Channel Change:

CH3

To Set Cable Box

To Set Output Channel 

Press [SETUP] button and select ÒCHANNEL
SETÓ . Select ÒChannel ChangeÓ.  

By pressing [ENTER] button, set the exclusive channel
for video on the desired one of CH3 or CH4.

Press [SETUP] button and select
ÒCHANNEL SETÓ.
Select ÒCable Box SetupÓ. 

1

1

Select ÒCable Box ChannelÓ. 

Press the channel number which matches to the
output of the Cable Box to connect between
Cable Box and this unit.

2

2

CABLE BOX SETUP

On what channel do you
want to receive from
the cable box?

- -

CHANNEL SET

Auto Channel Search
Add/Remove Channels
Signal Type:

CABLE

Cable Box Setup

Channel Change:

CH3

CHANNEL SET

Auto Channel Search
Add/Remove Channels
Signal Type:

CABLE

Cable Box Setup

Channel Change:

CH3

Press [NUMBER] button of remote control to select the desired channel to delete. 
When [<] button is pressed, ÒADDEDÓ under the channel number converts into
Ò

REMOVEDÓ

3

3

To check the deleted channel, press [CH+/Ð] button on remote control. 

Содержание DV6T534B

Страница 1: ...home is 1 or ALL In inserting a disc with other region code it does not operate Please only use a disc with region code 1 or ALL is a Prohibition mark If this mark is displayed in operating the produ...

Страница 2: ...P N 97P95600N0 78...

Страница 3: ...r defeated Avoid direct exposure to beam CAUTION Do not open the top cover There are no user serviceable parts inside the Unit leave all servicing to qualified service personnel CLASS 1 LASER PRODUCT...

Страница 4: ...entry as practical 13 Outdoor Antenna Grounding If an outside antenna or cable system is connected to the product be sure the antenna or cable system is grounded so as to provide some protection again...

Страница 5: ...fully before using a DVD Video player Installation place and handling When you place this player near other devices they may affect poorly together When you place DVD Video player and TV in the upper...

Страница 6: ...ng 5 Contents 6 Identification of Controls 7 Remote Control 10 Connecting with TV 11 Connecting with Cable Box 12 Connecting with Other Video Equipment 13 Connecting with an Analog Audio 14 Connecting...

Страница 7: ...ck for supplying power to the unit Connect to outlet in a wall Digital Output COAXIAL Jack To enjoy sound quality of theater level in home connect this jack with amp or unit embedded with digital audi...

Страница 8: ...ear panel of DVD Video Connect TV to DVD Video Connect RF OUT jack in DVD Video with ANT IN jack in TV with RF cable Method Method 2 2 Connecting to a TV that has a audio video in jacks Connect VIDEO...

Страница 9: ...to Broadcasting Channel mode to change TV channel Change channel selection of CATV receiver in recording contents of recording is changed RearPanelofDVD VIDEO ConverterBox RearPanelofTV RF Cable AUDIO...

Страница 10: ...T CAUTION CAUTION TO REDUCE THE RISK OF ELECTRIC SHOCK DO NOT REMOVE COVER OR BACK NO USER SERVICEABLE PARTS INSIDE REFER SERVICING TO QUALIFIED SERVICE PRESONNEL RISK OF ELECTRIC SHOCK DO NOT OPEN 20...

Страница 11: ...Press VCR button If VCR mode is correctly selected VCR on the operation display window is lighted Then remote control button works as VCR function Press the VCR button then it becomes to the VCR OPERA...

Страница 12: ...he operational status is flickering or poor adjust it with TRACKING button 1 1 2 2 3 3 To stop it press button For pause press PLAY PAUSE button in playback mode If you press this button once more it...

Страница 13: ...emorized channels is displayed Please check the memorized channels To check the memorized channels press CH button on remote control 1 1 2 2 3 3 To Memorize Automatically Channels SETUP CLOCK SET TIME...

Страница 14: ...t is protected by method claims of certain U S patents and other intellectual property rights owned by Macrovision Corporation and other rights owners Use of this copyright protection technology must...

Страница 15: ...gram Setting Press PROGRAM button in VCR mode You can set the Timer Program Before timer program setting clock should be set correctly and video mode should be selected Timer Recordings TIMER RECORDIN...

Страница 16: ...lists the recording time hours minutes for each tape type according to recording speed Tape Type SP Mode Standard Play SLP Mode Extended Play T 60 1 00 3 00 T 90 1 30 4 30 T 120 2 00 6 00 T 160 2 40...

Страница 17: ...rst index mark on the tape when you start at the beginning of the tape Searching with the tape counter go to search Using advanced features Using advanced features Play the tape automatically This fea...

Страница 18: ...th a SAP Consult a television guide for program broadcast information 30 Changing the on screen menu language Press SETUP button and select LANGUAGE SELECT 1 1 Select the language among English Spanis...

Страница 19: ...les on the disc is displayed For the case of VCD disc menu screen will appear only when the disc has PBC function and PBC ON is activated 1 1 Press the ENTER button or PLAY button after pressing the b...

Страница 20: ...shows the MP3 File information in disc the directory MP3 File name and directory list With buttons you can move the cursor to directory or number of MP3 Music File To go to desired directory or to pl...

Страница 21: ...h ENG French FRE Spanish SPA and others appear one by one Keep pressing SUBTITLE button till the user s preferred language appears If a DVD disc includes subtitle information every time the user press...

Страница 22: ...s CD audio To stop playback Press the STOP button To skip to the next or previous file Press the NEXT button of the remote control briefly while playing to skip ahead to the beginning of the next file...

Страница 23: ...or the change of a user s password please move to Change Password and enter new password 7 7 The initial password is 3308 In case you forget newly input password you can use 3308 as a password Video A...

Страница 24: ...2 0 S VCD and Audio CD Disc type Playable Restriction DVD Possible Region number 1 or Region number All Video CD Possible Version 1 0 1 1 2 0 SVCD CVD CD Possible PCM CD G Possible Only Audio playback...

Страница 25: ...ot appear or poor screen appears Sound is irregular Remote control does not work Dolby Digital sound does not work AUDIO or SUBTITLE button does not work ANGLE button does not work while a DVD is play...

Страница 26: ...the tape is re ejected A videotape is not ejected A channel on video and a play screen does not appear Noise screen noise appears on screen Noise appears on screen after recording While in playing noi...

Страница 27: ...1 0Vp p Pb 0 7Vp p Pr 0 7Vp p AUDIO output common use of DVD and VCR Audio output terminal 2 kinds 8 8dBm VCR 2 0Vrms DVD RCA JACK AUDIO output DVD only Analogue AUDIO output 2 CH 2 0Vrms Digital aud...

Страница 28: ...tructions furnished by us nor units which have been repaired or altered outside of our factory nor to cases where the serial number thereof has been removed defaced or changed This warranty is in lieu...

Отзывы: