Daewoo DV-T8F4N-PS Скачать руководство пользователя страница 8

7

DAEWOO Video Cassette Recorder User’s Guide

6

DAEWOO Video Cassette Recorder User’s Guide

Plug in the VCR

Match the wide blade of the power cord to the wide
slot in the AC outlet.Be sure to insert the plug
completely.

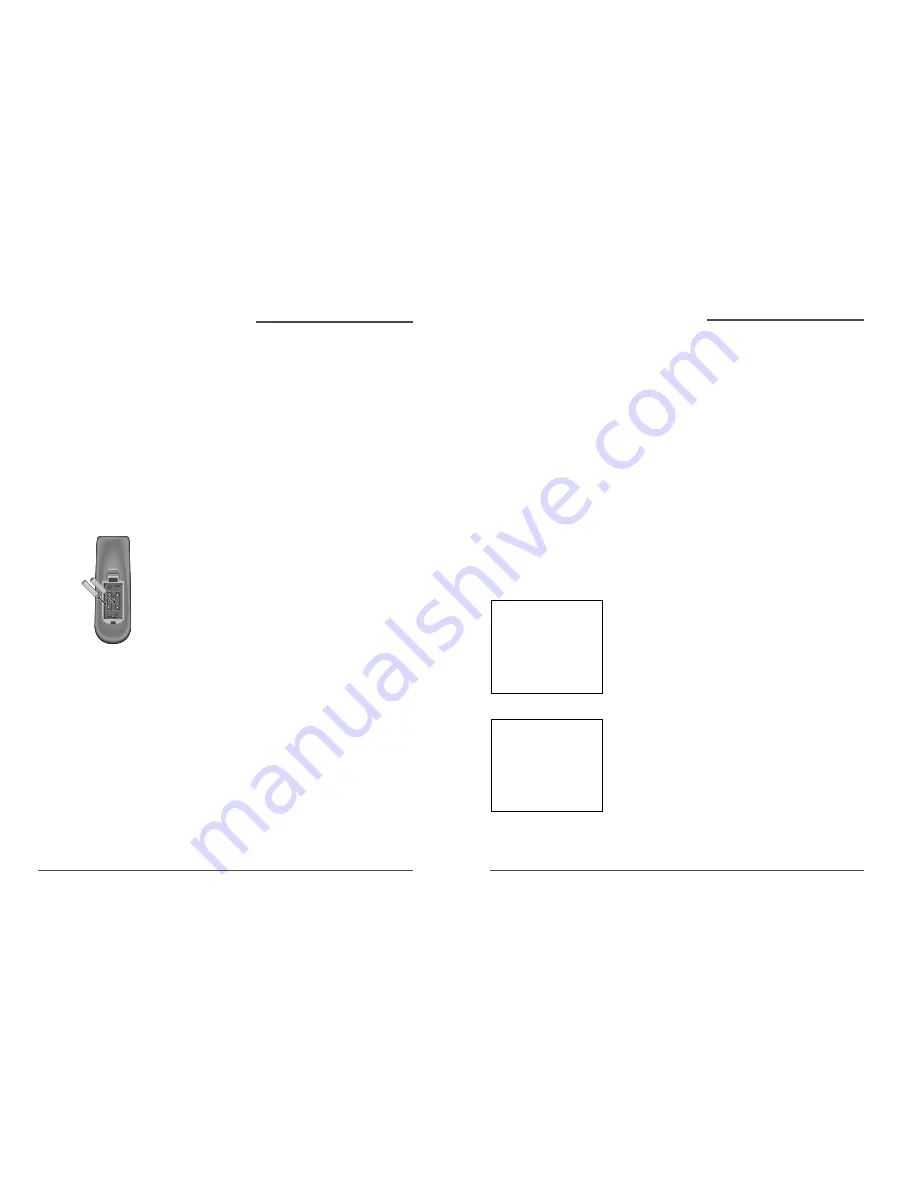
Put Batteries in the Remote Control

1. Remove the battery compartment cover on the

remote control.

2. Insert new batteries matching the polarities (+and

–)on the batteries with the diagram in the battery
compartment.

3. Put the battery compartment cover back on the

remote.

Turn on the TV and VCR

Turn on the TV and press the VCR button on the
remote control to turn it on.

Tune the TV

Tune the TV to the VCR viewing channel.The VCR
viewing channel is channel 3,4,or the TV ’s video line
input.

• If you connect your VCR using RF coaxial cable

only,turn the TV to channel 3 or 4 (whichever was
set on the CH 3/4 switch).

• If you connected the VCR using A/V jacks and

cables,select the TV ’s video line input. For more
information see Finding the TV ’s Video Line Input
on page 34 in the Other Information section of this
manual.

Note:

• If you connected components

using A/V jacks and ables,the
VCR ’s signal must be viewed
using the TV ’s Video Line
Input.To find the Video Line
Input,refer to the manual that
came with the TV or see
Finding the TV ’s Video Line
Input on page 34 in the Other
Information section of this
manual.

Set the VCR’s CH 3/4 Switch

The CH 3/4 switch on back of the VCR determines what channel the TV must be tuned to see
the VCR ’s image.Choose whichever channel is not used locally in your area.

+

+

Complete the QuickSet Guide

The menu system in your VCR allows you to customize your
preferences as well as use all the VCR ’s features.To help
you use the VCR as quickly as possible,there is an initial
QuickSet Guide that walks you through several important
setup steps at one time.

The first time you turn on the VCR,you will be able to set up
available channels,time and date information,and more.The
first menu you will see asks which language you prefer to
have the on-screen menus appear in.

The remaining menus throughout the setup will appear in
the language chosen. Just follow the step-by-step procedures
until the QuickSet Guide is complete.

Accessing Menus

The series of preferences that are set in the QuickSet Guide
can also be handled individually using the VCR ’s on-screen
menu system.There are other settings not covered in the
initial setup that are also handled using the on- screen
menus.

Se puede acceder a todos los menús en pantalla de la
misma forma, comenzando por el Menú Principal, el cual se
presenta al oprimir el botón MENU del control remoto.

For example,if you decide to run the QuickSet Guide
again,you can access the Setup menu by pressing the remote
control ’s MENU button.Once the Main Menu is displayed,
press the 4 button to choose Setup . From there,you can
start the QuickSet Guide from the beginning.

All on-screen menus are accessed the same way,starting in
the Main Menu which is displayed by pressing the remote
control ’s MENU button.

Note:

Selecting a menu item can take
you to another menu,activate a
choice,or activate a data entry
field (such as the hour field in
the Set Time menu).

Using the Remote Control to Navigate On-Screen Menus

The technical term is “Navigation ” – how you move through the on--screen menus.The theory is the same for all the
menu screens;use the corresponding number button on the remote control select it.

To choose an on-screen item,press the remote control ’s corresponding number button.

Note:

• See chapter two,Using On-Screen Menus ,for details

about changing the VCR ’s individual settings.

Note:

• If you get a prompt saying The

Auto Clock Set was  nsuccessful.
Would you like to set the time
and date?then time information
may not be available in your
area.Follow the on-screen
instructions to set up the time
and date manually which will
automatically turn off the Auto
Clock Set.

All of the VCR’s menus are
accessed through the Main Menu.
Press the remote control’s MENU
button to start.

Select a language.
Seleccione un idioma.
Choisissez une langue.

1 English
2 Español
3 Français

VCR MAIN MENU

1 Timer Recordings
2 Time
3 Channels
4 Setup
5 Preferences
6 Audio
7 Language
0 Exit

Connections & Setup

,

c

ontinued

Connections & Setup

,

c

ontinued

Содержание DV-T8F4N-PS

Страница 1: ...Video cassette recorder User s Guide DV T8F4N PS ...

Страница 2: ...structions All the safety and operating instructions should be read before the video product is operated Follow all operating instructions 2 Retain Instructions The safety and operating instructions should be retained for future reference 3 Heed Warnings Comply with all warnings on the video product and in the operating instructions 4 Polarization This video product is equipped with a polarized al...

Страница 3: ...DAEWOO Video Cassette Recorder User s Guide ii DAEWOO Video Cassette Recorder User s Guide Safety information continued ANTENNA DISCHARGE UNIT NEC SECTION 810 20 ANTENNA LEAD IN WIRE POWER SERVICE GROUNDING ELECTRODE SYSTEM NEC ART 250 PART H GROUND CLAMP ELECTRIC SERVICE EQUIPMENT GROUNDING CONDUCTORS NEC SECTION 810 21 GROUND CLAMPS EXAMPLE OF ANTENNA GROUNDING NEC NATIONAL ELECTRICAL CODE 13 Po...

Страница 4: ...ress REC to set length Front Audio Video Input Jacks Description The VCR has Audio Video A V input jacks on both the front and rear of the unit there are output jacks on the rear panel only The front A V jacks make it easy to plug in an external A V device such as a camcorder Requirements Make sure that all A V connections are snug To see a connected device s image turn the VCR to its Video Line I...

Страница 5: ...se A V cables not supplied to connect the VCR to the TV A V cables provide better picture and sound quality than an RF coaxial cable If you would like to hook up your VCR using A V cables refer to the Advanced Connection information on page 34 in the Other Information chapter of the manual DAEWOO Video Cassette Recorder User s Guide Table of Contents Safety imformation i Introduction iv Key Featur...

Страница 6: ... the VCR s picture For more information about finding your TV s Video Line Input see page 34 The picture on the next page shows the RF coaxial cable supplied with your VCR This will be the cable used for the basic connections represented in this chapter Choose Your Connection There are several ways to hook up your VCR depending on the components connected Please use the following chart to determin...

Страница 7: ...anels may not look exactly like the models shown here VCR TV Satellite CABLE ANTENNA VCR From Satellite From Cable or TV Antenna SATELLITE RECEIVER TV VIDEO R L MONO S VIDEO AUDIO L IN OUT CH3 CH4 S VIDEO L R VIDEO OUT IN FROM ANT OUT TO TV SATELLITE IN ANT IN RF OUT CH VIDEO AUDIO OUT IN R L 3 4 4 2 1 3 Connections Setup continued TV VCR Cable Box 1 Connect the VCR to the TV Connect one end of th...

Страница 8: ...s appear in The remaining menus throughout the setup will appear in the language chosen Just follow the step by step procedures until the QuickSet Guide is complete Accessing Menus The series of preferences that are set in the QuickSet Guide can also be handled individually using the VCR s on screen menu system There are other settings not covered in the initial setup that are also handled using t...

Страница 9: ...mplete you can begin using your VCR In order to begin you must first understand some basic concepts Automatic Tracking The VCR has automatic tracking which adjusts the picture when playing back a tape recorded on another VCR To adjust tracking manually use the TRACKING buttons on the remote control Your VCR may not look exactly like the model used in the illustration Language Selecting your prefer...

Страница 10: ...ows you to switch to a regular antenna for alternate television reception 1 Press the MENU button to display the VCR MAIN MENU 2 Press the 3 button to choose CHANNELS 3 Press 3 to choose between Signal Type Cable and Antenna When finished press 0 to exit back to the Main Menu and 0 again to exit to normal viewing Adding or Removing Channels You might want to add or remove channels after using Auto...

Страница 11: ...ake sure that available channels time zone and Daylight Saving features are set before activating the ACS feature Setting Daylight Saving Time 1 Press MENU to display the VCR MAIN MENU 2 Press 2 to choose TIME 3 Press 4 to choose SET DAYLIGHT SAVING 4 Select the appropriate option If you choose Automatic for the time zone the VCR sets the clock using any DST information broadcast in the channel s ...

Страница 12: ...CR will turn off after one two or three hours of inactivity Thirty seconds before automatically shutting off the VCR displays an on screen message reading The VCR will turn off in 30 seconds Press any key to cancel Pressing any remote control or VCR front panel button will halt the countdown If you use the VCR s tuner instead of your TV to view channels you may want to turn off this feature Front ...

Страница 13: ...ll not reset while rewinding in an Auto Repeat loop AUTO REPEAT Set the length of time you want the tape to play in a repeating loop Loop from 0 00 to 2 h mm Press CLEAR to turn off Press MENU to exit Using the Remote Control Component Buttons ON OFF Turns off VCR when remote is set to control the VCR VCR Function Buttons CHAN Up or Down Selects next higher or lower channel in the VCR s channel me...

Страница 14: ... Cassette Recorder User s Guide Numbers 0 through 9 Select a channel up to 99 by pressing two numbers Select a cable channel over 99 by pressing and holding 1 until 1 appears on the screen Then press the other two numbers PAUSE Pauses playback or recording Press PAUSE again to return to playback or recording PLAY Plays a tape RECORD Starts VCR recording Also used for Express recording REVERSE Rewi...

Страница 15: ...prog Cancel Program 1 has been saved Remember to insert a recordable tape and turn the VCR off before the program start time Press MENU to continue Copying and Editing Tapes Using Two VCRs Use one VCR as the playback VCR and the other as the recording VCR 1 Turn on the TV and VCRs 2 Tune the TV to the VCR viewing channel either 03 04 or the TV s Video Line Input 3 If you connected your VCR using t...

Страница 16: ...he CLEAR button on the remote control to correct an entry 4 Press the FORWARD button to search forward or the REVERSE button to search in reverse The VCR will locate your index mark and begin playback If you did not enter a specific index number the VCR will locate the next index mark and begin playback 5 Press STOP to stop Index Search Marks too close to the current location of the tape Those at ...

Страница 17: ...automatic tracking which removes streaks and noise from the picture Automatic tracking is activated when you insert a tape or turn on the VCR Occasionally you may need to manually adjust tracking especially if the tape was recorded on a different VCR Use the TRACKING buttons on the VCR front panel or remote control to remove streaks and noise You can also use tracking when pausing a tape to reduce...

Страница 18: ...ritas en esta sección a través del menú de AUDIO To Display the Audio Menu 1 Press the MENU button to bring up the VCR MAIN MENU 2 Press 7 to choose AUDIO With the AUDIO menu displayed you are ready to select an item from the menu to set up AUDIO 1 Reception STEREO 2 Tape Playback HI FI 0 Exit Other Information Troubleshooting Tips In this section you will find answers to common recording playback...

Страница 19: ... to Find Your TV s Video Input Channel in this section of the manual for detailed information Try another tape Some snow streaks are normal during search stop action frame advance and slow motion playback Streaks in picture during normal playback Press one of the TRACKING buttons to move streaks up or down for the best picture Check to make sure the tape is of good quality and not worn out Time co...

Страница 20: ... nonabrasive antistatic cleaner and polisher Front Panel Audio Video A V Jacks Used to connect an external device such as a camcorder to the VCR In order for the VCR to see the image of the connected device the L2 Video Line Input must be selected using the remote control s INPUT button CHANNEL TRACKING Up and Down Selects next higher or lower channel in the VCR s channel memory Adjusts tracking w...

Страница 21: ...nel numbers when switchingchannels FUNCTION DISPLAYS dn Ld Down and Load Front panel display alternates between these two words when time data is being downloaded Nota dn and Ld will only be seen if using the Auto Clock Set feature If no time data is available from braodcast signals in your area you should set time and date information manually This turns off the Auto Clock Set feature and the dn ...

Страница 22: ...to the VCR s AUDIO R and L IN jacks and the other ends to the satellite receiver s corresponding audio output jacks Connect one end of the video cable to the VCR s VIDEO IN jack and the other end to the satellite receiver cable box s video output jack 3 Connect a TV antenna cable feed to the satellite receiver cable box Connect the RF coaxial cable feed not included from the satellite antenna or c...

Отзывы: