-10-
ALIGNMENT INSTRUCTION
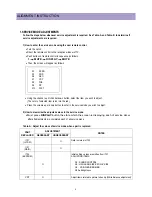
2) FOCUS ADJUSTMENT
•
Turn in a local station and adjust the Focus Control knob (located on FBT) for best picture
details at high light condition.
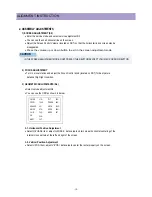
3) GEOMETRIC ADJUSTMENTS (S6)
•
Select service adjustment S6
•
You can see the OSD as shown in below.
3-1. Horizontal Position Adjustment
•
Select H-PHASE item, adjust H-PHASE data value to obtain proper horizontal centering of the
internal cross pattern at the left and right of the screen.
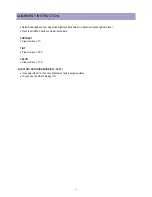
3-2. Vertical Position Adjustment
•
Select V-POSI item, adjust V-POSI data value to center the raster properly on the screen.
2. ASSEMBLY ADJUSTMENTS
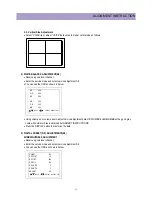
1) SCREEN ADJUSTMENT (S2)
•
Enter the service mode and select service adjustment S2.
•
You can see the one horizontal line on the screen.
•
Adjust the Screen Control Volume (located on FBT) so that the horizontal line onscreen may be
disappeared.
•
Press the volume up or down button to exit in the screen adjustment mode.
IN THE SCREEN ADJUSTMENT MODE, DONT PRESS OTHER BUTTONS EXCEPT VOLUME UP OR DOWN BUTTON.
CAUTION
V-SIZE
V-POSI
H-PHASE
H-SIZE
V-LIN
V-S
HBST
TILT
P-PARA
H-SYM
H-COR
HBSO
392
645
1048
904
367
416
1280
43
676
239
236
267
Содержание DTQ 27U4SC
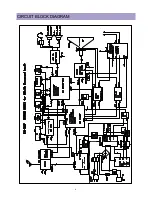
Страница 7: ... 6 CIRCUIT BLOCK DIAGRAM ...
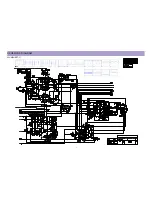
Страница 14: ... 13 SCHEMATIC DIAGRAM 20U4 SHEET 1 ...
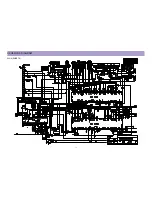
Страница 15: ... 14 SCHEMATIC DIAGRAM 20U4 SHEET 2 ...
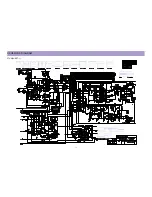
Страница 16: ... 15 SCHEMATIC DIAGRAM 27U4 SHEET 1 ...
Страница 17: ... 16 SCHEMATIC DIAGRAM 27U4 SHEET 2 ...
Страница 46: ... 45 PRINTED CIRCUIT BOARD CN 230F MAIN ...
Страница 47: ... 46 PRINTED CIRCUIT BOARD CN 230F 20U4 CRT ...
Страница 48: ... 47 PRINTED CIRCUIT BOARD CN 230F 27U4 CRT ...
Страница 57: ... 56 WAVEFORMS Appendix 17 SVM Q909 BASE 18 I901 PIN7 ROUT ...
Страница 64: ...PRINTED DATE Mar 2003 ...


