38
H Position
0
V Position
0
Phase
12
Clock
0
Auto Adjust
Adjust
Move
Adjust
Exit
PC
MENU
H Position
0
V Position
0
Phase
12
Clock
0
Auto Adjust
Adjust
Move
Adjust
Exit
PC
MENU
H Position
0
V Position
0
Phase
12
Clock
0
Auto Adjust
Adjust
Move
Adjust
Exit
PC
MENU
H Position
0
V Position
0
Phase
12
Clock
0
Auto Adjust
Adjust
Move
Adjust
Exit
PC
MENU
Screen Adjustment
Adjustment of Screen in PC mode
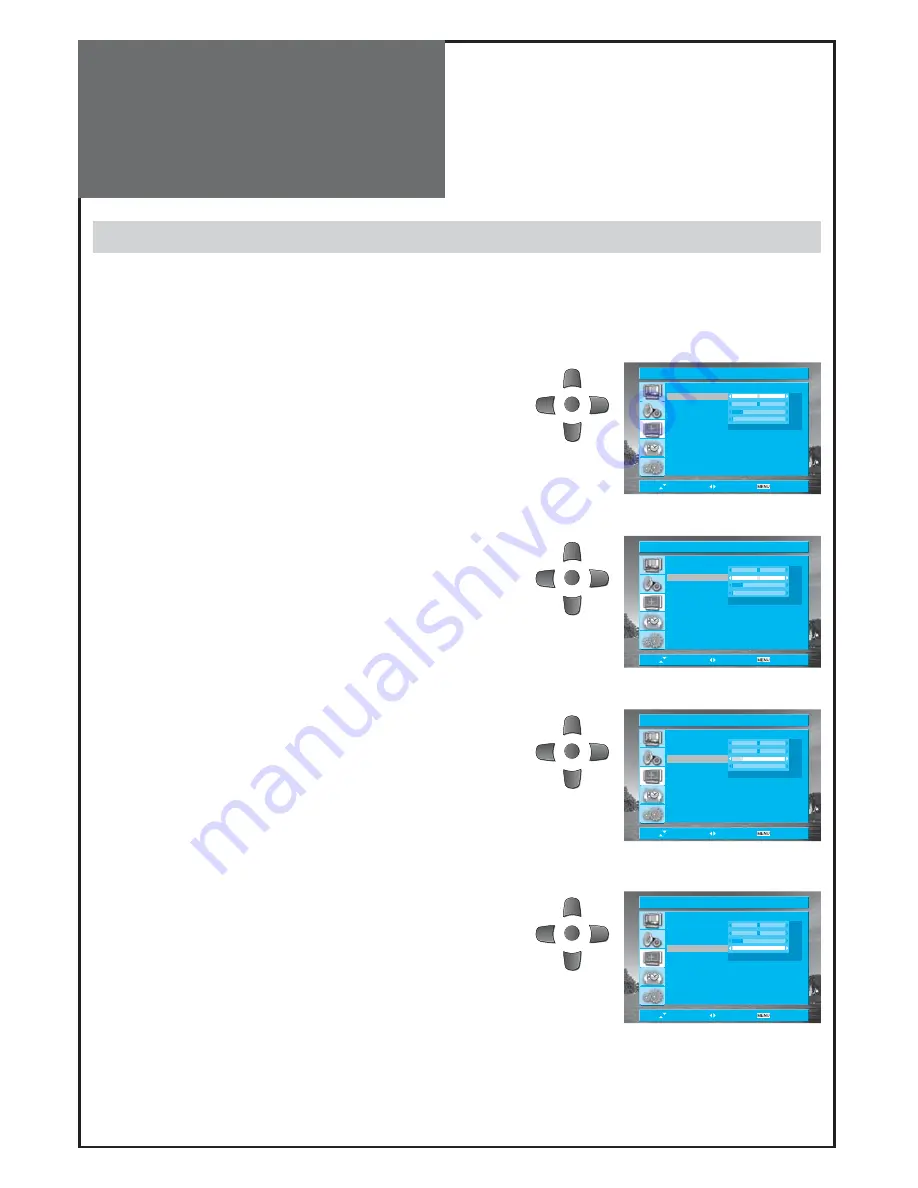
1. Select the PC from the Screen menu.
• Press the “
RIGHT
” button and the
PC
mode appears.
• Press the ”
UP/DOWN
” buttons to adjust the horizontal
position of displayed image.
2. Adjustment of the H Position.
• Move to
H Position
in the
PC
menu.
•
Press
the
“
LEFT/RIGHT
” buttons to adjust the horizontal posi-
tion of displayed image.
3. Adjustment of the V Position.
• Move to
V Position
in the
PC
menu.
•
Press
the
“
LEFT/RIGHT
” buttons to adjust the vertical position
of displayed image.
4. Adjustment of the Phase.
• Move to
Phase
in the
PC
menu.
•
Press
the
“
LEFT/RIGHT
” buttons to adjust the phase to get a
clearer picture.
5. Clock.
• Move to
Clock
in the
PC
menu.
•
Press
the
“
LEFT/RIGHT
” buttons to adjust the Clock to get op-
timal resolution.


