1
2
3
4
5
7
6
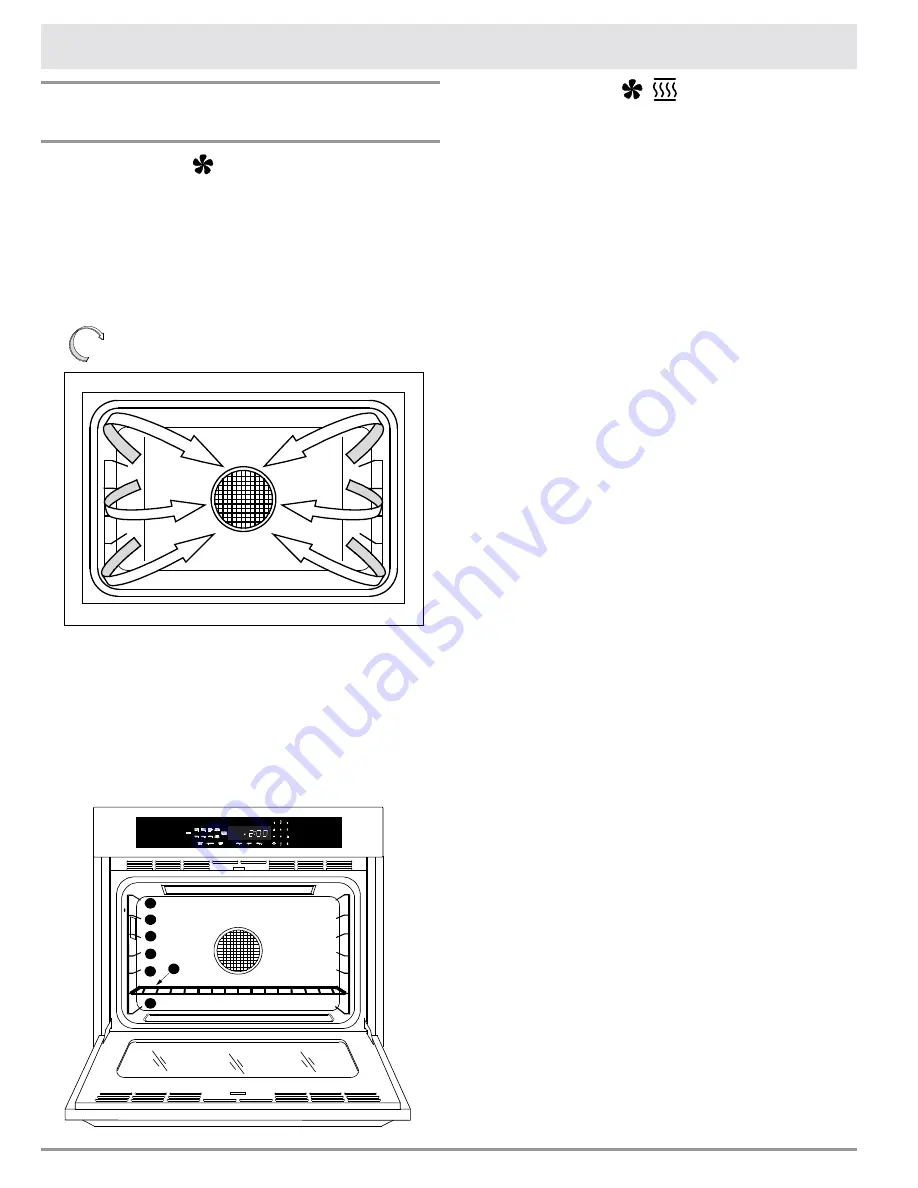
AIR FLOW
12
Understanding the Various Oven
Cooking Modes (cont.)
Pure Convection
The uniform air circulation provided by Pure Convection
allows you to use more oven capacity at once. Use this
mode for single rack baking, multiple rack baking, roast-
ing, and preparation of complete meals. Many foods,
such as pizzas, cakes, cookies, biscuits, muffins, rolls and
frozen convenience foods can be successfully prepared on
two or three racks at a time. Pure Convection is also good
for whole roasted duck, lamb shoulder and short leg of
lamb.
Multiple rack baking in pure convection Mode
•
Typically, when baking on two racks, use rack posi-
tions #1 and #3 or #2 and #4 (counting from the
bottom up) for best results. When cooking a full meal,
use rack positions #1, #3 and #5 for best results.
•
When adapting a single rack recipe to multiple rack
baking, it may be necessary to add to the baking time
due to the extra bulk of the food in the oven.
Convection Roast
Your range’s convection roast mode uses a combination of
the convection fan and heat sources above and below the
food. It is best for rib roasts, turkeys, chickens, etc.
roasting tips
•
All baking modes can be used to successfully roast
in your oven. However, the convection roast mode is
recommended to produce meats that are deliciously
seared on the outside and succulently juicy on the
inside in record time. Foods that are exceptional,
when prepared in the convection roast mode, include:
beef, pork, ham, lamb, turkey, chicken and cornish
hens.
•
Always roast meats fat side up in a shallow pan, using
a roasting rack. Always use a pan that fits the size of
the food being prepared. No basting is required when
the fat side is up. Do not add water to the pan. It will
cause a steamed effect. Roasting is a dry heat pro-
cess.
•
Poultry should be placed breast side up on a rack in a
shallow pan that fits the size of the food.
•
When using the roast mode, do not use pans with tall
sides. They interfere with the circulation of heated air
over the food.
•
If using a meat thermometer, insert the probe halfway
into the center of the thickest portion of the meat. For
poultry, insert the thermometer probe between the
body and leg into the thickest part of the inner thigh.
To ensure an accurate reading, the tip of the probe
should not touch bone, fat or gristle. Check the meat
temperature ²/³ of the way through the recommended
roasting time. After reading the meat thermometer
once, insert it ½ inch further into the meat, then take
a second reading. If the second temperature registers
below the first, continue cooking the meat.
•
Remove meats from the oven when the thermometer
registers 5 to 10°F below the desired temperature.
The meat will continue to carry-over.
•
Allow roasts to stand 15 to 20 minutes after roasting
in order to make carving easier.
•
Roasting times always vary according to the size,
shape and quality of meats and poultry. Less tender
cuts of meat are best prepared in bake mode and may
require moist cooking techniques. Follow your favorite
cookbook recipes.
•
Reduce spatter by lining the bottom of the roasting
pan with lightly crushed aluminum foil.
Operating the Oven
1
2
1
2
1
2
Содержание Renaissance RR30NFS
Страница 2: ... 2013 Dacor all rights reserved ...


