D-Link DVX-7090 Скачать руководство пользователя страница 3

V

O

IP


R

OUTER 

I

NSTALLATION AND 

C

ONNECTION


To make the DVX-7090 VoIP Router accessible by means of the web interface 
you will need a Windows platform connected to the LAN. 

To deploy the DVX-7090 VoIP Router, proceed as follows: 

1.


Unpack the supplied Router box and install it at the intended location 

2.


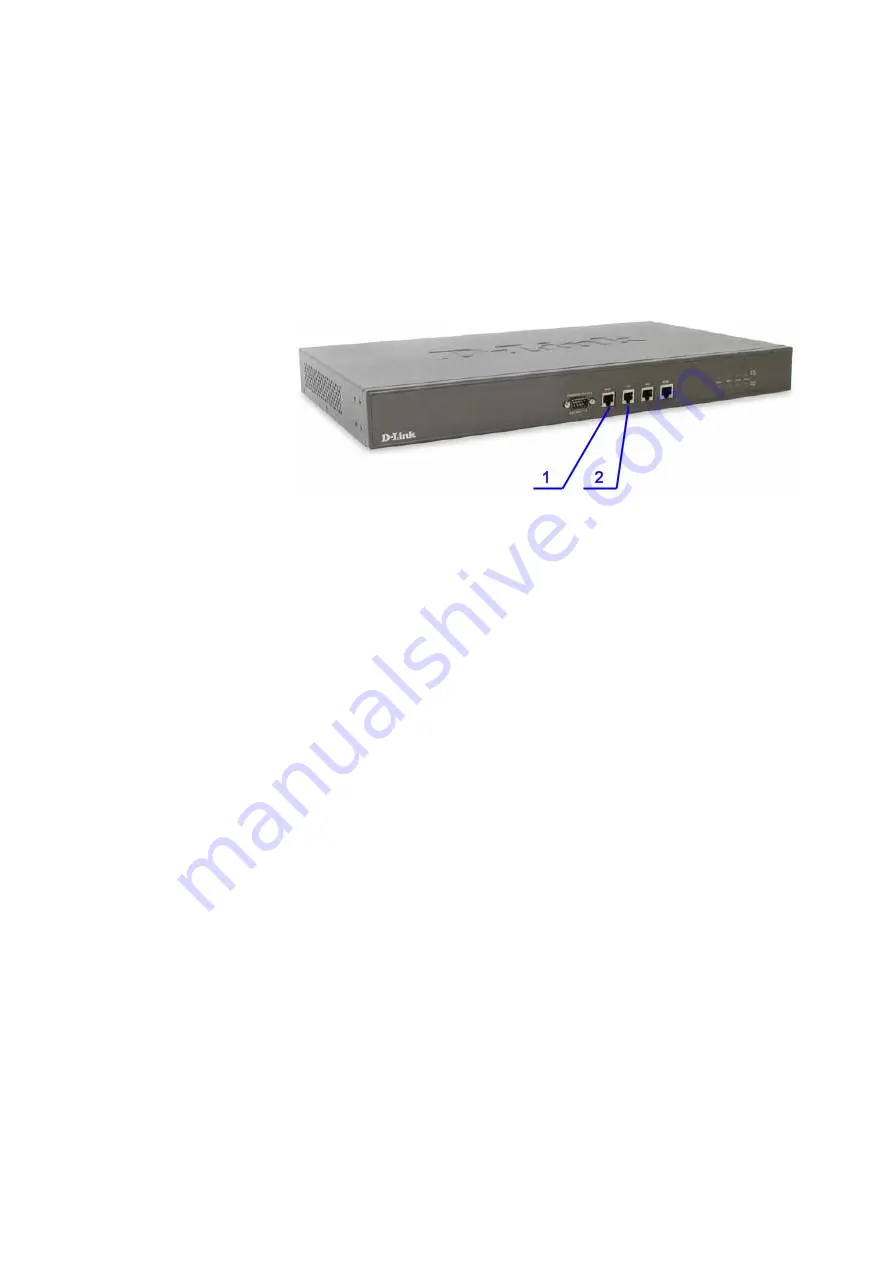
Prior to powering on the installed Router for the first time connect it to the 
LAN switch through the Ethernet port (second port in the row of ports, see 
2 in Fig. 1) 


Fig. 1 DVX-7090 front panel 


3.


You will be able to access the newly installed Router only if the Windows 
host that you are using for administration and the VoIP Router box are on 
the same network. To ensure this, create a network alias for subnet 
192.168.224.0 on the Windows platform you are using to access the 
Router. 

4.


To create a network alias, click 

Start 

 Control Panel

 and double click 

Network Connections

 in the displayed 

Control Panel

 window. 

Содержание DVX-7090

Страница 1: ...DVX 7090 VoIP Router Quick installation guide 2006 D Link Computer Corp ...

Страница 2: ...rade names may be used in this document to refer to either the entities claiming the marks and names or their products D Link Computer Corporation disclaims any proprietary interest in trademarks and trade names other than its own COPYRIGHT STATEMENT Information in this document is subject to change without notice 2006 D Link Computer Corporation All rights reserved No part of this publication may...

Страница 3: ...t time connect it to the LAN switch through the Ethernet port second port in the row of ports see 2 in Fig 1 Fig 1 DVX 7090 front panel 3 You will be able to access the newly installed Router only if the Windows host that you are using for administration and the VoIP Router box are on the same network To ensure this create a network alias for subnet 192 168 224 0 on the Windows platform you are us...

Страница 4: ...5 In the displayed view of existing LAN connections double click Local Area Connection and press the Properties button on the tab sheet General ...

Страница 5: ...n the appearing Local Area Connection Properties window select the item Internet Protocol TCP IP and click the Properties button 7 In the Internet Protocol TCP IP Properties view click the button Advanced ...

Страница 6: ...lick the Add button in the Advanced TCP IP Settings window 9 Type 192 168 224 n in the appearing TCP IP Address dialog n can be any number in the 0 255 range Click the Add button to finalize the procedure ...

Страница 7: ...2 Start the Internet Explorer web browser on the Windows platform that you are using for administration and point it to the URL http 192 168 224 226 to access the Router s logon page 13 To log on with the administrator s permissions use the default login and password admin qwerty 14 Configure the Router s WAN properties entering pertinent data in the WAN settings area of the Configuration page ...

Страница 8: ...the networking cable from the Ethernet port second port in the row of ports see 2 in Fig 1 18 Plug in the networking cable into the WAN port first port in the row of ports see 1 in Fig 1 to make the VoIP Router accessible at URL http WAN_IP where WAN_IP is the assigned IP entered in the field IP address of the WAN settings dialog Now you can use any web browser on a remote host pointing it to the ...

Отзывы: