background image

1

©2004 D-Link Systems, Inc. All rights reserved. Trademarks or registered trademarks are the property of their respective 

holders. Software and specifi cations subject to change without notice. 

If any of the above items are missing, please contact your reseller.

CD-ROM (Software, Manual and Warranty)

Before You Begin

DP-G301 AirPlus

TM 

G Wireless parallel port Print Server

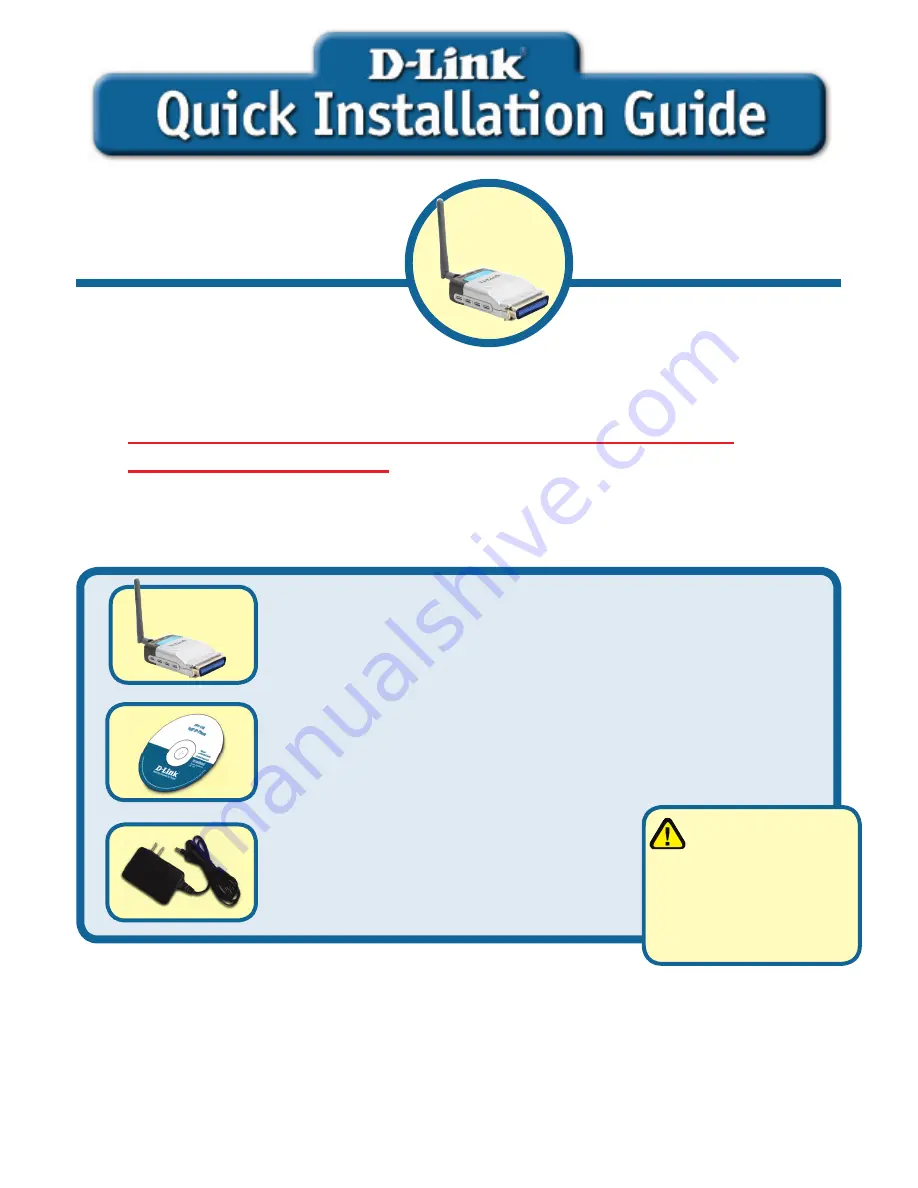
Check Your Package Contents

DP-G301

AirPlus

TM 

G 2.4GHz 

 Wireless Print 

Server

5V DC 2.5A Power Adapter

      Using a power

       supply with a 

different voltage rating 

will damage this 

product and void its 

warranty.

This product can be setup 

using any current web 

browser, i.e., Internet Explorer 

6 or Netscape Navigator 7.0

You will need an Ethernet-enabled device, such as a laptop or desktop 

computer and a parallel port printer that will connect to the DP-G301.

Important: TURN OFF the power to the printer before 

installing the DP-G301.

Содержание DP-G301 - Print Server - Parallel

Страница 1: ...lel port Print Server Check Your Package Contents DP G301 AirPlusTM G 2 4GHz Wireless Print Server 5V DC 2 5A Power Adapter Using a power supply with a different voltage rating will damage this product and void its warranty This product can be setup using any current web browser i e Internet Explorer 6 or Netscape Navigator 7 0 You will need an Ethernet enabled device such as a laptop or desktop c...

Страница 2: ... to manual pdf located on the CD ROM Receptor for AC Power Adapter Network Port First insert one end of a straight through CAT5 Ethernet RJ 45 cable into the Network Port shown below Connect the other end of the cable to the LAN port of the gateway or switch Note Do not connect the power cord to the DP G301 until you are advised to do so Parallel Port Warning Only a parallel port printer may be co...

Страница 3: ...ssign an IP address on one of the wired PC s on your network to the same subnet as the print server For additional Windows operating system setup or information on the web management interface refer to the manual located on the CD ROM Go to Start right click on My Network Places select Properties Double click on the Network Connection associated with your Network Adapter Input a static IP address ...

Страница 4: ...odified on the Network tab of the web configuration menu The following instructions use the print server s default IP address as an example Make the appropriate changes if you modify the DP G301 s IP address Click OK to apply IP address settings Note Please notice that if you connect your printer server in a LAN where a DHCP server is present The IP address will differ from the one in the example 19...

Страница 5: ...Encryption select the encryption level and the key here Click on the Configuration tab to view the current Wireless Settings 64 bit WEP encryption uses a 10 hexidecimal character key 128 bit WEP uses a 26 hexidecimal character key The WEP encryption key must match the WEP settings on your AP or wireless router to connect properly A workgroup name of your Wireless Network All wireless devices must a...

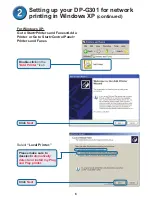
Страница 6: ...inting in Windows XP continued Click Next For Windows XP Go to Start Printers and Faxes Add a Printer or Go to Start Control Panel Printers and Faxes Double click on the Add Printer icon Please make sure to deselect Automatically detect and install my Plug and Play printer ...

Страница 7: ...s XP continued Select Create a new port At the pull down menu highlight Standard TCP IP Port Click Next Click Next Type in the IP address of the print server i e 192 168 0 10 The port name will automatically be filled in Click Next This may take a few seconds ...

Страница 8: ...t Setting up your DP G301 for network printing in Windows XP continued Click OK Input the port name of the port being used by the printer Select Custom Then click on Settings Click Settings Select LPR PS 121B28 U1 ...

Страница 9: ... this window scroll down to find your printer If it is not listed insert the driver CD or diskette that came with your printer Click on Have Disk Then scroll down and highlight the printer Click Next Click Finish At this screen you can input a name for this printer Click Next ...

Страница 10: ...etup is Complete The printer is now ready for printing with Windows XP on your network Click Finish Setting up your DP G301 for network printing in Windows XP continued Select Yes to print a test page Click Next ...

Страница 11: ...11 Notes ...

Страница 12: ...hrough our website or by phone Tech Support for customers within the United States D Link Technical Support over the Telephone 877 453 5465 24 hours a day seven days a week D Link Technical Support over the Internet http support dlink com email support dlink com Tech Support for customers within Canada D Link Technical Support over the Telephone 800 361 5265 Monday to Friday 7 30AM to 9 00PM EST D...

Отзывы: