


Chapter 5 Management 44
Connections
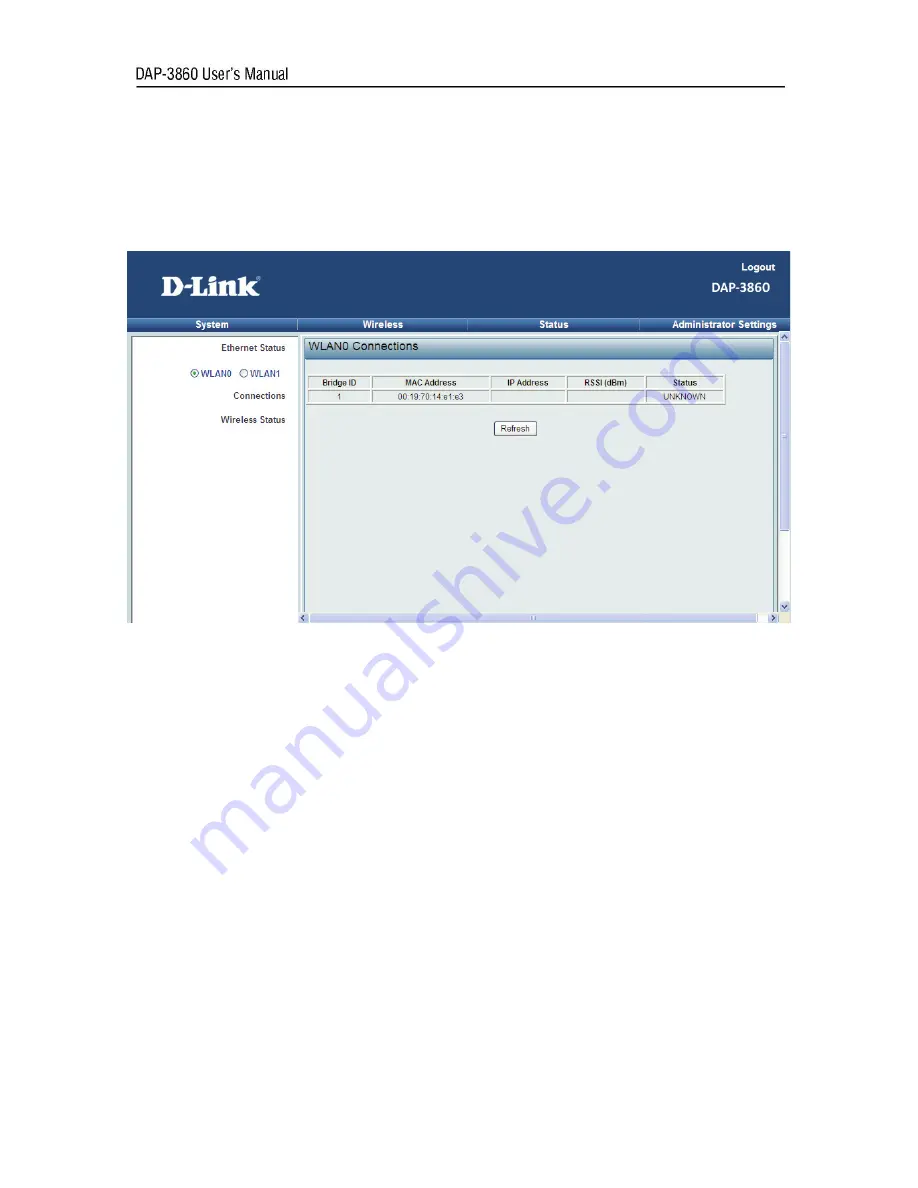
Open “
Connections
” in “
Status
” to check the information of remote devices connected with the DAP-3860,
these values also help determine whether the antenna is aligned in an appropriate direction. The table will
be updated every 30 seconds. All is read only.
Figure 34 Connections
Содержание DAP-3860
Страница 1: ......
Страница 49: ...Chapter 5 Management 49 Figure 40 Obtain MIB File ...


