


23
24
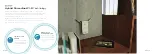
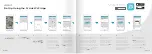
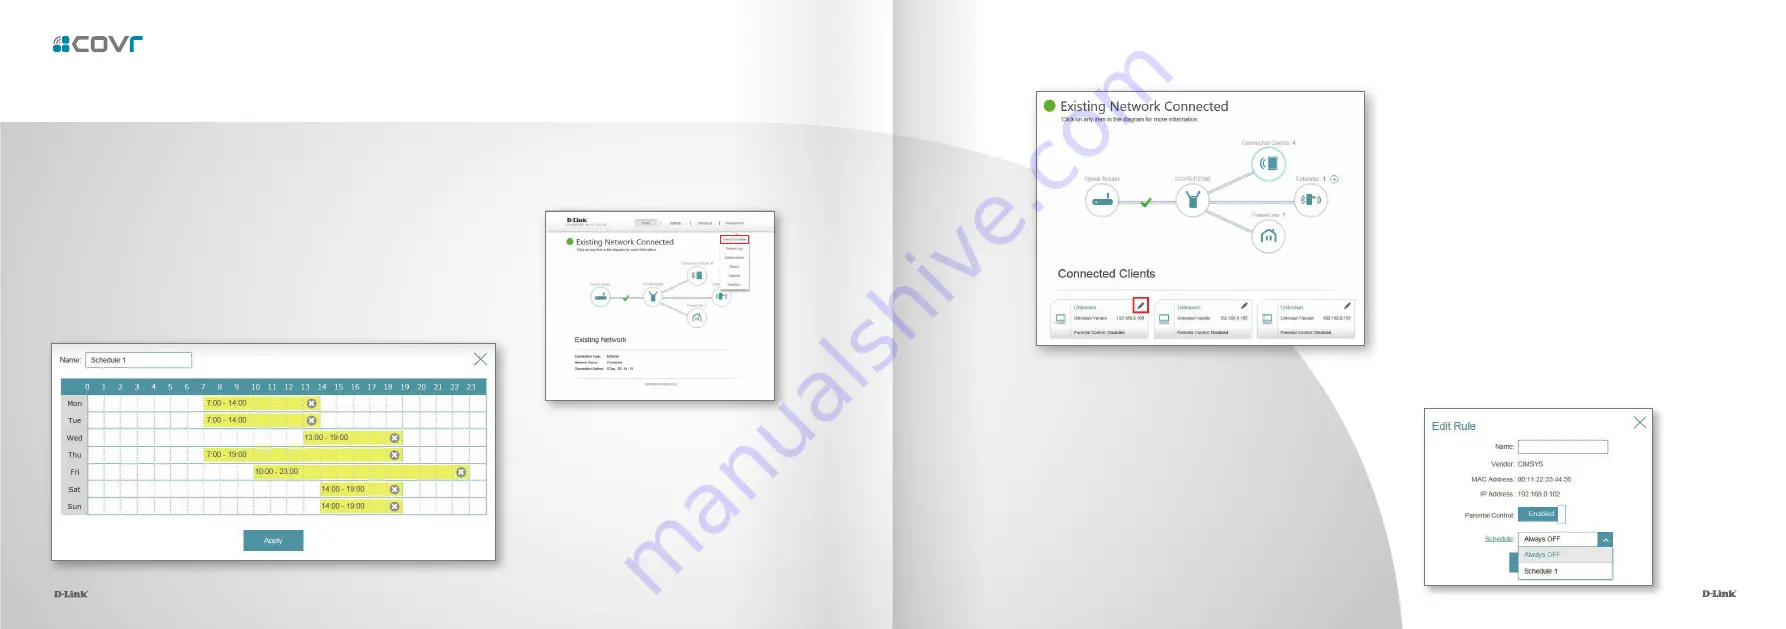
1.
First, set up a schedule which can be applied to client devices. From the menu
at the top of the home screen click
Management
and then
Time & Schedule
.
From the Time & Schedule page, click on the
Schedule
hyperlink to access the
scheduling function.
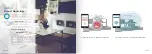
2.
Click on
Add Device
to create a new schedule.
Enter a name for the new schedule in the
Name
field. Click on a square in the grid to include that
time and day combination in the schedule. Click
and drag to select a time range. When the desired
schedule has been selected, click
Apply
to return
to the schedule page. Click the
Save
hyperlink to
save the schedule configuration.
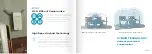
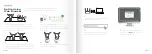
3.
Return to the home screen and click on the
Connected Clients
icon in the network
map. Select the client device which you wish
to apply the schedule to by clicking on the
pencil icon in the top right-hand corner of
the device tile at the bottom of the screen.
4.
In the Edit Rule screen, click the Parental Control
slider to enable scheduling, and then select the
desired schedule from the drop-down menu. Click
Save
to save the schedule settings for that device.
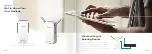
The Parental Control feature can be used to restrict network access to client devices. Schedules
can also be set to give client devices access to the whole home network at certain times.
Parental Control and Scheduling
23


