AutoView 424 Installer/User Guide
10
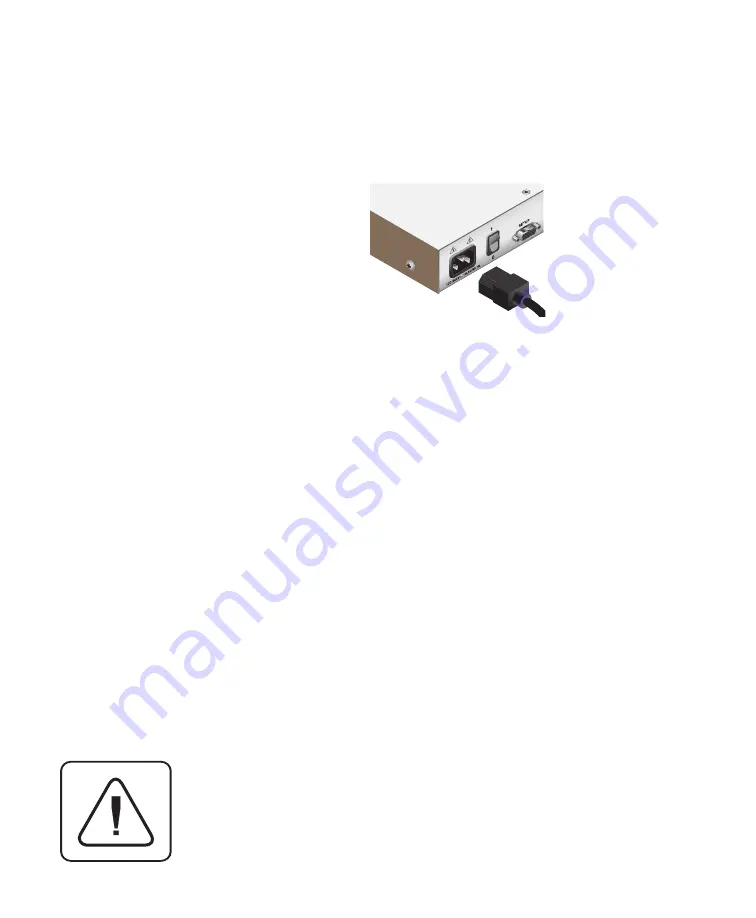
10. Locate the power cord that came with your AutoView 424 unit and plug it
into the IEC power connector on the AutoView 424. Make sure that the
power switch is off, then plug the other end of the power cord into an
appropriate AC wall outlet. This outlet must be near the equipment and
easily accessible to allow for unplugging prior to any servicing of the unit.
11. Power-up your AutoView 424 unit first, then power up all attached
computers.
12. If your remote location utilizes Sun peripherals, you will need to
configure the AutoView 424 to recognize them before they can be
used. To do this:
a. At the local user, activate the on-screen display (OSD) by
pressing either of the keyboard Control keys twice
within one second.
b. Press the Control key twice more to access Administra-
tor Commands.
c. Use your arrow keys to highlight “Administrator Func-
tions” and press Enter.
d. Highlight and select the “Remote User” menu selection.
Use the space bar to cycle through peripheral types and
select the ones appropriate to your system. Press Enter
to select.
The AutoView 424 and all attached computers should be
powered-down before servicing the unit. Always disconnect
the power cord from the wall outlet.
Содержание AV416
Страница 2: ...AutoView 424 Installer User Guide...
Страница 10: ...AutoView 424 Installer User Guide...
Страница 18: ...AutoView 424 Installer User Guide...
Страница 38: ...AutoView 424 Installer User Guide...
Страница 42: ...AutoView 424 Installer User Guide...
Страница 53: ......
Страница 54: ...AutoView 424 Installer User Guide...


